
用 MMDrawerController 實作 iOS 側拉抽屜效果
編輯:iOS 相關教學
側邊抽屜是許多應用採用的導覽模式。自己從手勢寫起成本不低,實務上多半會用成熟框架。本文以 MMDrawerController 為例,說明如何同時掛上左側欄與右側欄。
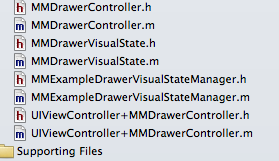
一、引入類庫
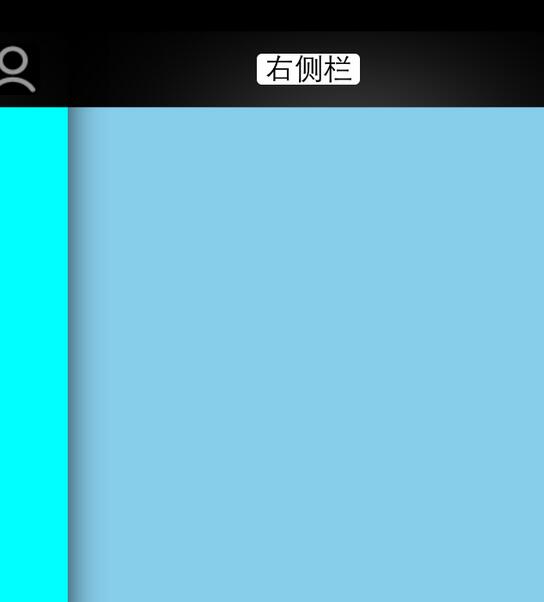
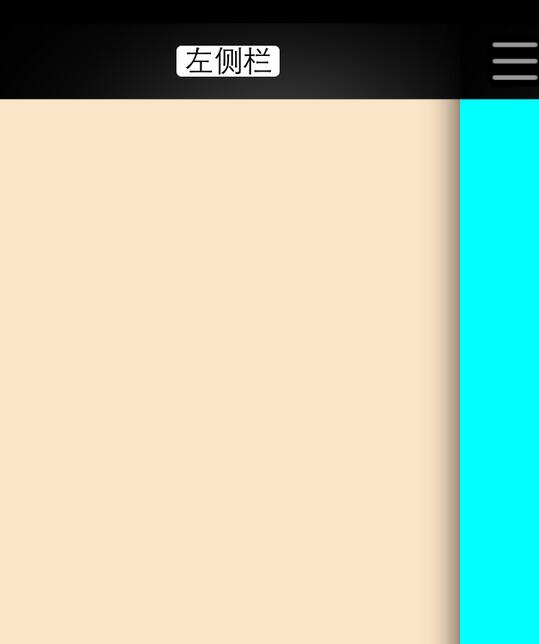
二、效果說明
這個實作很靈活:可以左右兩側都開,也可以只開左側或只開右側。
三、AppDelegate.h
#import <UIKit/UIKit.h>

@interface YJFAppDelegate : UIResponder <UIApplicationDelegate>
@property (strong, nonatomic) UIWindow *window;
@end
四、AppDelegate.m
#import "YJFAppDelegate.h"
#import "CustomizedNavigationController.h"
#import "FirstViewController.h"
#import "SecondViewController.h"
#import "ThirdViewController.h"

@implementation YJFAppDelegate

- (BOOL)application:(UIApplication *)application didFinishLaunchingWithOptions:(NSDictionary *)launchOptions {
    self.window = [[UIWindow alloc] initWithFrame:[[UIScreen mainScreen] bounds]];

    // 主視圖
    FirstViewController *firstVC = [[FirstViewController alloc] init];
    // 左側視圖
    SecondViewController *secondVC = [[SecondViewController alloc] init];
    // 右側視圖
    ThirdViewController *thirdVC = [[ThirdViewController alloc] init];

    CustomizedNavigationController *navigationVC      = [[CustomizedNavigationController alloc] initWithRootViewController:firstVC];
    CustomizedNavigationController *leftNavigationVC  = [[CustomizedNavigationController alloc] initWithRootViewController:secondVC];
    CustomizedNavigationController *rightNavigationVC = [[CustomizedNavigationController alloc] initWithRootViewController:thirdVC];

    // 抽屜管理器:可同時實作左右兩側
    MMDrawerController *rooVC = [[MMDrawerController alloc] initWithCenterViewController:navigationVC
                                                                  leftDrawerViewController:leftNavigationVC
                                                                 rightDrawerViewController:rightNavigationVC];

    // 只實作左側欄
    // MMDrawerController *rooVCLeft = [[MMDrawerController alloc] initWithCenterViewController:navigationVC
    //                                                                    leftDrawerViewController:firstVC];

    // 只實作右側欄
    // MMDrawerController *rooVCRight = [[MMDrawerController alloc] initWithCenterViewController:navigationVC
    //                                                                     rightDrawerViewController:thirdVC];

    self.window.rootViewController = rooVC;

    // 抽屜寬度
    [rooVC setMaximumLeftDrawerWidth:270];
    // 開關手勢範圍
    [rooVC setOpenDrawerGestureModeMask:MMOpenDrawerGestureModeAll];
    [rooVC setCloseDrawerGestureModeMask:MMCloseDrawerGestureModeAll];

    // 左右側的呈現動畫(這裡都設為無動畫)
    [[MMExampleDrawerVisualStateManager sharedManager] setRightDrawerAnimationType:MMDrawerAnimationTypeNone];
    [[MMExampleDrawerVisualStateManager sharedManager] setLeftDrawerAnimationType:MMDrawerAnimationTypeNone];

    // 若要自訂轉場效果,可掛上 visual state block
    // [rooVC setDrawerVisualStateBlock:^(MMDrawerController *drawerController, MMDrawerSide drawerSide, CGFloat percentVisible) {
    //     MMDrawerControllerDrawerVisualStateBlock block =
    //         [[MMExampleDrawerVisualStateManager sharedManager] drawerVisualStateBlockForDrawerSide:drawerSide];
    //     if (block) { block(drawerController, drawerSide, percentVisible); }
    // }];

    self.window.backgroundColor = [UIColor whiteColor];
    [self.window makeKeyAndVisible];
    return YES;
}
幾個實務重點
- 抽屜寬度建議依內容調整,太寬會讓主畫面幾乎看不見,失去上下文感。
- 手勢遮罩範圍要仔細設定,避免與內部的橫向捲動(例如分頁捲動)互搶手勢。
- 抽屜開啟時,主畫面通常仍需保留可視,記得處理好層級與陰影。
- 抽屜內的選單點擊後,記得要呼叫
closeDrawerAnimated:completion:關閉抽屜再切換畫面。
- 上一篇文章: iOS 應用內跳轉系統設定頁:root、路徑與 App 專屬設定的寫法
- 下一篇文章: 封裝一個微信風格聊天工具欄:表情、文字與語音訊息