
NSTimer 入門到踩坑:RunLoop 模式、fire 與 invalidate 的正確用法
建立一個最簡單的計時器
- (void)viewDidLoad {
    [super viewDidLoad];
    [NSTimer scheduledTimerWithTimeInterval:1
                                     target:self
                                   selector:@selector(actionTimer:)
                                   userInfo:nil
                                    repeats:YES];
}

- (void)actionTimer:(NSTimer *)timer {
}
NSTimer 預設跑在 default mode,幾乎涵蓋所有輸入源(NSConnection 除外),也就是 NSDefaultRunLoopMode。上面的寫法會讓 actionTimer: 每秒被呼叫一次,用起来確實非常直覺。
奇怪的現象:畫面一滑動,計時器就失靈
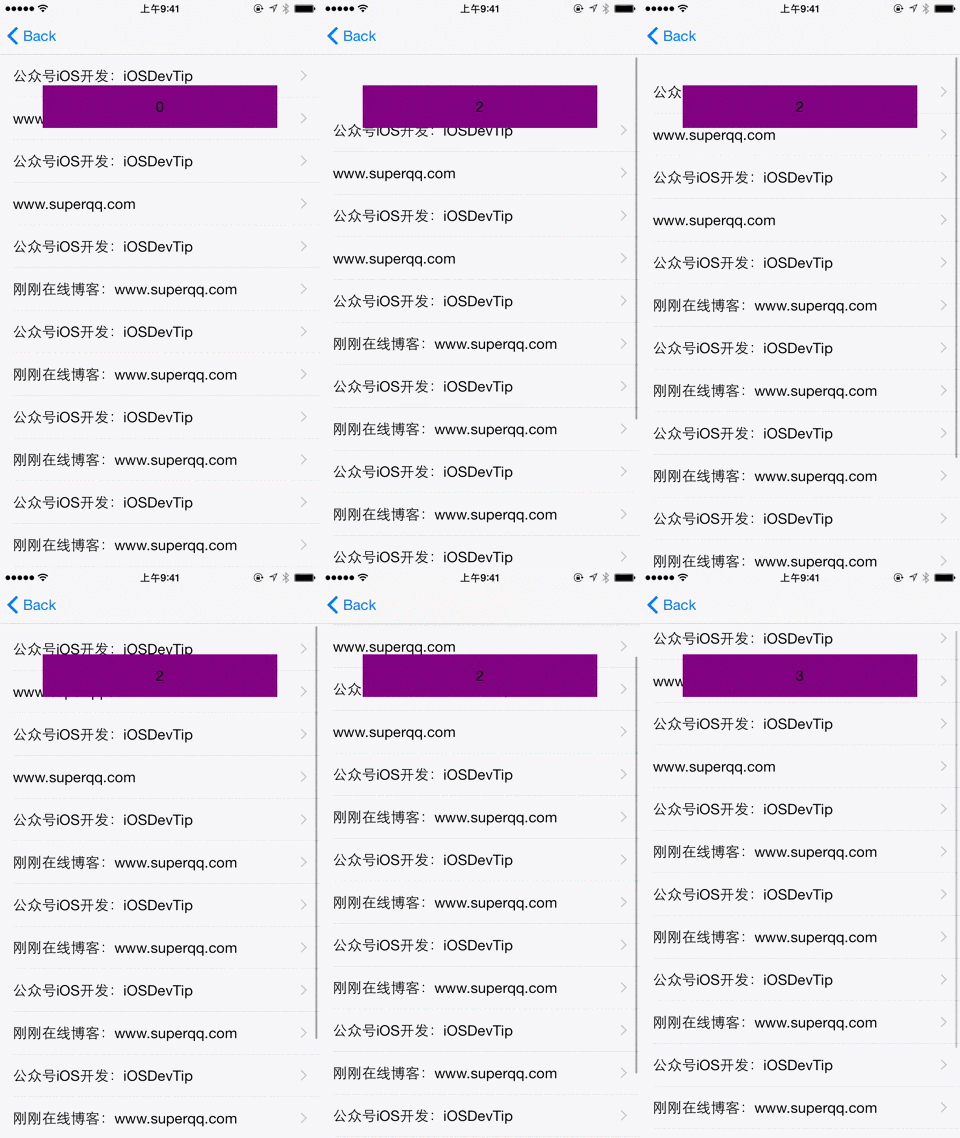
所謂「主界面被滑動」,指的是頁面上有 UITableView 或 UIScrollView,而使用者正在拖動它。這時候 NSTimer 就停止觸發了。
寫個 demo 驗證:在一個含 UITableView 的 UIViewController 上啟動計時器,每秒把數字加一並更新到 UILabel。
- (void)viewDidLoad {
    [super viewDidLoad];
    [NSTimer scheduledTimerWithTimeInterval:1
                                     target:self
                                   selector:@selector(actionTimer:)
                                   userInfo:nil
                                    repeats:YES];
}

- (void)actionTimer:(NSTimer *)timer {
    self.number++;
    self.label.text = [NSString stringWithFormat:@"%d", self.number];
    NSLog(@"%d", self.number);
}
結果如預期:當使用者拖動 UITableView 時,RunLoop 進入 UITrackingRunLoopMode,NSTimer 無法 fire,UILabel 上的數字也就停在原地。
解法:換一個 RunLoop mode
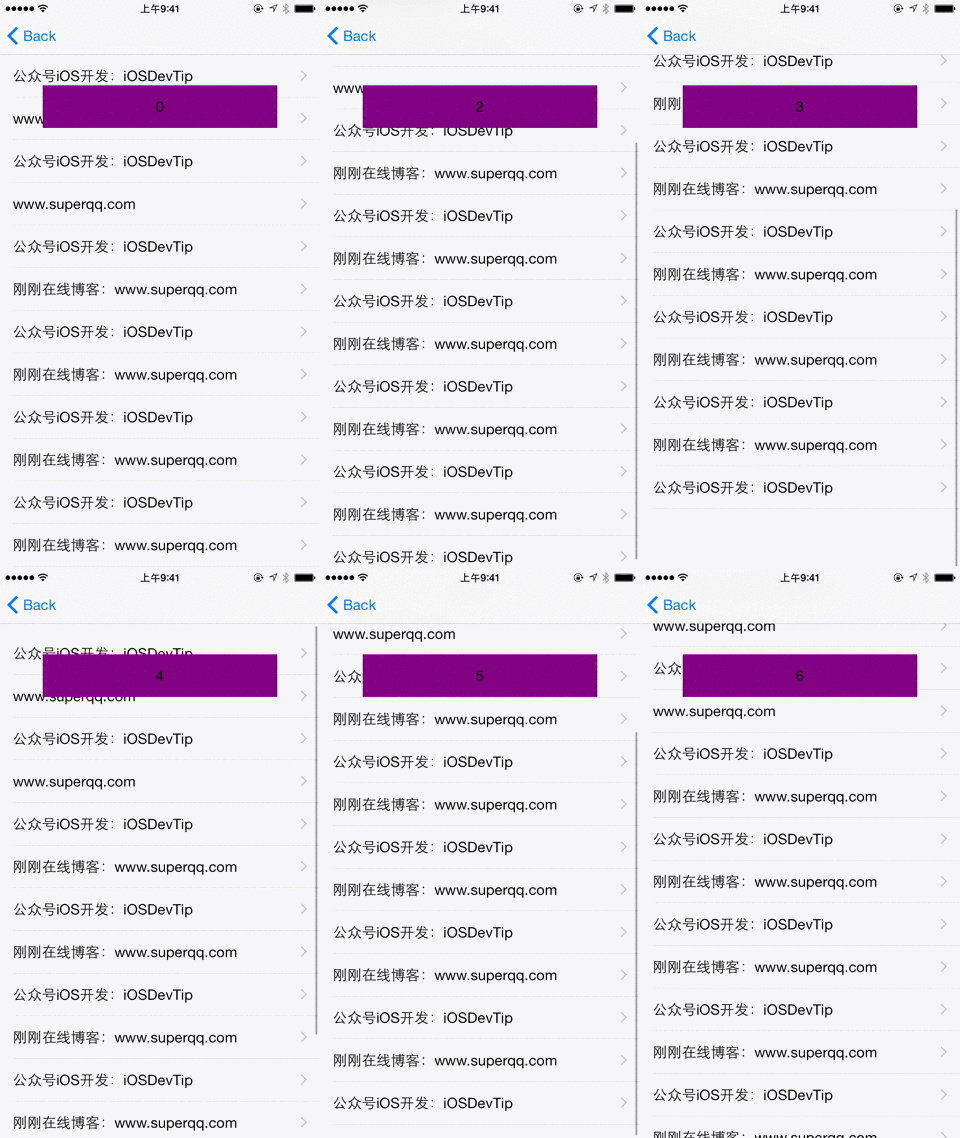
把 timer 明確加入 UITrackingRunLoopMode 或 NSRunLoopCommonModes:
[[NSRunLoop currentRunLoop] addTimer:timer forMode:UITrackingRunLoopMode];
或者:
[[NSRunLoop currentRunLoop] addTimer:timer forMode:NSRunLoopCommonModes];
NSRunLoopCommonModes 是一個模式集合,把事件源綁到這個集合,就等於綁進集合內的每一種模式,因此滑動時也不會中斷。
fire:手動觸發一次
直覺上會這樣寫:
@interface DetailViewController ()
@property (nonatomic, weak) NSTimer *timer;
@end

@implementation DetailViewController

- (IBAction)fireButtonPressed:(id)sender {
    _timer = [NSTimer scheduledTimerWithTimeInterval:3.0f
                                              target:self
                                            selector:@selector(timerFire:)
                                            userInfo:nil
                                             repeats:YES];
    [_timer fire];
}

- (void)timerFire:(id)userinfo {
    NSLog(@"Fire");
}
@end
執行後確實每 3 秒印一次 Fire。但當你從這個頁面跳走,控制台卻還在源源不絕地輸出——計時器根本沒停。
invalidate:停止計時器
於是在 dealloc 裡補上 invalidate:
- (void)dealloc {
    [_timer invalidate];
    NSLog(@"%@ dealloc", NSStringFromClass([self class]));
}
再跑一次,還是停不下來。原因是 NSTimer 被加入 RunLoop 時會被強引用:
run loops maintain strong references to their timers, so you don't have to maintain your own strong reference to a timer after you have added it to a run loop.
而 timer 本身又強引用了它的 target(也就是 self):
Target is the object to which to send the message specified by aSelector when the timer fires. The timer maintains a strong reference to target until it (the timer) is invalidated.
換句話說,NSTimer 強引用 self,導致 self 永遠無法釋放,dealloc 自然永遠不會被呼叫。於是只能再加一顆 invalidate 按鈕:
- (IBAction)invalidateButtonPressed:(id)sender {
    [_timer invalidate];
}
這樣就能正常停止了。
另外,官方文件還特別提醒:
You must send this message from the thread on which the timer was installed. If you send this message from another thread, the input source associated with the timer may not be removed from its run loop, which could prevent the thread from exiting properly.
也就是說,NSTimer 在哪條 thread 建立,就必須在同一條 thread 停止,否則資源無法被正確回收。
那個經典的死循環問題
如果需求是「一直輸出,直到頁面銷毀才停止」,你會發現邏輯繞成一圈:
- NSTimer 被 RunLoop 強引用,要釋放就得呼叫 invalidate。
- 想在自己的 dealloc 裡呼叫 invalidate,但 self 又被 NSTimer 強引用。
- 也就是說必須先釋放 NSTimer,而不呼叫 invalidate 就釋放不掉。
- 可是不進入 dealloc,又沒機會呼叫 invalidate。
實務上常見的解法有幾種:用 weak proxy 中轉訊息、改用 GCD Timer、或在 iOS 10 以後直接使用 block 版本的 scheduledTimerWithTimeInterval:repeats:block:,都能避開這個循環引用。
- 上一篇文章: HTTP/2 加持的 APNS:蘋果推送服務協議全面升級
- 下一篇文章: 用 NSLocale 搞定本地化:時間格式化與區域資訊處理全解析