
iOS UIPasteboard 剪貼板用法詳解:跨 App 傳值與圖片複製範例
剪貼板(Pasteboard)是 iOS 中實現 App 內外資料交換的基礎設施。本文從系統原生的剪貼操作談起,說明 UIPasteboard 的三種層級、完整 API,最後以一個複製圖片的實作收尾。
一、原生支援剪貼操作的 UI 元件
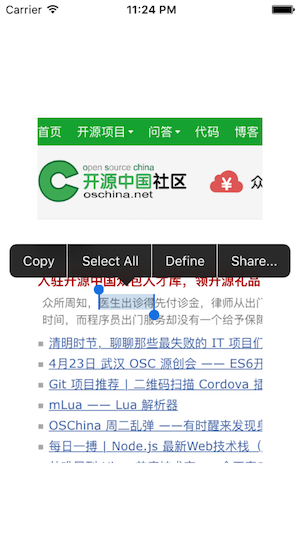
iOS 的 UI 系統中有三個元件自帶剪貼功能:UITextField、UITextView 與 UIWebView。在它們的文字區域長按,即可喚出系統的剪貼選單,進行複製、剪下、貼上、全選等操作。
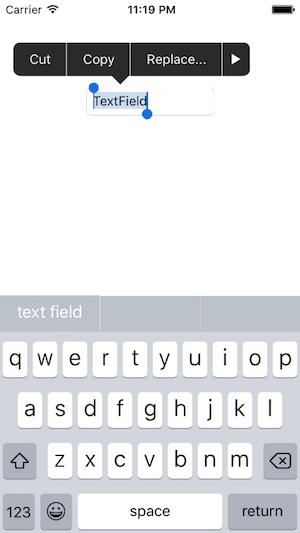
UITextField 的文字操作選單:
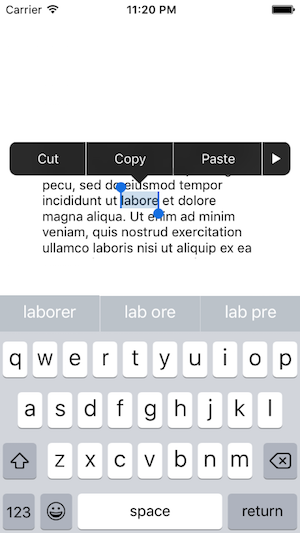
UITextView 的文字操作選單:
二、系統剪貼板管理類:UIPasteboard
當使用者透過上述元件執行複製或剪下時,被選中的內容其實是被放進了系統剪貼板。這個剪貼板並不只承載字串——它同樣能存放圖片與 URL 資料。對應的管理類別就是 UIPasteboard,開發者也可以直接透過它進行 App 內或 App 間的資料傳遞。
三種初始化方式,對應三個層級:
// 1. 取得系統層級的剪貼板
+ (UIPasteboard *)generalPasteboard;

// 2. 取得(或建立)一個自訂剪貼板
//    name:剪貼板名稱;create:不存在時是否建立
+ (nullable UIPasteboard *)pasteboardWithName:(NSString *)pasteboardName create:(BOOL)create;

// 3. 取得一個應用內可用的剪貼板
+ (UIPasteboard *)pasteboardWithUniqueName;
三者差異在於作用範圍。系統層級的剪貼板在整台裝置中共享,即使你的 App 被刪除,寫入的資料仍然存在。自訂剪貼板透過特定名稱字串建立,可在你的 App 之間、或同一開發者簽章的 App 之間共享資料——這是 App 間輕量傳值的常見手法。第三個方法建立的剪貼板等同於「名稱為 nil 的自訂剪貼板」,通常用於 App 內部。
特別注意:用第三個方法建立的剪貼板預設不做資料持久化,App 結束後內容即被抹除。若需保留,必須把 persistent 設為 YES。
常用屬性與方法:
// 剪貼板名稱
@property (readonly, nonatomic) NSString *name;

// 依名稱刪除剪貼板
+ (void)removePasteboardWithName:(NSString *)pasteboardName;

// 是否持久化
@property (getter=isPersistent, nonatomic) BOOL persistent;

// 內容變更次數。系統剪貼板只有在裝置重啟後才歸零
@property (readonly, nonatomic) NSInteger changeCount;
三、資料讀寫 API
底層的存取方式以「資料類型(pasteboard type)」為單位,分為最新一組與多組兩種粒度。
最新一組資料:
// 取得最新資料的型別清單
- (NSArray<NSString *> *)pasteboardTypes;

// 判斷最新資料是否包含某型別
- (BOOL)containsPasteboardTypes:(NSArray<NSString *> *)pasteboardTypes;

// 以 NSData 取出指定型別的資料
- (nullable NSData *)dataForPasteboardType:(NSString *)pasteboardType;

// 以物件形式取出指定型別的值
- (nullable id)valueForPasteboardType:(NSString *)pasteboardType;

// 為指定型別設定值
- (void)setValue:(id)value forPasteboardType:(NSString *)pasteboardType;

// 為指定型別設定 NSData
- (void)setData:(NSData *)data forPasteboardType:(NSString *)pasteboardType;
多組資料(items):
// 資料組數
@property (readonly, nonatomic) NSInteger numberOfItems;

// 取得某組資料包含的型別
- (nullable NSArray *)pasteboardTypesForItemSet:(nullable NSIndexSet *)itemSet;

// 判斷某組資料是否包含指定型別
- (BOOL)containsPasteboardTypes:(NSArray<NSString *> *)pasteboardTypes
                      inItemSet:(nullable NSIndexSet *)itemSet;

// 找出符合指定型別的資料組
- (nullable NSIndexSet *)itemSetWithPasteboardTypes:(NSArray *)pasteboardTypes;

// 依型別取出某組資料的值
- (nullable NSArray *)valuesForPasteboardType:(NSString *)pasteboardType
                                    inItemSet:(nullable NSIndexSet *)itemSet;

// 依型別取出某組資料的 NSData
- (nullable NSArray *)dataForPasteboardType:(NSString *)pasteboardType
                                  inItemSet:(nullable NSIndexSet *)itemSet;

// 所有資料組
@property (nonatomic, copy) NSArray *items;

// 追加一組資料
- (void)addItems:(NSArray<NSDictionary<NSString *, id> *> *)items;
上述方法都需要傳入型別識別字串,系統預先定義了幾組常用常數:
NSArray<NSString *> *UIPasteboardTypeListString;   // 所有字串型別
NSArray<NSString *> *UIPasteboardTypeListURL;      // 所有 URL 型別
NSArray<NSString *> *UIPasteboardTypeListImage;    // 所有圖片型別
NSArray<NSString *> *UIPasteboardTypeListColor;    // 所有顏色型別
相較於上面兩組偏底層的介面,下面這些型別化屬性在使用上簡便得多,日常開發首選:
@property (nullable, nonatomic, copy) NSString *string;               // 字串
@property (nullable, nonatomic, copy) NSArray<NSString *> *strings;    // 字串陣列

@property (nullable, nonatomic, copy) NSURL *URL;                     // URL
@property (nullable, nonatomic, copy) NSArray<NSURL *> *URLs;          // URL 陣列

@property (nullable, nonatomic, copy) UIImage *image;                 // 圖片
@property (nullable, nonatomic, copy) NSArray<UIImage *> *images;      // 圖片陣列

@property (nullable, nonatomic, copy) UIColor *color;                 // 顏色
@property (nullable, nonatomic, copy) NSArray<UIColor *> *colors;      // 顏色陣列
對剪貼板的某些操作會送出通知:
NSString *const UIPasteboardChangedNotification;         // 內容改變時送出
NSString *const UIPasteboardChangedTypesAddedKey;        // 型別鍵值增加
NSString *const UIPasteboardChangedTypesRemovedKey;      // 型別鍵值移除
NSString *const UIPasteboardRemovedNotification;         // 剪貼板被刪除時送出
三、實作範例:複製與貼上圖片
建立一個 CopyView,內含兩個 UIImageView,長按左圖可叫出選單執行複製,再貼到右圖:
#import "CopyView.h"

@interface CopyView ()

@property (strong, nonatomic) UIImageView *img1;
@property (strong, nonatomic) UIImageView *img2;

@end

@implementation CopyView

- (UIImageView *)img1 {
    if (_img1 == nil) {
        _img1 = [[UIImageView alloc] initWithFrame:CGRectMake(10.0f, 20.0f, 100.0f, 100.0f)];
        NSString *path = [[NSBundle mainBundle] pathForResource:@"NetworldImage" ofType:@"jpg"];
        _img1.image = [UIImage imageWithContentsOfFile:path];
    }
    return _img1;
}

- (UIImageView *)img2 {
    if (_img2 == nil) {
        _img2 = [[UIImageView alloc] initWithFrame:
                 CGRectMake(CGRectGetMaxX(self.img1.frame) + 50.0f, 20.0f, 100.0f, 100.0f)];
        _img2.backgroundColor = [UIColor lightGrayColor];
    }
    return _img2;
}

- (instancetype)initWithFrame:(CGRect)frame {
    self = [super initWithFrame:frame];
    if (self) {
        self.backgroundColor = [UIColor whiteColor];
        [self addSubview:self.img1];
        [self addSubview:self.img2];
    }
    return self;
}

// 必須回傳 YES,本視圖才有資格成為第一響應者、才能顯示編輯選單
- (BOOL)canBecomeFirstResponder {
    return YES;
}

// 決定選單上要出現哪些項目
- (BOOL)canPerformAction:(SEL)action withSender:(id)sender {
    NSArray *methodNameArr = @[@"copy:", @"cut:", @"select:", @"selectAll:", @"paste:"];
    if ([methodNameArr containsObject:NSStringFromSelector(action)]) {
        return YES;
    }
    return [super canPerformAction:action withSender:sender];
}

// 複製:把左圖寫入系統剪貼板
- (void)copy:(id)sender {
    UIPasteboard *pasteboard = [UIPasteboard generalPasteboard];
    [pasteboard setImage:self.img1.image];
}

// 貼上:從系統剪貼板取出圖片放到右圖
- (void)paste:(id)sender {
    UIPasteboard *pasteboard = [UIPasteboard generalPasteboard];
    self.img2.image = [pasteboard image];
}

// 觸摸時成為第一響應者並顯示選單
- (void)touchesBegan:(NSSet<UITouch *> *)touches withEvent:(UIEvent *)event {
    [self becomeFirstResponder];

    UIMenuController *menuController = [UIMenuController sharedMenuController];
    [menuController setTargetRect:self.img1.frame inView:self];
    [menuController setMenuVisible:YES animated:YES];
}

@end
在控制器中使用:
#import "ViewController.h"
#import "CopyView.h"

@implementation ViewController

- (void)viewDidLoad {
    [super viewDidLoad];
    CopyView *cv = [[CopyView alloc] initWithFrame:self.view.bounds];
    self.view = cv;
}

@end
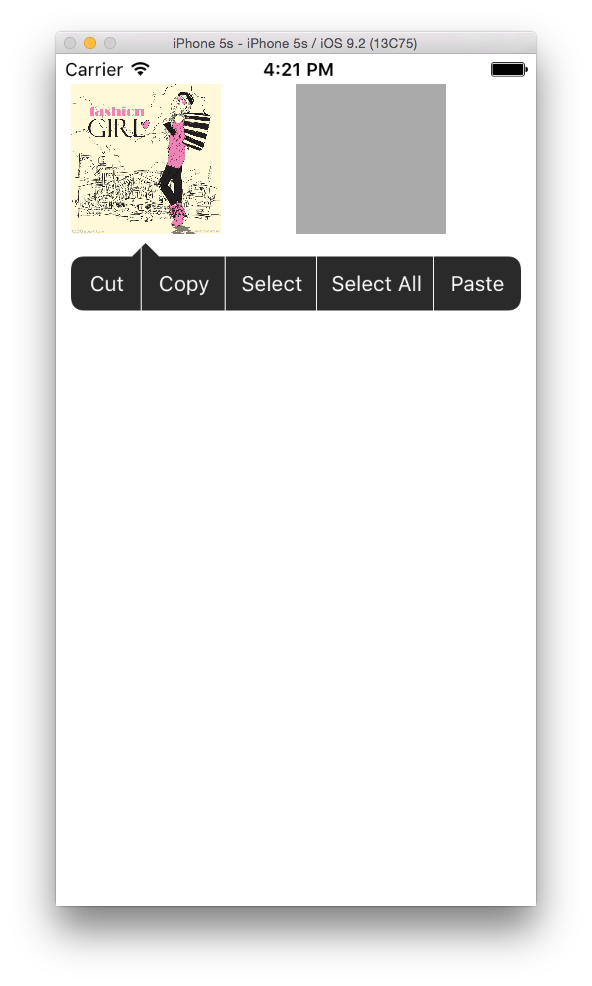
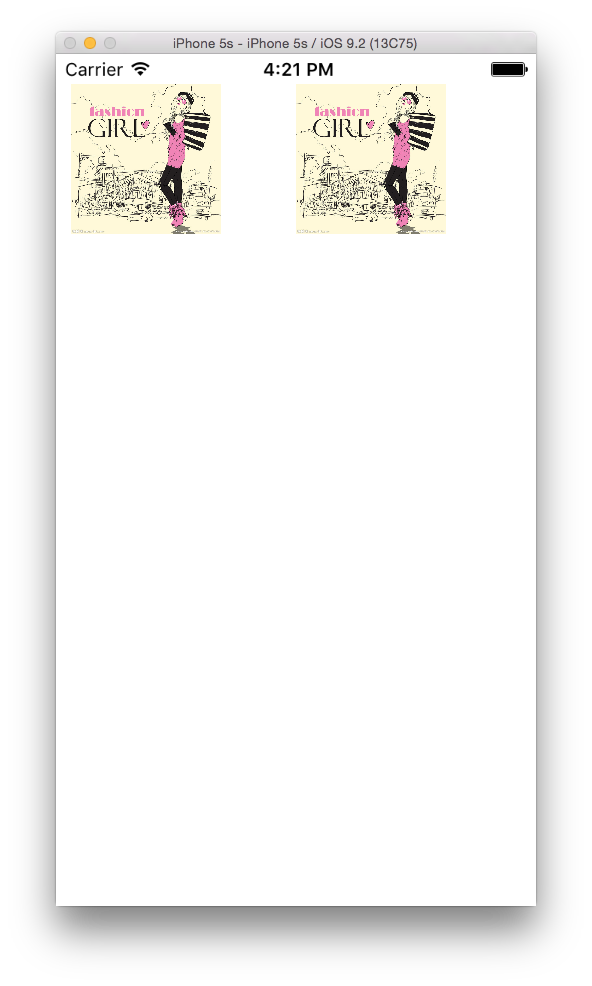
這個範例示範了三個關鍵點:canBecomeFirstResponder 回傳 YES 才有資格顯示編輯選單、canPerformAction:withSender: 用來篩選選單項目,以及透過 UIPasteboard generalPasteboard 完成實際的資料寫入與讀取。把最後一步換成自訂名稱的剪貼板,就能改造成同一開發者旗下 App 之間的資料同步機制。