
iOS 9 提示框新寫法:從 UIAlertView 遷移到 UIAlertController
從 iOS 8 到 iOS 9 的升級過程中,彈出提示框的方式發生了一次重要變革。在 Xcode 7 搭配 iOS 9.0 SDK 的環境下,Apple 已明確標記 UIAlertView 為棄用狀態,並推薦改用 UIAlertController。本文以一個登入頁為例,示範完整的遷移過程。
場景:登入失敗時彈出提示
先用舊寫法實作一個登入頁面。順帶一提,這裡用 UITextFieldTextDidChangeNotification 來即時控制登入按鈕的啟用狀態,是個實用的小技巧。
#import "LoginViewController.h"

@interface LoginViewController ()

@property (weak, nonatomic) IBOutlet UITextField *passWord;
@property (weak, nonatomic) IBOutlet UITextField *userName;
@property (weak, nonatomic) IBOutlet UIButton *login;

- (IBAction)loginOnClick:(UIButton *)sender;

@end

@implementation LoginViewController

- (void)viewDidLoad {
    [super viewDidLoad];

    // 取得通知中心並註冊監聽
    NSNotificationCenter *center = [NSNotificationCenter defaultCenter];
    [center addObserver:self
               selector:@selector(textChange)
                   name:UITextFieldTextDidChangeNotification
                 object:self.userName];
    [center addObserver:self
               selector:@selector(textChange)
                   name:UITextFieldTextDidChangeNotification
                 object:self.passWord];
}

// 只有帳號與密碼都有內容時,登入按鈕才可點擊
- (void)textChange {
    self.login.enabled = (self.userName.text.length > 0 && self.passWord.text.length > 0);
}

// 點擊登入按鈕
- (IBAction)loginOnClick:(UIButton *)sender {
    if ([self.userName.text isEqual:@"xiaojin"] && [self.passWord.text isEqual:@"123456"]) {
        NSLog(@"successful");
        [self performSegueWithIdentifier:@"loginIdentifier" sender:nil];
    } else {
        // iOS 9 以前的常見寫法
        UIAlertView *alert = [[UIAlertView alloc] initWithTitle:@"提示"
                                                        message:@"用戶名或密碼出現錯誤"
                                                       delegate:self
                                              cancelButtonTitle:@"確定"
                                              otherButtonTitles:nil, nil];
        [alert show];
    }
}

@end
只要寫下這段程式碼,Xcode 就會跳出警告:
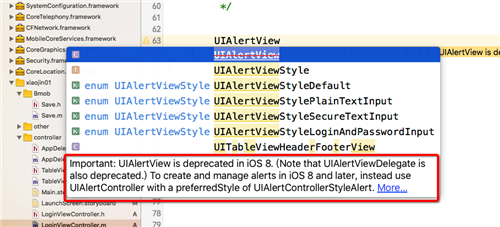

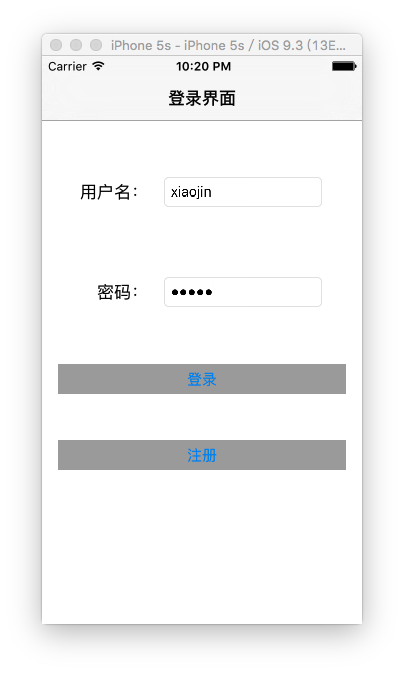
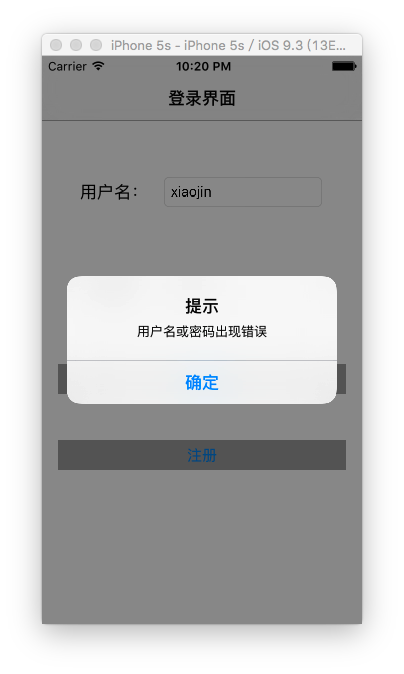
但在實際的團隊開發中有一條通行的「潛規則」:把每一個 warning 都當成 error 對待。因此我們還是把這個警告解決掉。
改用 UIAlertController
#import "LoginViewController.h"

@interface LoginViewController ()

@property (weak, nonatomic) IBOutlet UITextField *passWord;
@property (weak, nonatomic) IBOutlet UITextField *userName;
@property (weak, nonatomic) IBOutlet UIButton *login;

- (IBAction)loginOnClick:(UIButton *)sender;

@end

@implementation LoginViewController

- (void)viewDidLoad {
    [super viewDidLoad];

    NSNotificationCenter *center = [NSNotificationCenter defaultCenter];
    [center addObserver:self
               selector:@selector(textChange)
                   name:UITextFieldTextDidChangeNotification
                 object:self.userName];
    [center addObserver:self
               selector:@selector(textChange)
                   name:UITextFieldTextDidChangeNotification
                 object:self.passWord];
}

- (void)textChange {
    self.login.enabled = (self.userName.text.length > 0 && self.passWord.text.length > 0);
}

- (IBAction)loginOnClick:(UIButton *)sender {
    if ([self.userName.text isEqual:@"xiaojin"] && [self.passWord.text isEqual:@"123456"]) {
        NSLog(@"successful");
        [self performSegueWithIdentifier:@"loginIdentifier" sender:nil];
    } else {
        // 建立提示框
        UIAlertController *alert = [UIAlertController alertControllerWithTitle:@"提示"
                                                                      message:@"用戶名或密碼出現錯誤"
                                                               preferredStyle:UIAlertControllerStyleAlert];

        [alert addAction:[UIAlertAction actionWithTitle:@"確定"
                                                  style:UIAlertActionStyleDefault
                                                handler:^(UIAlertAction * _Nonnull action) {
            // 點擊按鈕的響應事件在這裡處理
        }]];

        // 彈出提示框
        [self presentViewController:alert animated:YES completion:nil];
    }
}

@end
警告消失了,執行後的視覺效果與原版完全一致。
另一種風格:Action Sheet
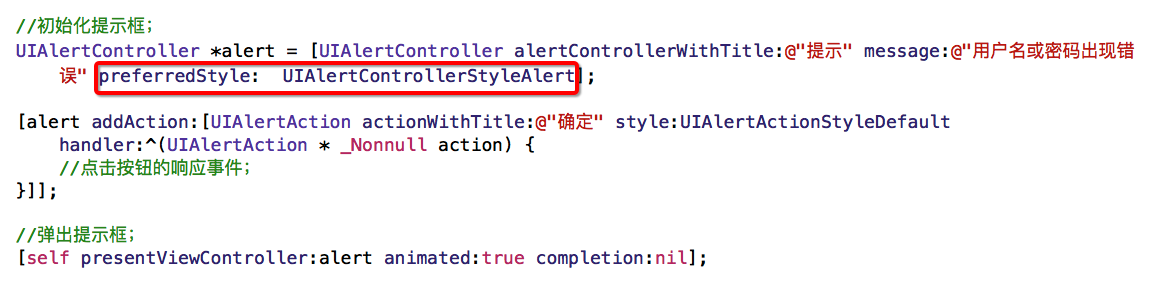
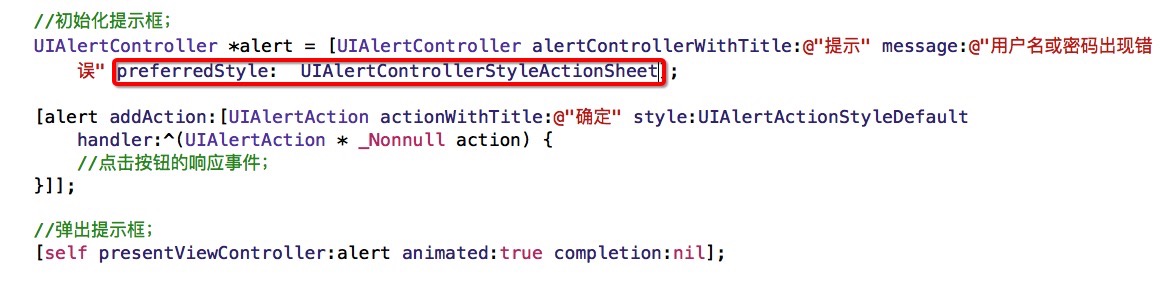
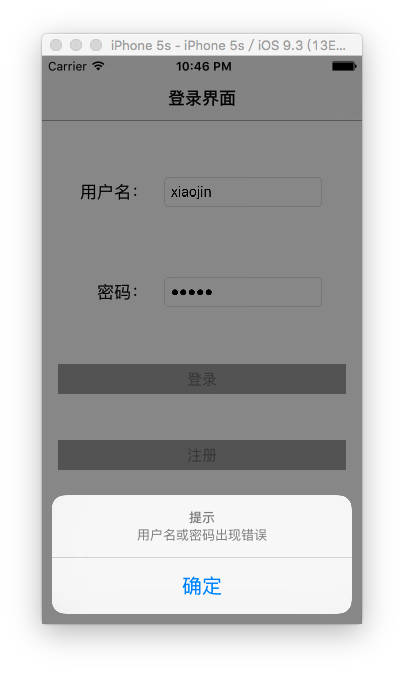
preferredStyle 參數還有另一個可選值:UIAlertControllerStyleActionSheet。改用這個列舉型別後,提示框會改成從螢幕底部彈出的形式:
新舊寫法的關鍵差異
讀完程式碼不難發現,新寫法最舒適的一點是:按鈕的響應邏輯不再需要 delegate。舊做法得在類別宣告 UIAlertViewDelegate、實作 alertView:clickedButtonAtIndex:,再用 buttonIndex 去猜哪顆按鈕被按了;新做法直接用 addAction: 在 block 中就地處理,回呼與上下文寫在一起,可讀性大幅提升,也徹底消除了多個提示框共用一個 delegate 時的索引錯亂風險。
另外值得注意的是呈現方式:這裡用的是 presentViewController:animated:completion:,也就是呈現模態視圖(Modal View)的方法。這意味著提示框本身就是一個模態視圖。這與我們做頁面跳轉時所用的方法是同一個——此時被呈現的第二個 ViewController 也是模態視圖。
你可以把模態視圖理解為一個暫時浮在原視圖之上的臨時介面。當你在模態視圖中呼叫 dismissViewControllerAnimated:completion: 時,就會回到上一個介面,並銷毀這個模態視圖物件。理解這一點,有助於釐清 iOS 中「present / dismiss」這組導航模式的整體脈絡。