
iOS 畢業設計實作:天氣預報 App 開發全記錄
9 月中旬,我開始動手做畢業設計了。之前一直糾結要做什麼,後來想想,既然是畢業設計,那就大膽挑戰一些自己沒接觸過的東西吧。上網查資料後得知,做天氣預報需要用到開放的 API,而且最好選那種目前仍在維護、又免費的(對我們學生黨來說這點很重要)。天氣預報 App 的核心是從天氣 API 請求數據,拿到的通常是 JSON 格式(這對當時的我來說是全新領域),再把 JSON 解析後顯示到視圖上。整體來看,這裡牽涉到「網絡請求」和「JSON 解析」兩大塊,正好用來學習新知識、順便練練手,於是便決定做一個天氣預報 App。
第一步,找天氣 API
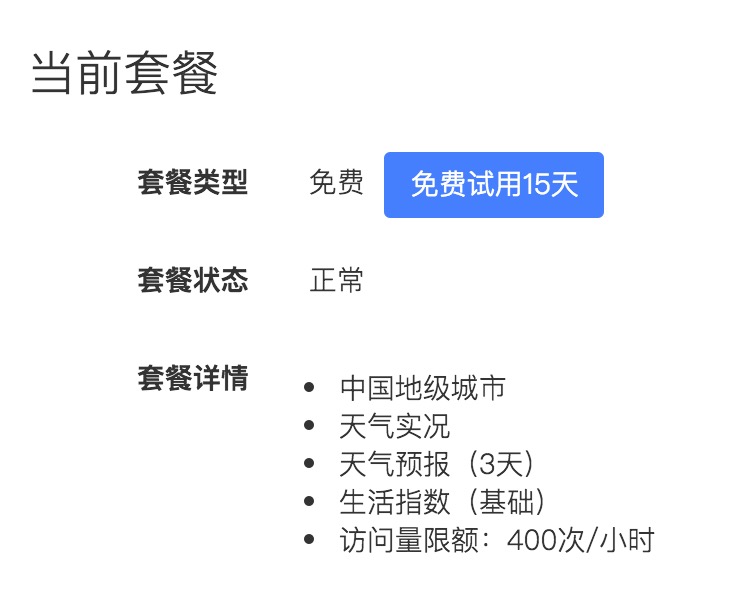
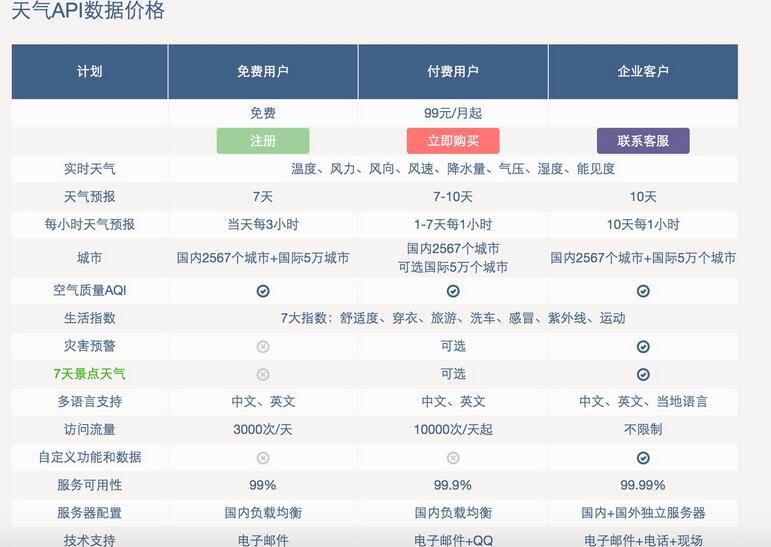
四處搜尋後,找到了兩個較新的網站:「心知天氣」和「和風天氣」。兩者都需要注冊,注冊後會得到一個用於數據請求的 key。兩個網站都有付費與免費兩種方案,比較之後,我二話不說選了和風天氣的 API。
第二步,找解析 JSON 的第三方框架
搜尋之後也找到不少大家推薦的選擇,如 JSONKit、Mantle、AFNetworking、SBJSON、MJExtension 等等。最後參考一篇教學,選了 Mantle——倒不是說其他不好用,純粹是个人偏好。
Mantle 的使用很簡單。
1、新建一個繼承自 MTLModel 的類,並讓它遵循 <MTLJSONSerializing> 協議,注意這裡還要 #import <MTLModel.h>
2、在 .h 檔中定義你的模型,如:
#import <Mantle/Mantle.h> #import <MTLModel.h> @interface TSCondition : MTLModel<MTLJSONSerializing> @property (nonatomic, strong) NSString *cityName; // 城市名字 @property (nonatomic, strong) NSString *nowCond; // 當前天氣狀況 @property (nonatomic, strong) NSString *nowTmp; // 當前溫度 @property (nonatomic, strong) NSString *winddir; // 風向 @property (nonatomic, strong) NSString *windsc; // 風力 @property (nonatomic, strong) NSString *date; // 日期 @property (nonatomic, strong) NSString *maxTmp; // 最高溫度 @property (nonatomic, strong) NSString *minTmp; // 最低溫度 @property (nonatomic, strong) NSString *weatherqlty; // 空氣質量 @end
3、在 .m 檔中實作類方法,完成 JSON 數據到模型的映射
+ (NSDictionary *)JSONKeyPathsByPropertyKey { return @{ @"cityName": @"basic.city", @"nowCond": @"now.cond.txt", @"nowTmp": @"now.tmp", @"winddir": @"now.wind.dir", @"windsc": @"now.wind.sc", @"date": @"basic.update.loc", @"maxTmp": @"daily_forecast.tmp.max", @"minTmp": @"daily_forecast.tmp.min", @"weatherqlty": @"aqi.city.qlty" }; } 4、當然,要接收 JSON 數據需調用下面的方法,並傳入帶有你所需數據的字典
//創建NSDictionary NSData *JSONData = ...//接口的響應數據 NSDictionary *JSONDict = [NSJSONSerialization JSONObjectWithData: JSONData options: 0 error: nil]; //使用MTLJSONSerialization創建模型對象 CATProfile *profile = [MTLJSONAdapter modelOfClass: CATProfile.class fromJSONDictionary: JSONDict error: NULL];
經過反覆練習、熟悉用 Mantle 把 JSON 轉模型之後,我便開始搭建 App 的 UI。
第三步,建立天氣預報頁面(展示天氣頁面)
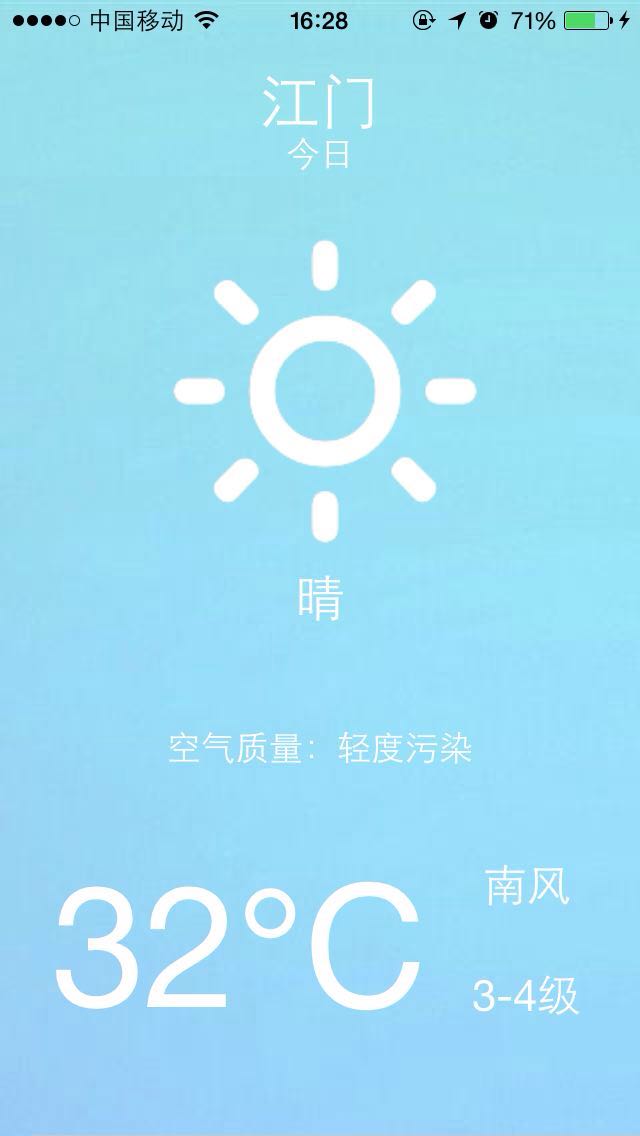
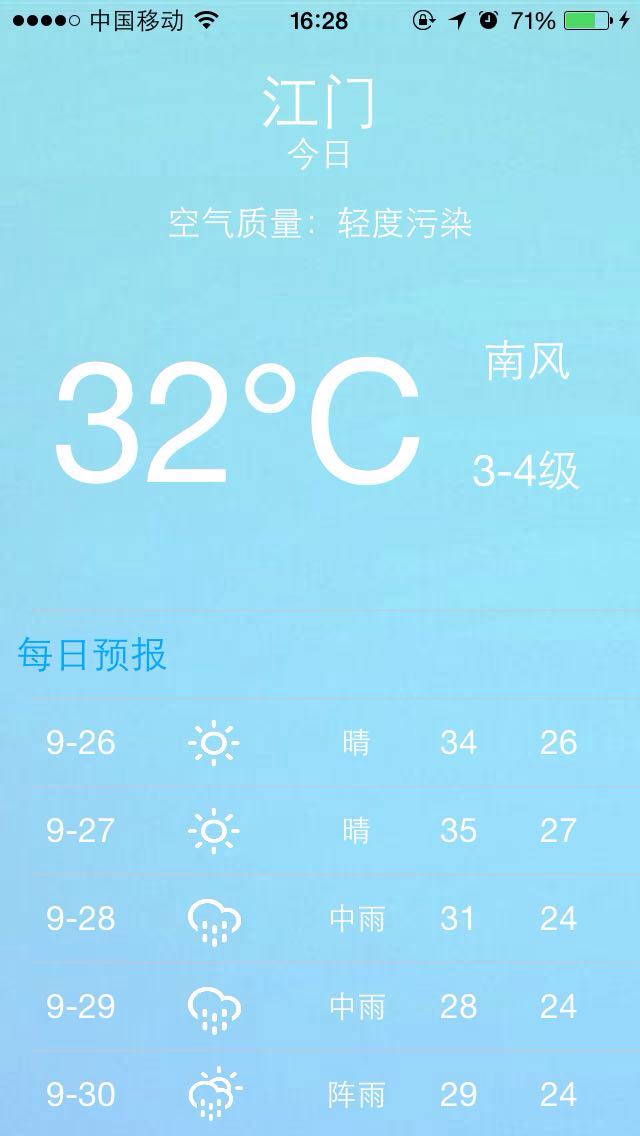
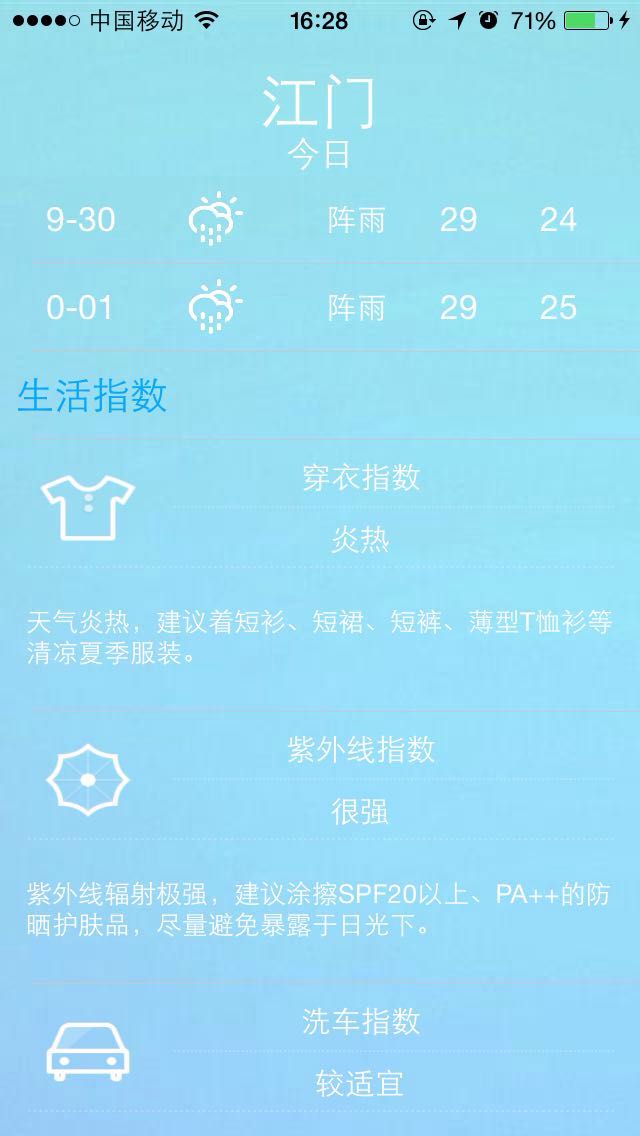
這裡主要用到一個 backgroundView 作為背景圖片,一個 tableView 以及多個 XIB 檔做成的 Cell 組成。我參考手機自帶的天氣 App 做了一點美化:加上一個 tableHeaderView,並在其上添加一個 ScrollView,於 ScrollView 上顯示城市與日期,達到懸浮在最上層的效果,下面的 cell 都從它底下滑過。(後來發現其實這裡可以不添加 tableHeaderView,把 tableView 位置下移即可……)
=====================10.12 日編輯==============================
對界面進行了調整,繼續 ing……
第四步,建立 UIpagecontrol
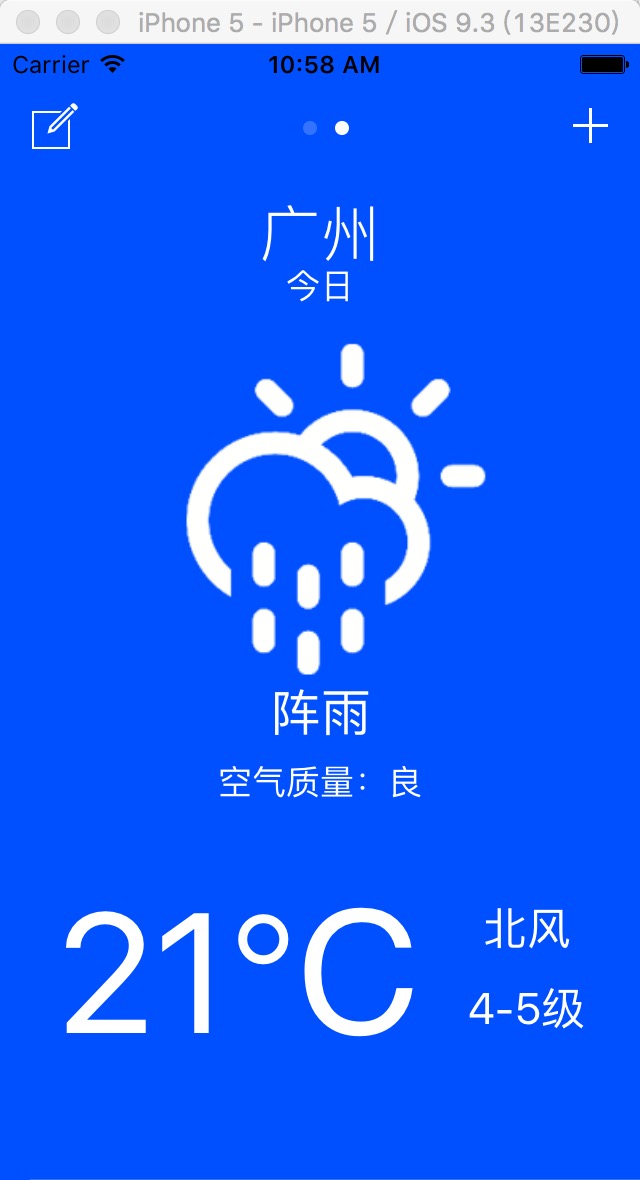
大致定好天氣資訊如何展示之後,就要思考如何呈現多個天氣頁面。為了實現這個需求,我想到了用 UIPagecontrol。
這裡主要用到以下屬性和方法
@property(nonatomic,strong) NSMutableArray *viewControllerArr; // 存放視圖的數組 @property(nonatomic,assign) NSInteger curPage ; // 記錄當前 @property(nonatomic,assign) NSInteger totalPages ; // 記錄總頁數 // ***翻頁方法 // 往後翻 -(UIViewController *)pageViewController:(UIPageViewController *)pageViewController viewControllerAfterViewController:(UIViewController *)viewController{ self.curPage = ((ViewController *)viewController).page; UIImage *bgImg = [self createImageWithColor:((ViewController *)viewController).view.backgroundColor]; [self.navigationController.navigationBar setBackgroundImage:bgImg forBarMetrics:UIBarMetricsDefault]; self.pageControl.currentPage = self.curPage; if (self.curPage < self.totalPages - 1 && self.curPage != self.totalPages) { return self.viewControllerArr[self.curPage + 1]; }else{ return nil; } } // 往前翻 -(UIViewController *)pageViewController:(UIPageViewController *)pageViewController viewControllerBeforeViewController:(UIViewController *)viewController{ self.curPage = ((ViewController *)viewController).page; UIImage *bgImg = [self createImageWithColor:((ViewController *)viewController).view.backgroundColor]; [self.navigationController.navigationBar setBackgroundImage:bgImg forBarMetrics:UIBarMetricsDefault]; self.pageControl.currentPage = self.curPage; if (self.curPage > 0 && self.curPage != self.totalPages) { return self.viewControllerArr[self.curPage - 1]; }else{ return nil; } } 第五步,添加城市,使用 searchBar
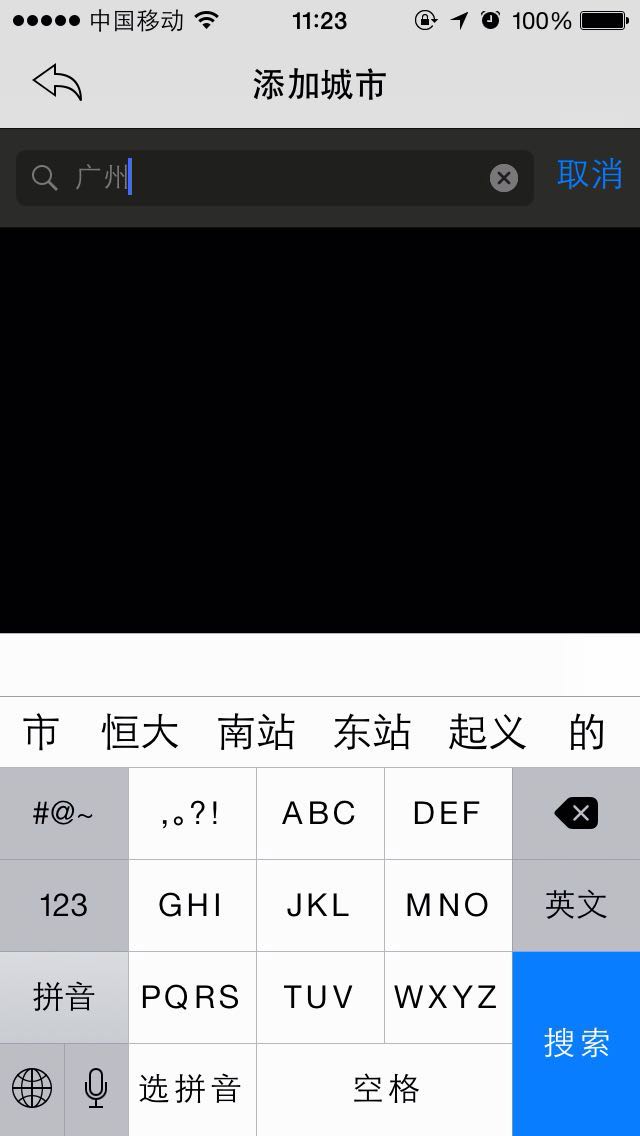
實現這個需求,我選擇在 navigationBar 上加一個按鈕,跳轉到一個帶搜索欄的視圖,實現輸入城市名、添加天氣頁面的功能。
這裡的難點是:添加視圖後,UIPagecontrol 的頁面添加與翻頁邏輯問題。經過一段時間努力,最終還是解決了。
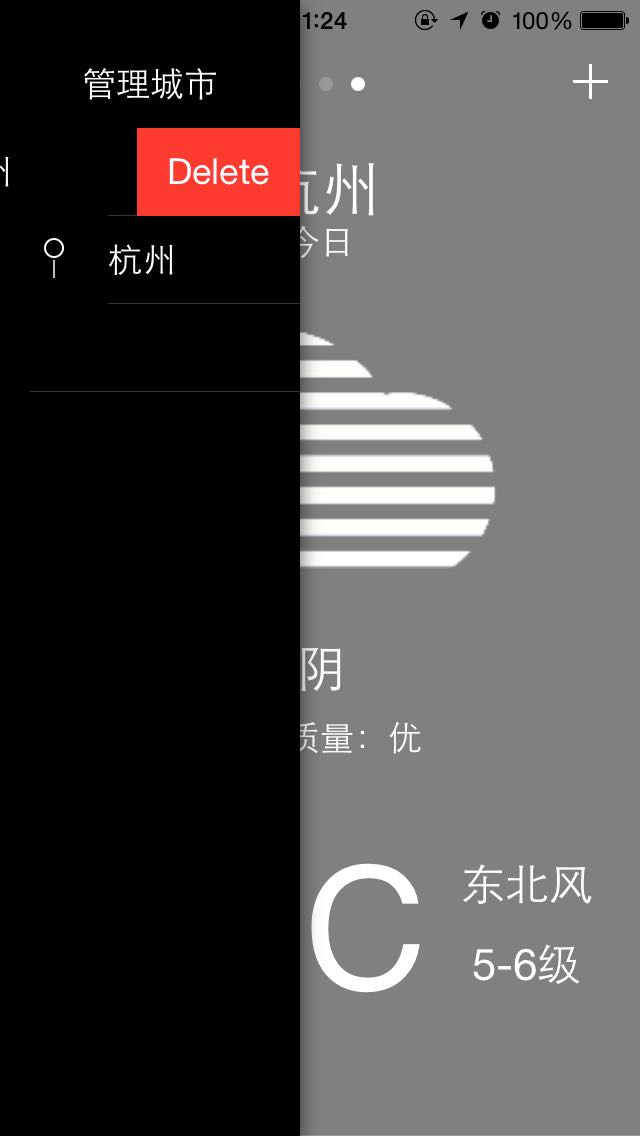
第六步,添加第三方側欄 LLSlideMenu
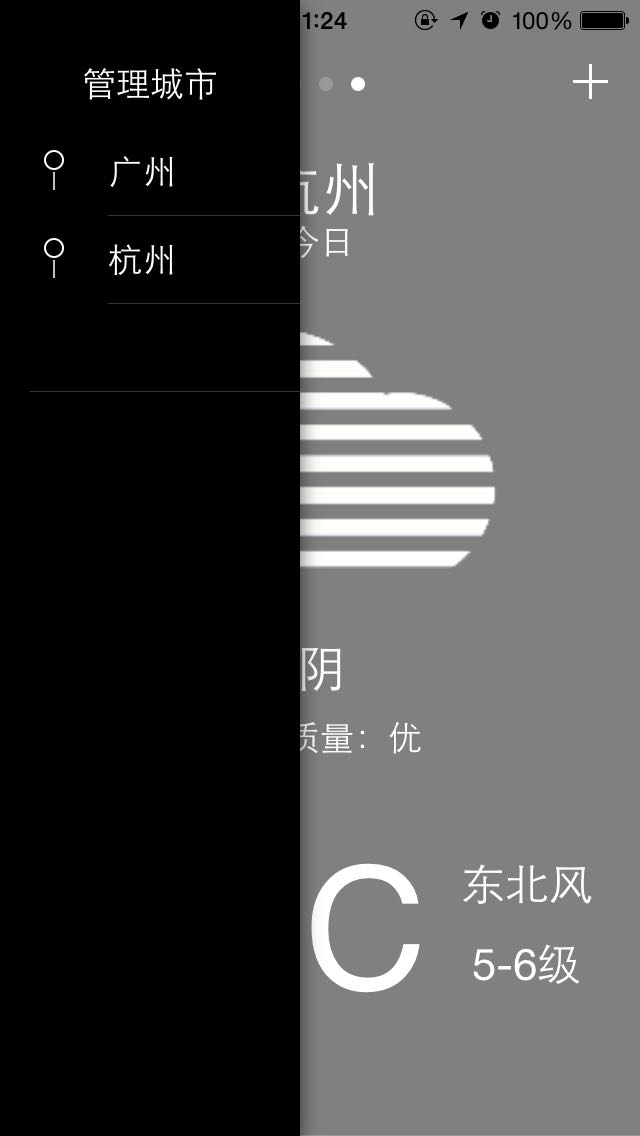
我想用這個側欄來管理天氣頁面。由於我是用一個數組存儲城市名去加載天氣頁面的,所以思路是:在側欄裡放一個 tableview,把數組的每個元素顯示上去,再實作 tableviewcell 的編輯方法,達到移除相應 cell、即刪除對應城市名與城市頁面的效果。
未完待續,敬請期待。
以上就是本文的全部內容,希望對大家的學習有所幫助,也感謝大家對本站的支持。
- 上一篇文章: iOS 輕點、觸摸與手勢的代碼開發指南
- 下一篇文章: iOS 爆炸粒子效果的實作範例代碼