
iOS 多代理的實作原理與範例代碼
iOS 實現多代理
什麼是多代理
用過環信 SDK 的同學對多代理應該不陌生,請看下面的代碼:
@method @brief 注冊一個監聽對象到監聽列表中 @discussion 把監聽對象添加到監聽列表中准備接收相應的事件 @param delegate 需要注冊的監聽對象 @param queue 通知監聽對象時的線程 @result */ - (void)addDelegate:(id<EMChatManagerDelegate>)delegate delegateQueue:(dispatch_queue_t)queue;
我們平時寫得比較多的單代理:
@property (nonatomic,weak) id<EMChatManagerDelegate>delegate;
寫了上面屬性後,系統會默認生成 set 方法:
- (void)setDelegate:(id<EMChatManagerDelegate>)delegate;
對比這兩個接口不難看出:單代理只能設置一個,而多代理可以添加多個,準確來說是多代理能同時添加多個監聽對象。
多代理有什麼用
可能有同學會問:為什麼要用多代理?用通知不也能讓多個對象同時監聽嗎?沒錯,用監聽通知的方式確實也能達到目的。
舉個例子:服務端透過 socket 傳來一個紅點消息 {"type":21,"content":"某某消息"},現在多個頁面都想拿到這個消息來判斷自己是否需要顯示紅點。
用通知實現
監聽通知
[[NSNotificationCenter defaultCenter] addObserver:self selector:@selector(onReceiveMsg:) name:@"kNotificationName_OnReceiveRedPointMsg" object:nil];
實現通知方法
- (void)onReceiveRedPointMsg:(NSNotification *)noti { NSDictionary *info = noti.userInfo; if ([info[@"type"] integerValue] == 21) { <#code#> } } 用代理實現
注冊代理
[[RedPointManager sharedInstance] addDelegate:<#(id<RedPointManagerDelegate>)#>]
實現代理方法
- (void)redPointManagerDidReceive:(RedPointModel *)redPointModel { if (redPointModel.type == 21) { <#code#> } } 顯然,用代理實現更加直觀明瞭。
如何實現多代理
前面提到,setDelegate:(id<EMChatManagerDelegate>)delegate 的方式行不通——第二次 set 時,第一次設置的代理就不再被持有了。只能透過 addDelegate:(id<EMChatManagerDelegate>)delegate 這種方式來實現。
這時你可能有些不淡定了:把代理對象 add 到數組(或字典)中,會使對象引用計數 +1,導致代理對象無法釋放。沒錯,直接把代理加進數組是不可行的。但既要持有多個代理對象,又要兼顧釋放問題,該怎麼辦?看看平時寫的代理屬性 @property (nonatomic,weak) id<EMChatManagerDelegate>delegate;,突然想到用 weak 修飾不就行了嗎。
所以,可以透過橋接來實現對多個代理對象的持有。
這樣就好辦了:數組持有橋接對象,橋接對象再各自持有自己的 delegate。
class WeakObjectBridge : NSObject { weak var weakObject : AnyObject? override init() { super.init() } init(object:AnyObject?) { super.init() weakObject = object } } 操作代理
func operatDelegate(cb: @escaping (_ delegate:AnyObject?) -> ()){ for weakObjectBridge in self.delegateBridges { DispatchQueue.main.async { cb(weakObjectBridge.weakObject) } } } 具體調用
func action() { operatDelegate { (delegate) in if let myDelegate = delegate as? SomeManagerDelegate { myDelegate.callBack() myDelegate.callback?(msg: ["msg":"hello world!"]) } } } Demo 演示
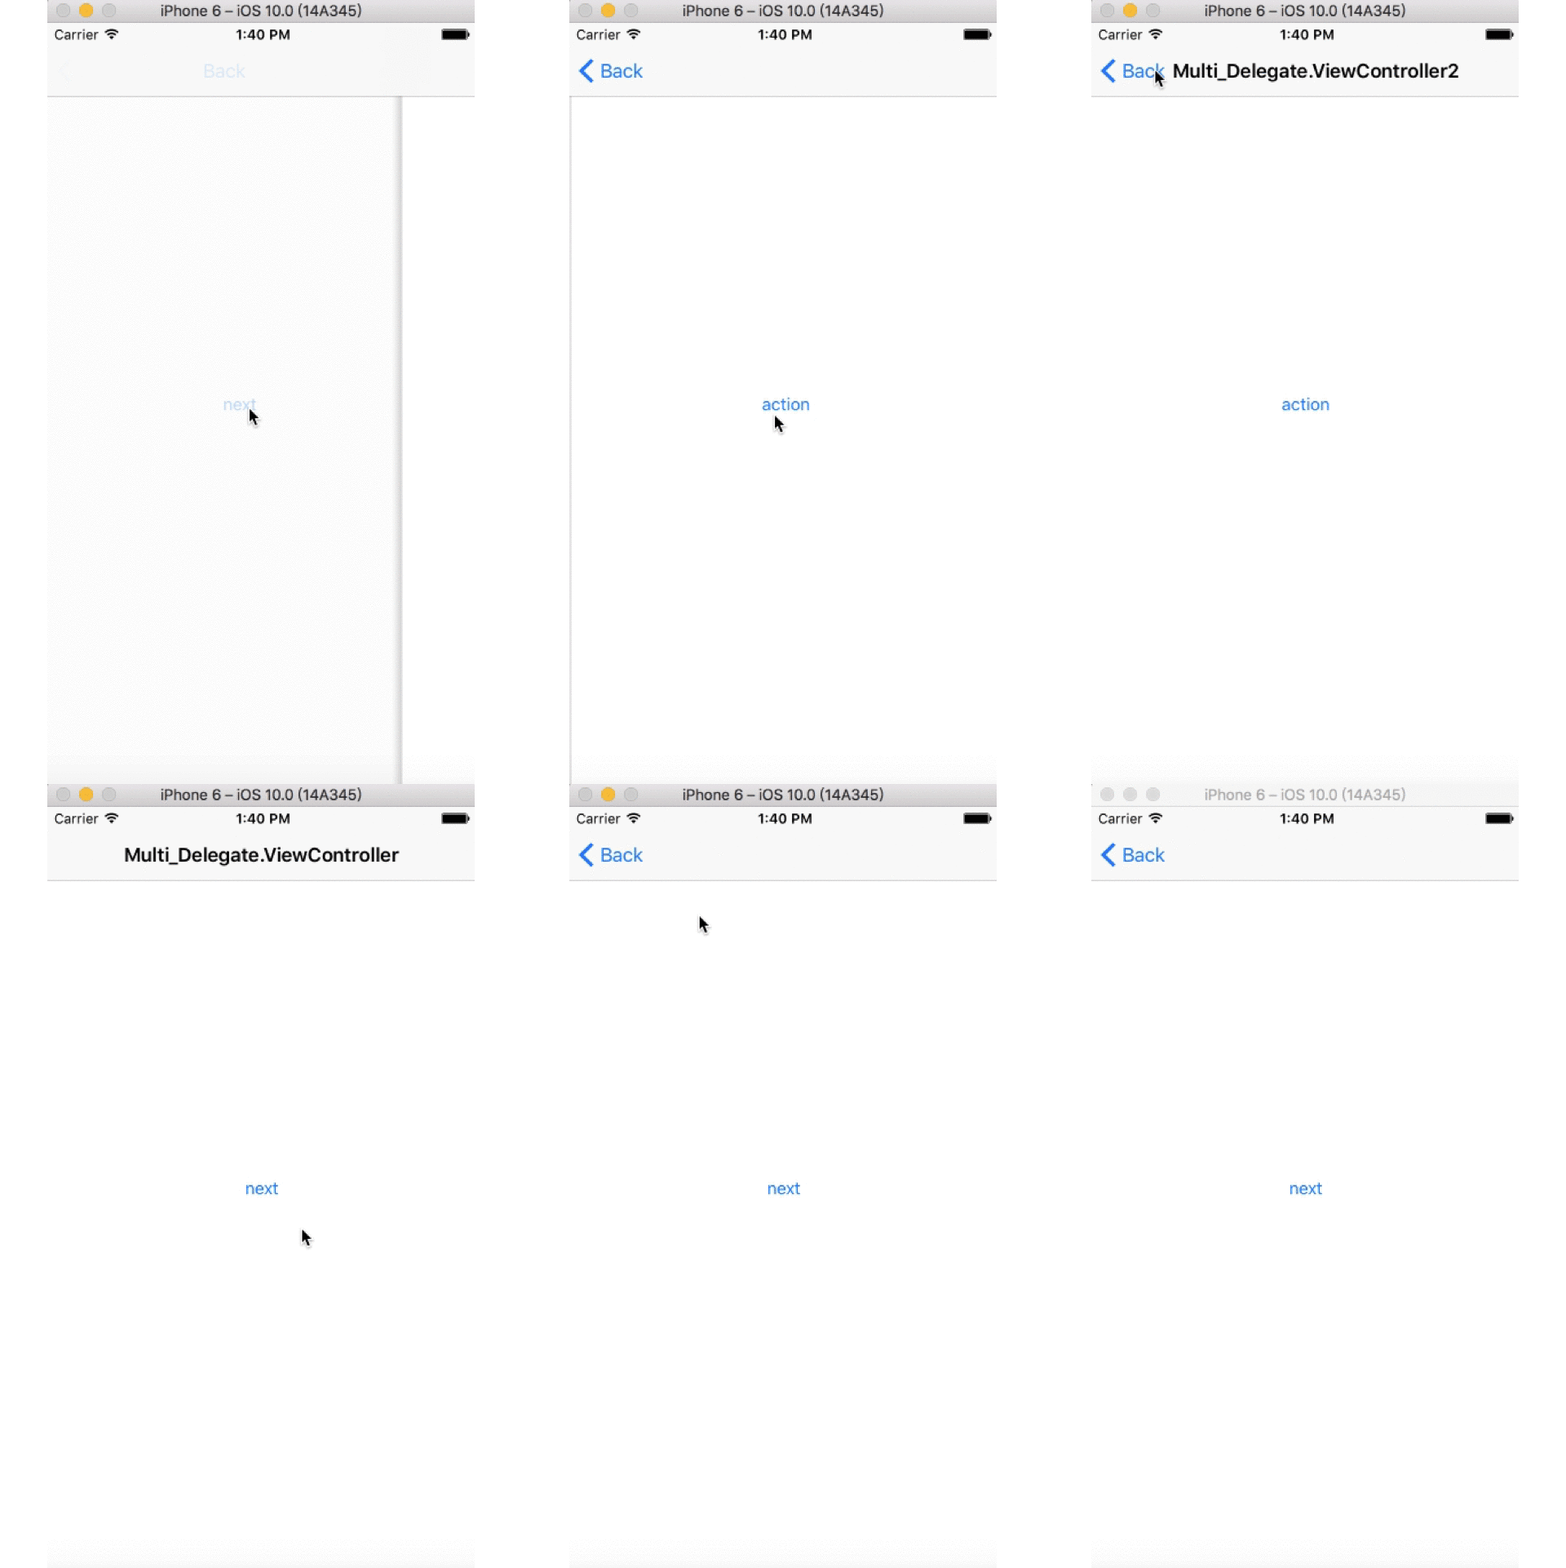
Demo 下載
點擊這裡下載 demo。
感謝閱讀,希望能幫助到大家,也謝謝大家對本站的支持!
- 上一篇文章: iOS 文字漸變色效果的實作方法
- 下一篇文章: iOS 輕點、觸摸與手勢的代碼開發指南