IOS代碼筆記之仿電子書書架後果
編輯:IOS開發綜合
本文實例為年夜家分享了IOS書架後果的詳細完成代碼,供年夜家參考,詳細內容以下
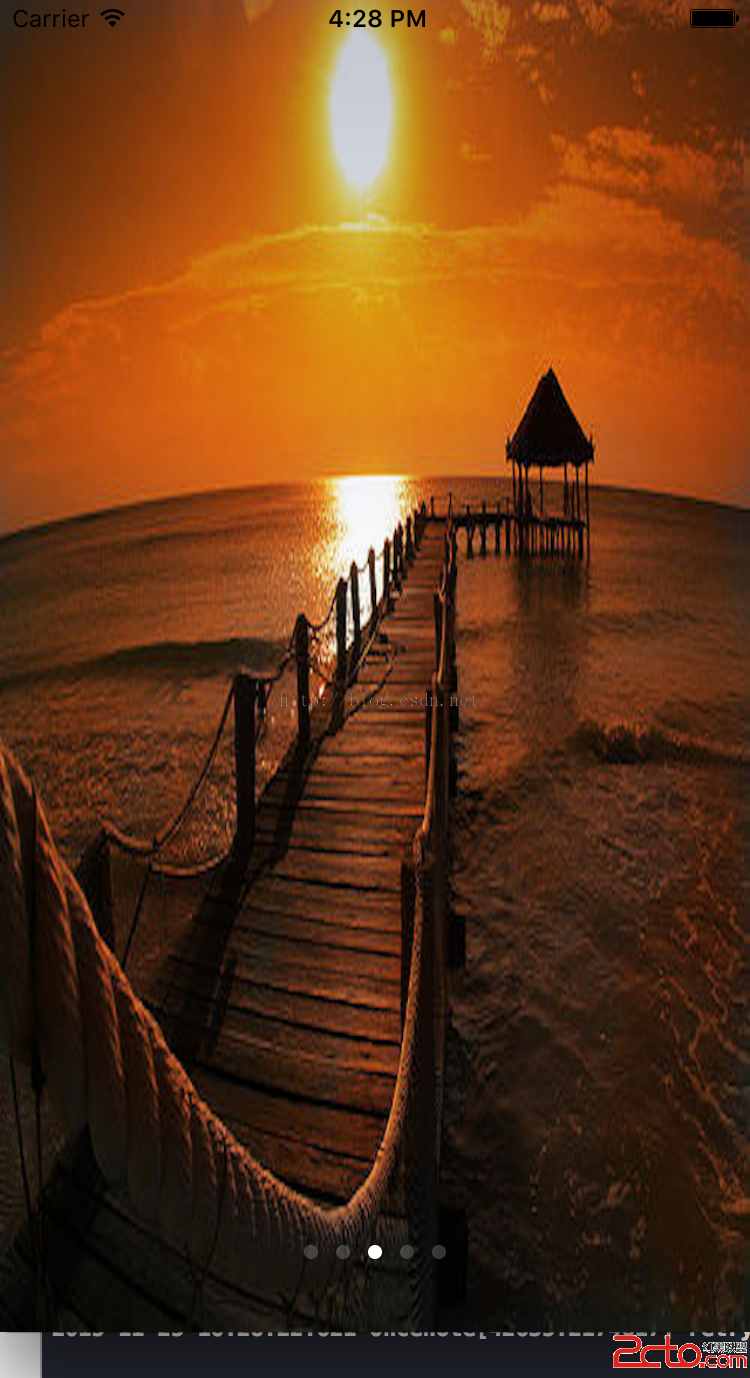
1、後果圖

2、工程圖

3、代碼
RootViewController.h
#import <UIKit/UIKit.h>

@interface RootViewController : UIViewController
<UITableViewDataSource,UITableViewDelegate>
{
 NSMutableArray * dataArray;
 UITableView * myTableView;
}

@end
RootViewController.m
#import "RootViewController.h"
//cell
#import "RootTableViewCell.h"

@interface RootViewController ()

@end

@implementation RootViewController

- (id)initWithNibName:(NSString *)nibNameOrNil bundle:(NSBundle *)nibBundleOrNil
{
 self = [super initWithNibName:nibNameOrNil bundle:nibBundleOrNil];
 if (self) {
 // Custom initialization
 }
 return self;
}

- (void)viewDidLoad
{
 [super viewDidLoad];
 // Do any additional setup after loading the view.

 //初始化配景圖
 [self initBackGroundView];

}
#pragma -mark -functions
-(void)initBackGroundView
{
 self.title=@"書架頁面";

 dataArray=[[NSMutableArray alloc]initWithObjects:@"1",@"2",@"3",@"4",@"5",@"6",@"7",@"8",@"9", nil];

 myTableView = [[UITableView alloc]initWithFrame:CGRectMake(0, 0, 320, 416) style:UITableViewStylePlain];
 myTableView.delegate = self;
 myTableView.dataSource = self;
 [self.view addSubview:myTableView];
}
#pragma -mark -UITableViewDelegate
-(NSInteger)tableView:(UITableView *)tableView numberOfRowsInSection:(NSInteger)section
{
 return 3;
}
-(CGFloat)tableView:(UITableView *)tableView heightForRowAtIndexPath:(NSIndexPath *)indexPath
{
 return 376/3;

}
-(UITableViewCell*)tableView:(UITableView *)tableView cellForRowAtIndexPath:(NSIndexPath *)indexPath
{
 RootTableViewCell * cell = [tableView dequeueReusableCellWithIdentifier:@"ID"];
 if(cell == nil)
 {
 cell =[[RootTableViewCell alloc]initWithStyle:UITableViewCellStyleValue1 reuseIdentifier:@"ID"];
 }

 cell.tag = indexPath.row;

 [cell.bookLeft addTarget:self action:@selector(buttonClick:) forControlEvents:UIControlEventTouchUpInside];
 [cell.bookMiddle addTarget:self action:@selector(buttonClick:) forControlEvents:UIControlEventTouchUpInside];
 [cell.bookRight addTarget:self action:@selector(buttonClick:) forControlEvents:UIControlEventTouchUpInside];

 [cell.bookLeft setBackgroundImage:[UIImage imageNamed:[NSString stringWithFormat:@"%@.jpg",[dataArray objectAtIndex:indexPath.row*3]]] forState:UIControlStateNormal];
 [cell.bookMiddle setBackgroundImage:[UIImage imageNamed:[NSString stringWithFormat:@"%@.jpg",[dataArray objectAtIndex:indexPath.row*3+1]]] forState:UIControlStateNormal];
 [cell.bookRight setBackgroundImage:[UIImage imageNamed:[NSString stringWithFormat:@"%@.jpg",[dataArray objectAtIndex:indexPath.row*3+2]]] forState:UIControlStateNormal];
 NSLog(@"--celll.tag--%ld",cell.tag);
 return cell;

}
#pragma -mark -doClickActions
-(void)buttonClick:(UIButton*)btn
{
 RootTableViewCell * cell = (RootTableViewCell *)[[btn superview] superview];
 NSIndexPath * path = [myTableView indexPathForCell:cell];
 NSLog(@"--點擊圖片的時刻,地點的坐標-(%ld,%ld)--",path.row,btn.tag);
}
- (void)didReceiveMemoryWarning
{
 [super didReceiveMemoryWarning];
 // Dispose of any resources that can be recreated.
}

@end
RootTableViewCell.h
#import <UIKit/UIKit.h>

@interface RootTableViewCell : UITableViewCell
@property(nonatomic,strong) UIButton * bookLeft;
@property(nonatomic,strong) UIButton * bookMiddle;
@property(nonatomic,strong) UIButton * bookRight;
@end
RootTableViewCell.m
#import "RootTableViewCell.h"

@implementation RootTableViewCell
@synthesize bookLeft;
@synthesize bookMiddle;
@synthesize bookRight;

- (id)initWithStyle:(UITableViewCellStyle)style reuseIdentifier:(NSString *)reuseIdentifier
{
 self = [super initWithStyle:style reuseIdentifier:reuseIdentifier];
 if (self) {
 // Initialization code

 UIImageView * imageview= [[UIImageView alloc]initWithFrame:CGRectMake(0, 0, 320, 416/3)];
 imageview.image = [UIImage imageNamed:@"BookShelfCell.png"];
 [self addSubview:imageview];

 bookLeft = [UIButton buttonWithType:UIButtonTypeCustom];
 bookLeft.frame = CGRectMake(10, 10, 280/3, 376/3-20);
 bookLeft.tag = 1;

 bookMiddle = [UIButton buttonWithType:UIButtonTypeCustom];
 bookMiddle.frame = CGRectMake(20+280/3, 10, 280/3, 376/3-20);
 bookMiddle.tag = 2;

 bookRight = [UIButton buttonWithType:UIButtonTypeCustom];
 bookRight.frame = CGRectMake(30+280/3*2, 10, 280/3, 376/3-20);
 bookRight.tag = 3;

 [self addSubview:bookLeft];
 [self addSubview:bookMiddle];
 [self addSubview:bookRight];
 }
 return self;
}
年夜家還可以聯合《IOS模擬電子書首頁完成書架結構款式》這篇文章停止進修。
以上就是本文的全體內容,願望對年夜家的進修有所贊助,也願望年夜家多多支撐本站。
【IOS代碼筆記之仿電子書書架後果】的相關資料介紹到這裡,希望對您有所幫助! 提示:不會對讀者因本文所帶來的任何損失負責。如果您支持就請把本站添加至收藏夾哦!

相關文章
+