iOS 點擊圖片縮小效果的完成
編輯:IOS開發綜合
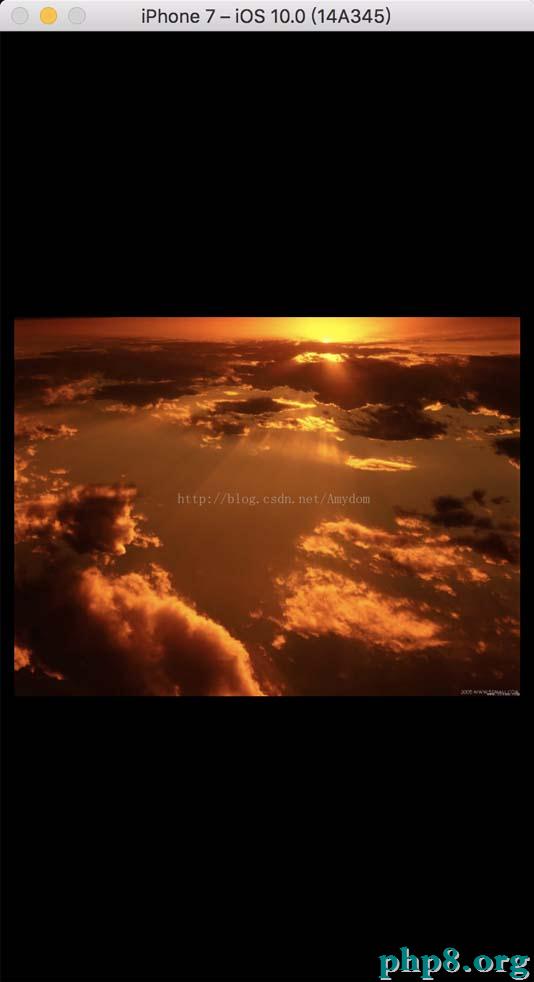
明天帶來的是圖片點擊縮小效果,這種效果普通在微博,微信冤家圈中比擬罕見

當我點擊其中一張圖片時,就會進入概況
詳細完成如下
首先創立個 Controller(PhotoViewController)
//
// PhotoViewController.h
// 點擊圖片縮小效果
//
// Created by Amydom on 17/1/9.
// Copyright © 2017年 Amydom. All rights reserved.
//

#import <UIKit/UIKit.h>

@interface PhotoViewController : UIViewController

//保管圖片的數組
@property (nonatomic, strong)NSMutableArray *photoArr;
//圖片 tag
@property (nonatomic, assign)NSInteger imageTag;

@end
//
// PhotoViewController.m
// 點擊圖片縮小效果
//
// Created by Amydom on 17/1/9.
// Copyright © 2017年 Amydom. All rights reserved.
//

#import "PhotoViewController.h"

@interface PhotoViewController ()

@end

@implementation PhotoViewController

- (void)viewDidLoad {
  [super viewDidLoad];

  UIScrollView *myScrollView = [[UIScrollView alloc] initWithFrame:CGRectMake(0, 0, 375, 667)];

  myScrollView.backgroundColor = [UIColor blackColor];
  myScrollView.pagingEnabled = YES;
  myScrollView.bounces = NO;

  [self.view addSubview:myScrollView];
  //依據tag 來獲取以後點擊的圖片
  myScrollView.contentOffset = CGPointMake(self.view.frame.size.width * self.imageTag, 10);

  myScrollView.contentSize = CGSizeMake(self.view.frame.size.width * self.photoArr.count, 667);
  //創立
  for (int i = 0; i < self.photoArr.count; i++)
  {
    UIImageView *img = [[UIImageView alloc] initWithFrame:CGRectMake(self.view.frame.size.width * i + 10, 0, self.view.frame.size.width - 20, self.view.frame.size.height)];
    NSString *imgName = self.photoArr[i];
    img.image = [UIImage imageNamed:imgName];

    [myScrollView addSubview:img];

    //自順應圖片大小
    img.contentMode = UIViewContentModeScaleaspectFit;

  }

  //輕拍跳出照片閱讀
  UITapGestureRecognizer *tap = [[UITapGestureRecognizer alloc] initWithtarget:self action:@selector(tapAction)];

  [myScrollView addGestureRecognizer:tap];

}

- (void)tapAction
{
  [self dismissViewControllerAnimated:YES completion:^{


  }];
}

- (void)didReceiveMemoryWarning {
  [super didReceiveMemoryWarning];
  // Dispose of any resources that can be recreated.
}

/*
#pragma mark - Navigation

// In a storyboard-based application, you will often want to do a little preparation before navigation
- (void)prepareForSegue:(UIStoryboardSegue *)segue sender:(id)sender {
  // Get the new view controller using [segue destinationViewController].
  // Pass the selected object to the new view controller.
}
*/

@end
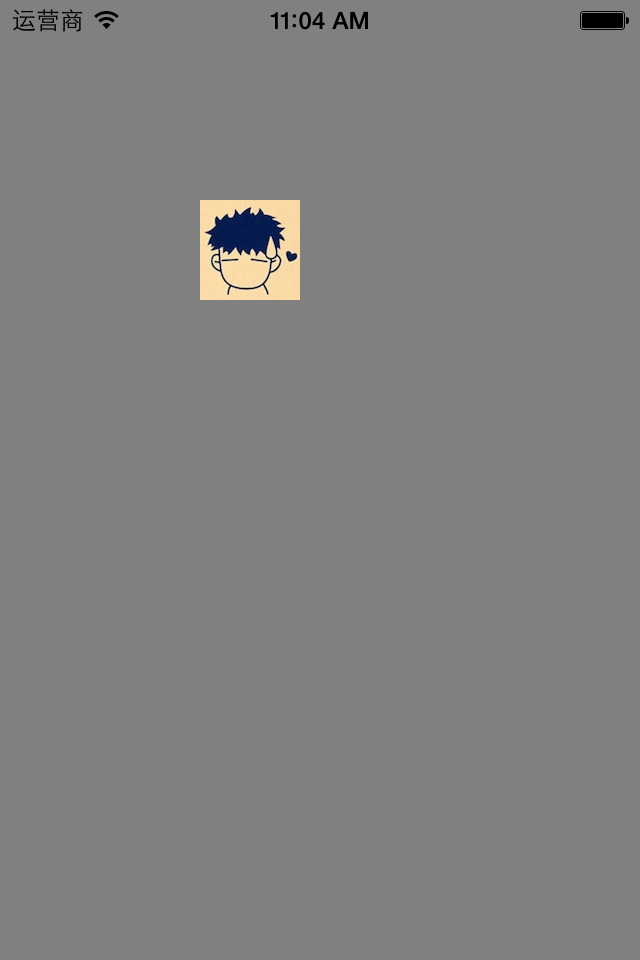
然後在 ViewController 中創立四張小圖片,添加輕拍手勢
//
// ViewController.m
// 點擊圖片縮小效果
//
// Created by Amydom on 17/1/9.
// Copyright © 2017年 Amydom. All rights reserved.
//

#import "ViewController.h"
#import "PhotoViewController.h"

@interface ViewController (){

  NSMutableArray *array;

}

@end

@implementation ViewController

- (void)viewDidLoad {
  [super viewDidLoad];
  self.view.backgroundColor = [UIColor whiteColor];
  array = [NSMutableArray arrayWithObjects:@"1.jpg", @"2.jpg",@"3.jpg",@"4.jpg", nil nil];
  for (int i = 0; i < array.count; i++) {

    UIImageView *img = [[UIImageView alloc] initWithFrame:CGRectMake(20 + 880 * i, 100, 70, 70)];
    img.image = [UIImage imageNamed:[array objectAtIndex:i]];

    img.userInteractionEnabled = YES;

    //截掉邊框
    img.clipsToBounds = YES;

    img.tag = 1000 + i;

    UITapGestureRecognizer *tap = [[UITapGestureRecognizer alloc] initWithtarget:self action:@selector(TapAction:)];

    [img addGestureRecognizer:tap];

    [self.view addSubview:img];
  }

}

- (void)TapAction:(UITapGestureRecognizer *)tap{

  PhotoViewController *photoVC = [[PhotoViewController alloc] init];
  photoVC.imageTag = tap.view.tag - 1000 ;//獲取以後被點擊圖片的 tag
  photoVC.photoArr = array;
  [photoVC setModalTransitionStyle:UIModalTransitionStyleCrossDissolve];// 效果
  [self presentModalViewController:photoVC animated:YES];

}
- (void)didReceiveMemoryWarning {
  [super didReceiveMemoryWarning];
  // Dispose of any resources that can be recreated.
}


@end
這樣就可以完成啦........當然這裡只是單純的完成功用,至於想要圖片循環什麼的還是需求依據需求自行添加..
以上就是本文的全部內容,希望對大家的學習有所協助,也希望大家多多支持本站。
【iOS 點擊圖片縮小效果的完成】的相關資料介紹到這裡,希望對您有所幫助! 提示:不會對讀者因本文所帶來的任何損失負責。如果您支持就請把本站添加至收藏夾哦!

相關文章
+