
iOS項目開發實戰——學會使用TableView列表控件(三)了解Section
編輯:IOS開發綜合
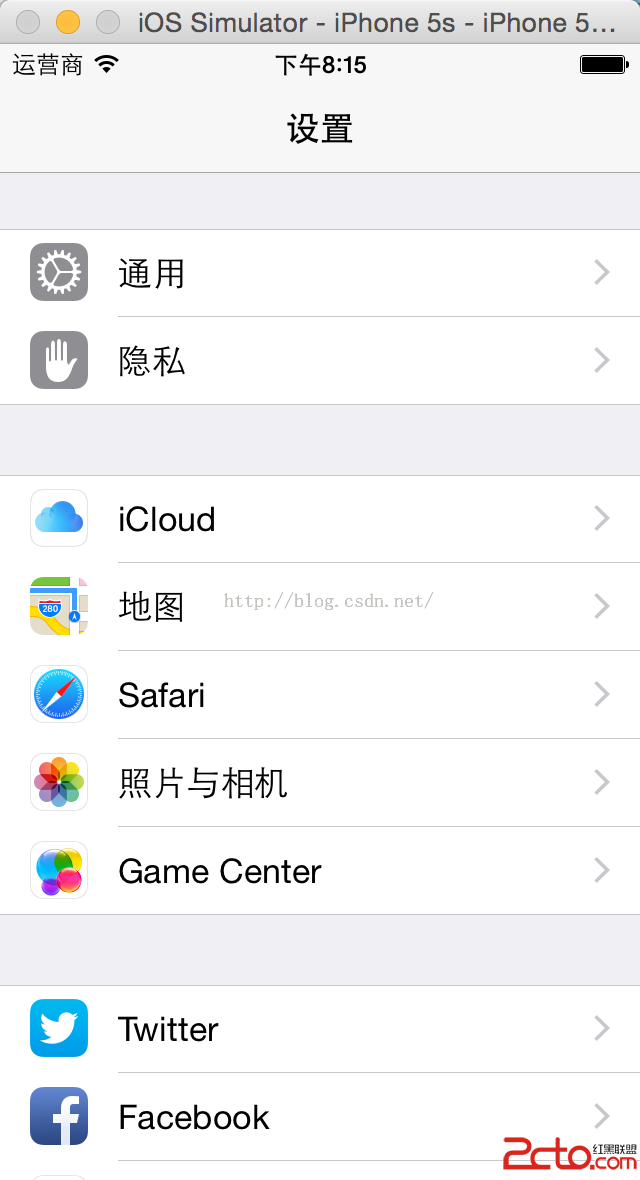
在列表控件TableView中,Section可以用來分隔不同功能的Cell,如下的iPhone設置界面就是用了Section。現在我們要自己來實現一下帶Section的TableView。
 。
。
(1)關於如何設置界面以及拖拉控件,請參考我的前面2篇博客《iOS項目開發實戰——學會使用TableView列表控件(一)》《iOS項目開發實戰——學會使用TableView列表控件(二)》。
(2)在代碼中實現如下:
import UIKit

class ViewController: UIViewController ,UITableViewDataSource{

  var array = [Hello,iOS,Swift]

  override func viewDidLoad() {
    super.viewDidLoad()
    // Do any additional setup after loading the view, typically from a nib.
  }


  func tableView(tableView: UITableView, numberOfRowsInSection section: Int) -> Int {
    return 3
  }

  func tableView(tableView: UITableView, cellForRowAtIndexPath indexPath: NSIndexPath) -> UITableViewCell {

    var cell = tableView.dequeueReusableCellWithIdentifier(cell) as! UITableViewCell
    var title = cell.viewWithTag(101) as! UILabel

    title.text = array[indexPath.row]

    return cell

  }

  func numberOfSectionsInTableView(tableView: UITableView) -> Int {
    return 2    //設置有2個Section;
  }


  func tableView(tableView: UITableView, titleForFooterInSection section: Int) -> String? {

    var str:String!
    if(section == 0){

      str = 頁腳:第一個section
    }else{

      str = 頁腳:第二個section
    }

    return str
  }


  func tableView(tableView: UITableView, titleForHeaderInSection section: Int) -> String? {

    var str:String!
    if(section == 0){

      str = 頁眉:第一個section
    }else{

      str = 頁眉:第二個section
    }

    return str
  }


}
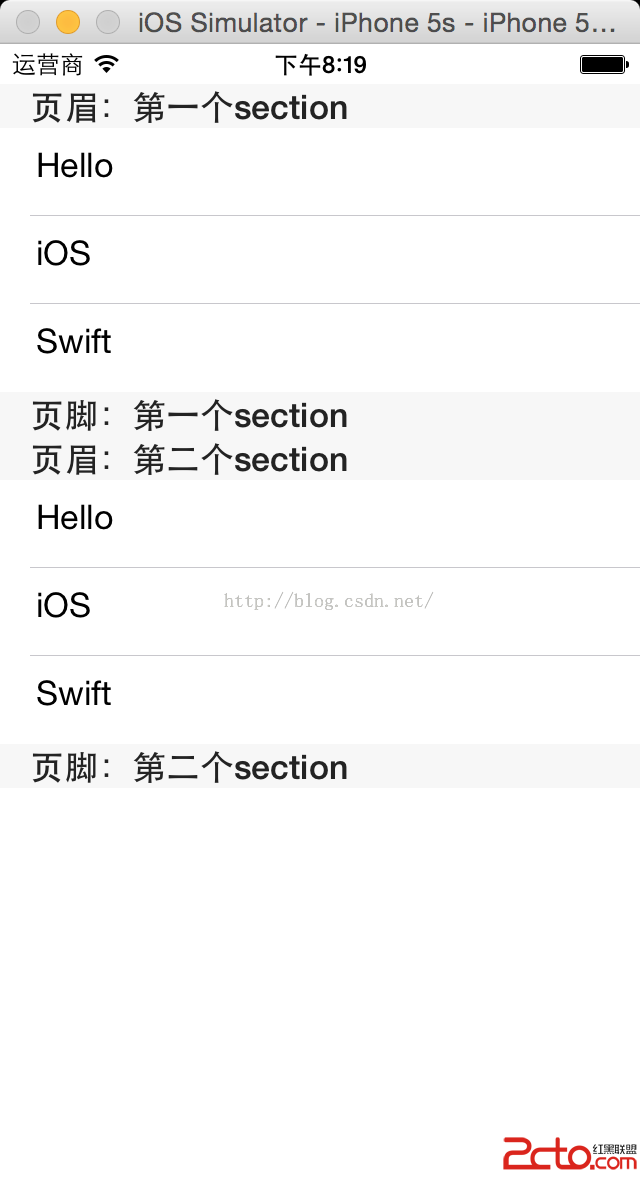
(3)運行程序,實現效果如下:


相關文章
+