iOS開發實戰——攝像頭與相冊權限獲取邏輯優化
在實際項目中,我們經常需要訪問設備的攝像頭或者相冊,當第一次安裝某個App的時候,系統便會彈出授權對話框,要求用戶做出是否授權的判斷。整體邏輯比較簡單,但是在使用過程中需要對用戶體驗進行優化,否則會出現bug。該博客的示例代碼已經上傳至 https://github.com/chenyufeng1991/AuthorityOfCameraAndPhoto。
首先我先描述一下出現的問題。我以訪問相冊為例,實現代碼如下:
- (void)photoBtnPressed:(id)sender
{
    // 首先查看當前設備是否支持相冊
    if ([UIImagePickerController isSourceTypeAvailable:UIImagePickerControllerSourceTypePhotoLibrary])
    {
        [self presentToImagePickerController:UIImagePickerControllerSourceTypePhotoLibrary];
    }
    else
    {
        [self showAlertController:@"提示" message:@"當前設備不支持相冊"];
    }
}
- (void)presentToImagePickerController:(UIImagePickerControllerSourceType)type
{
    UIImagePickerController *picker = [[UIImagePickerController alloc] init];
    picker.delegate = self;
    picker.allowsEditing = YES;
    picker.sourceType = type;
    [self presentViewController:picker animated:YES completion:nil];
}

- (void)showAlertController:(NSString *)title message:(NSString *)message
{
    UIAlertController *ac = [UIAlertController alertControllerWithTitle:title message:message preferredStyle:UIAlertControllerStyleAlert];
    [ac addAction:[UIAlertAction actionWithTitle:@"我知道了" style:UIAlertActionStyleDefault handler:^(UIAlertAction * _Nonnull action) {

    }]];
    [self presentViewController:ac animated:YES completion:nil];
}
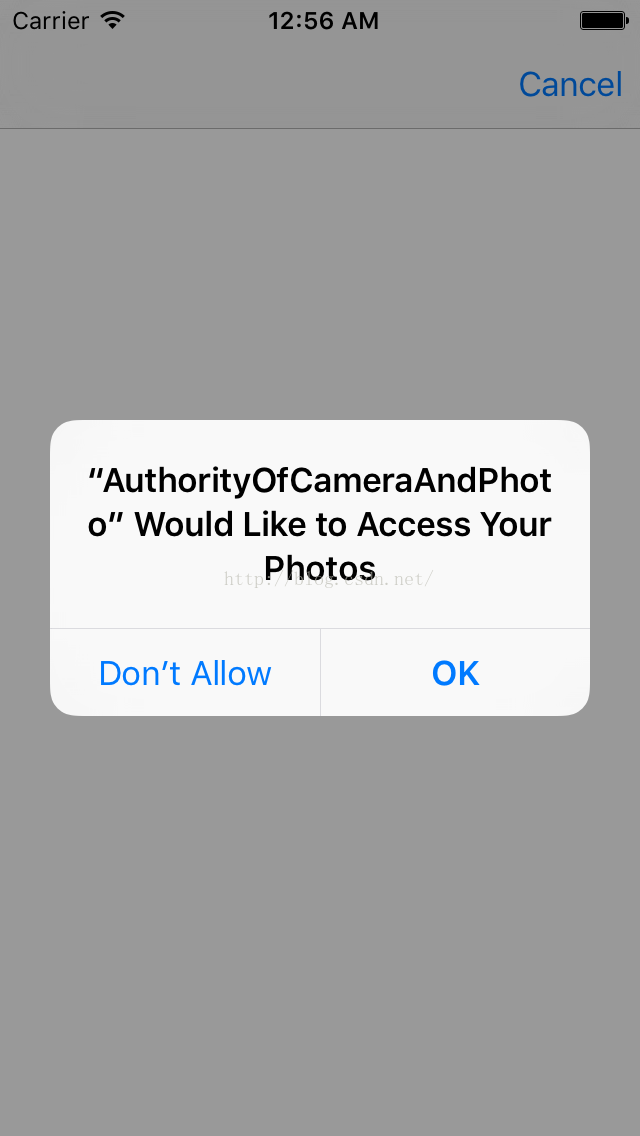
解釋一下,首先需要判斷當前設備是否支持相冊,進行這樣判斷操作會比較安全。如果可以的話直接使用UIImagePickerController訪問,否則彈出alert提示框。第一次運行效果如下:
 。
。
該對話框就是系統請求用戶獲得訪問相冊權限的對話框,如果點擊“OK”,那麼就能彈出相冊界面。如果點擊"Don't Allow",用戶就無法訪問相冊,因為我這裡要演示交互問題,所以我點擊"Don't Allow".此時出現如下的空白界面:
 。
。
這樣就會出現交互問題,跳到了一個完全空白的頁面,並且沒有任何的提示,准確來說,這就是一個bug。而且我們無法對這個空白頁面進行自定義。如果大家仔細觀察這個權限獲得的過程,發現界面是首先彈出這個空白頁面,然後才是彈出選擇對話框。這就是問題所在,獲取攝像頭權限也是一樣的,下面我們就來解決這類問題。
我的目標是首先彈出授權對話框,如果我允許授權,那麼就跳到攝像頭界面或者相冊界面;如果我拒絕授權,那麼就跳到一個帶有提示的自定義頁面。首先以相冊為例來實現:
(1)首先說明下授權狀態,共有三種:
已授權:***Authorized;
未確定:***NotDetrmined;
已拒絕:***Denied,***Restricted;
對於當前設備的這些權限狀態,我們可以直接讀取,我實現了以下方法:
+ (BOOL)isPhotoAlbumDenied
{
    ALAuthorizationStatus author = [ALAssetsLibrary authorizationStatus];
    if (author == ALAuthorizationStatusRestricted || author == ALAuthorizationStatusDenied)
    {
        return YES;
    }
    return NO;
}

+ (BOOL)isPhotoAlbumNotDetermined
{
    ALAuthorizationStatus author = [ALAssetsLibrary authorizationStatus];
    if (author == ALAuthorizationStatusNotDetermined)
    {
        return YES;
    }
    return NO;
}
isPhotoAlbumDenied方法判斷相冊權限是否已經被拒絕;isPhotoAlbumNotDetermined方法判斷是否還沒確定。方法接口寫在YFKit類中。
(2)授權方法實現如下:
- (void)optimalPhotoBtnPressed:(id)sender
{
    if ([UIImagePickerController isSourceTypeAvailable:UIImagePickerControllerSourceTypePhotoLibrary])
    {
        // 第一次安裝App,還未確定權限,調用這裡
        if ([YFKit isPhotoAlbumNotDetermined])
        {
            if ([[[UIDevice currentDevice] systemVersion] floatValue] >= 8.0)
            {
                // 該API從iOS8.0開始支持
                // 系統彈出授權對話框
                [PHPhotoLibrary requestAuthorization:^(PHAuthorizationStatus status) {
                    dispatch_async(dispatch_get_main_queue(), ^{
                        if (status == PHAuthorizationStatusRestricted || status == PHAuthorizationStatusDenied)
                        {
                            // 用戶拒絕,跳轉到自定義提示頁面
                            DeniedAuthViewController *vc = [[DeniedAuthViewController alloc] init];
                            [self presentViewController:vc animated:YES completion:nil];
                        }
                        else if (status == PHAuthorizationStatusAuthorized)
                        {
                            // 用戶授權,彈出相冊對話框
                            [self presentToImagePickerController:UIImagePickerControllerSourceTypePhotoLibrary];
                        }
                    });
                }];
            }
            else
            {
                // 以上requestAuthorization接口只支持8.0以上,如果App支持7.0及以下,就只能調用這裡。
                [self presentToImagePickerController:UIImagePickerControllerSourceTypePhotoLibrary];
            }
        }
        else if ([YFKit isPhotoAlbumDenied])
        {
            // 如果已經拒絕,則彈出對話框
            [self showAlertController:@"提示" message:@"拒絕訪問相冊,可去設置隱私裡開啟"];
        }
        else
        {
            // 已經授權,跳轉到相冊頁面
            [self presentToImagePickerController:UIImagePickerControllerSourceTypePhotoLibrary];
        }
    }
    else
    {
        // 當前設備不支持打開相冊
        [self showAlertController:@"提示" message:@"當前設備不支持相冊"];
    }
}
(3)運行效果如下:
申請授權:
 。
。
可以看到此時是先彈出對話框進行確認的,而不是跳到相冊空白頁面才進行彈出確認的。
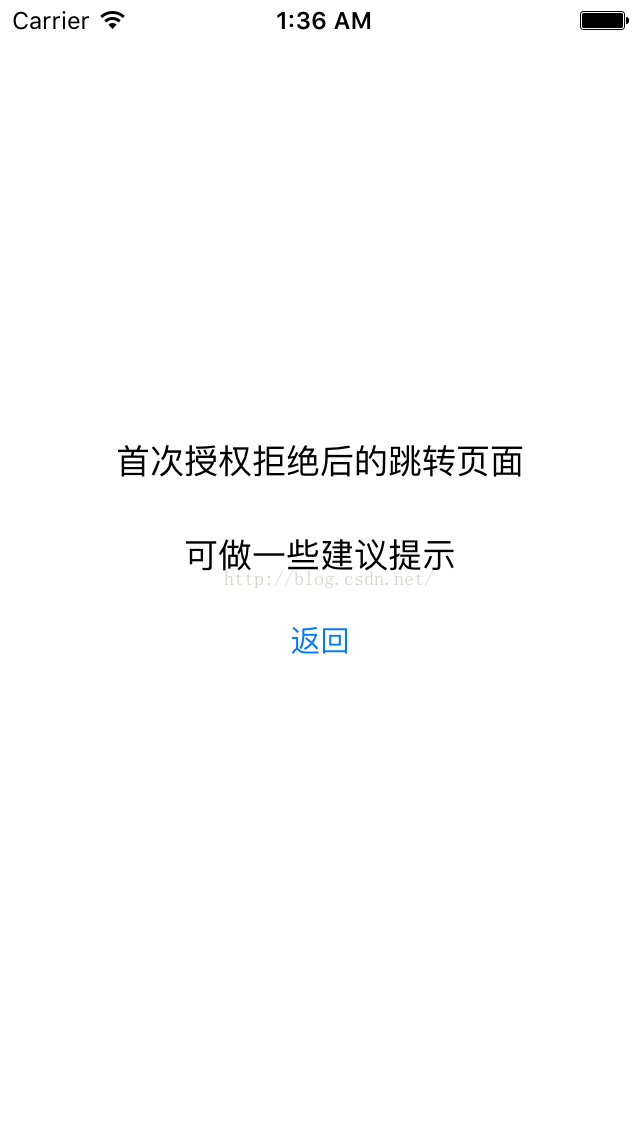
拒絕授權:
 。
。
該空態界面可以自定義。
允許授權:
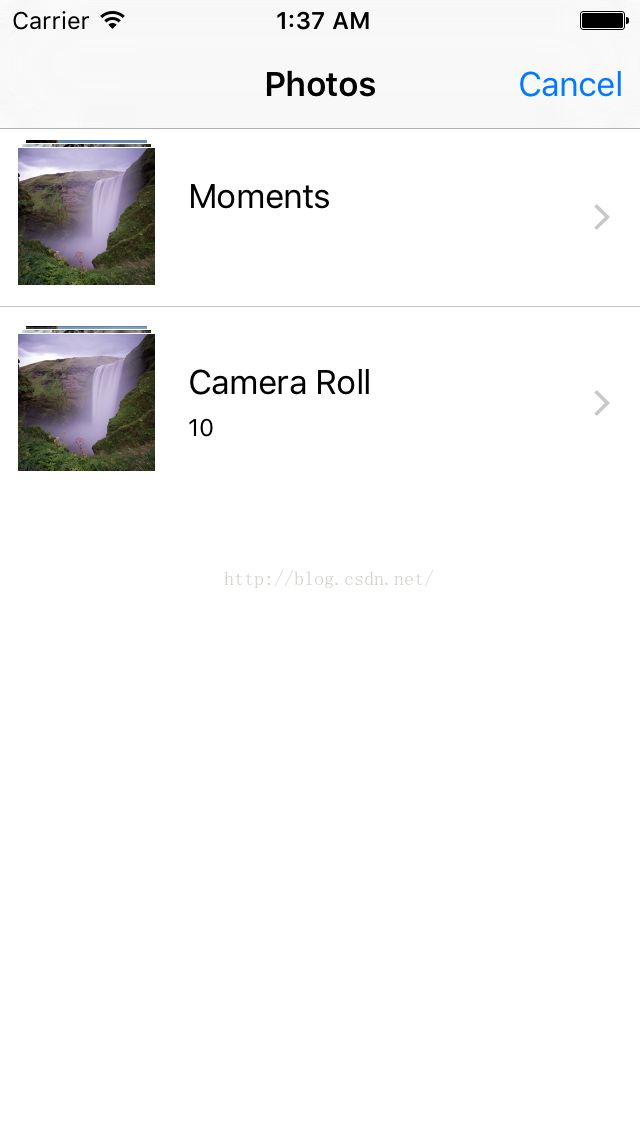 。
。
直接跳到相冊頁面了。
(3)攝像頭申請授權邏輯與相冊類似,只是使用的API不同,但是更為簡單,因為該API可以支持7.0及以上,而目前的App都基本支持7.0及以上。使用的接口是AVCaptureDevice。實現方法如下:
- (void)optimalCameraBtnPressed:(id)sender
{
    if ([UIImagePickerController isSourceTypeAvailable:UIImagePickerControllerSourceTypeCamera])
    {
        // 應用第一次申請權限調用這裡
        if ([YFKit isCameraNotDetermined])
        {
            [AVCaptureDevice requestAccessForMediaType:AVMediaTypeVideo completionHandler:^(BOOL granted) {
                dispatch_async(dispatch_get_main_queue(), ^{
                    if (granted)
                    {
                        // 用戶授權
                        [self presentToImagePickerController:UIImagePickerControllerSourceTypeCamera];
                    }
                    else
                    {
                        // 用戶拒絕授權
                        DeniedAuthViewController *vc = [[DeniedAuthViewController alloc] init];
                        [self presentViewController:vc animated:YES completion:nil];
                    }
                });
            }];
        }
        // 用戶已經拒絕訪問攝像頭
        else if ([YFKit isCameraDenied])
        {
            [self showAlertController:@"提示" message:@"拒絕訪問攝像頭,可去設置隱私裡開啟"];
        }

        // 用戶允許訪問攝像頭
        else
        {
            [self presentToImagePickerController:UIImagePickerControllerSourceTypeCamera];
        }
    }
    else
    {
        // 當前設備不支持攝像頭,比如模擬器
        [self showAlertController:@"提示" message:@"當前設備不支持拍照"];
    }
}
測試攝像頭需要在真機下進行測試,因為模擬器不支持攝像頭。
通過以上代碼,可以有效並且可控的進行攝像頭和相冊權限申請的流程控制,優化用戶體驗。下面給出一些開發tips:
(1)對於模擬器,如果想要重置應用的權限與隱私設置,可以直接重置模擬器,選擇Simulator-->Reset Content and Setting即可。下次重新安裝App時,所有的權限都要重新申請了。
(2)在真機上重置權限可以進入:設置-->通用-->重置-->重置位置與隱私即可。這種重置方式是安全的,不會導致手機上的其他數據的丟失,僅僅只是把某些權限記錄給刪除了。當需要使用權限的時候,系統會重新申請。
(3)當只是要開關某個權限的時候,進入設置-->隱私 裡面開關即可。