關於iOS10 - iMessage App的總結
說在前面:
iMessage app 是iOS10中嵌入到Message內容的iMessage apps,包含簡單的表情包以及自定義的復雜界面。
iMessage App類別:
* Sticker pack app :單獨的表情包應用,不需要編寫任何代碼,只需拖動圖片即可,包括靜態和動態表情。
* iMessage app :單獨的iMessage應用,要編寫代碼,可以發送表情包、文字、視頻、音頻。
上面兩個也可以以一個app的擴展嵌入到iMessage應用中。
一、創建獨立的表情包應用(Sticker pack app):無需代碼
表情包限制:
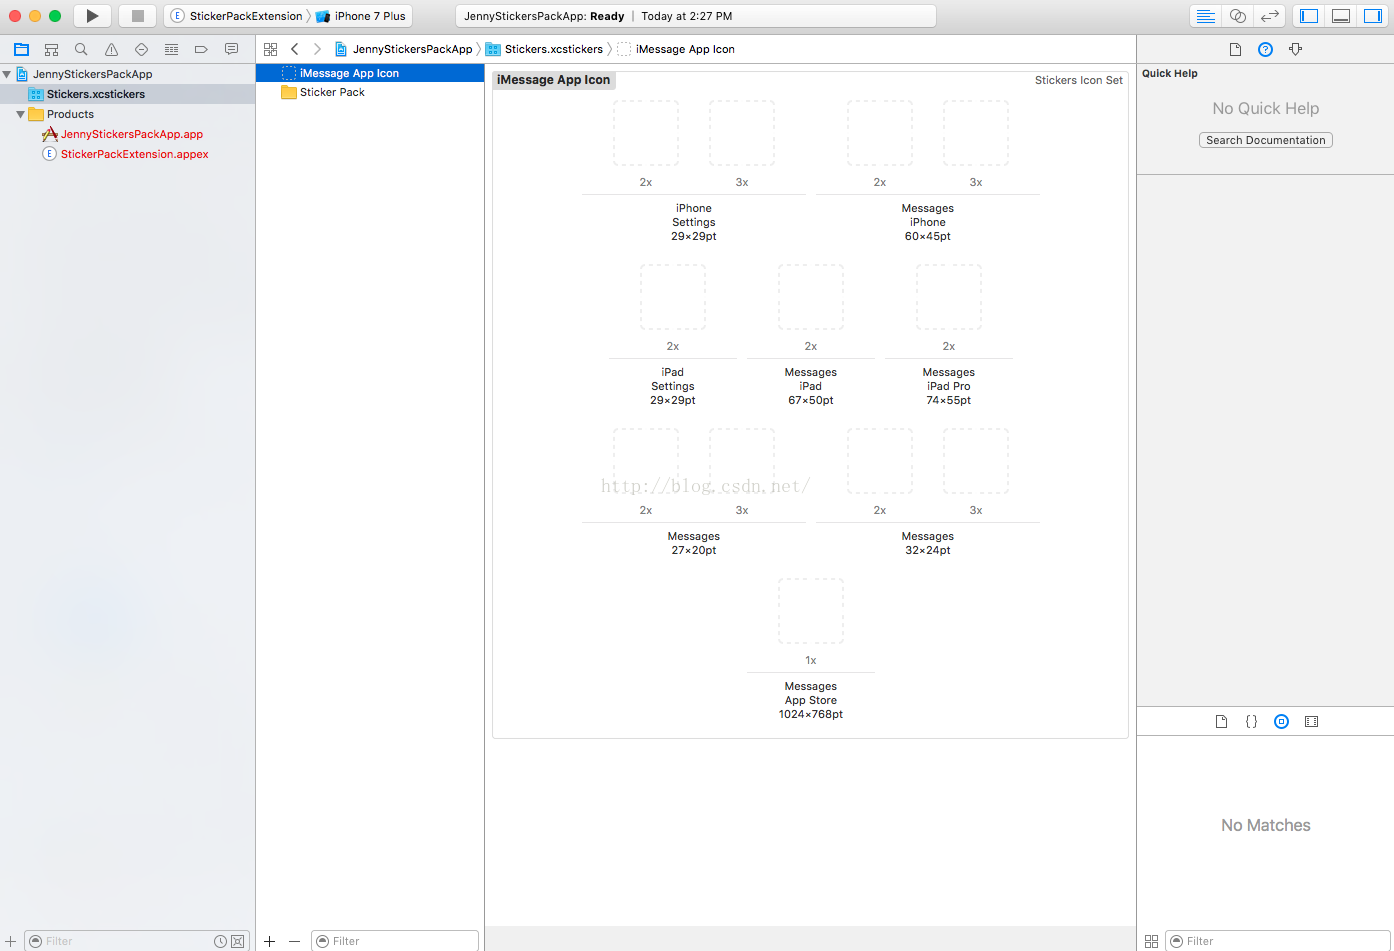
* Small :100 x 100 @3x scale (300 x 300 pixel image)
* Medium : 136 x 136 @3x scale (378 x 378 pixel image)
*Large : 206 x 206 @3x scale (618 x 618 pixel image)
其他限制(表情包大小):
* 文件中的 images 不可以大於500kb
* image 不可以小於100 x 100 pt (300 x 300 pixels)
*image 不可以大於206 x 206 pt (618 x 618 pixels)
*image 格式必須是PNG、APNG、JPEG、GIF
1、添加靜態表情包
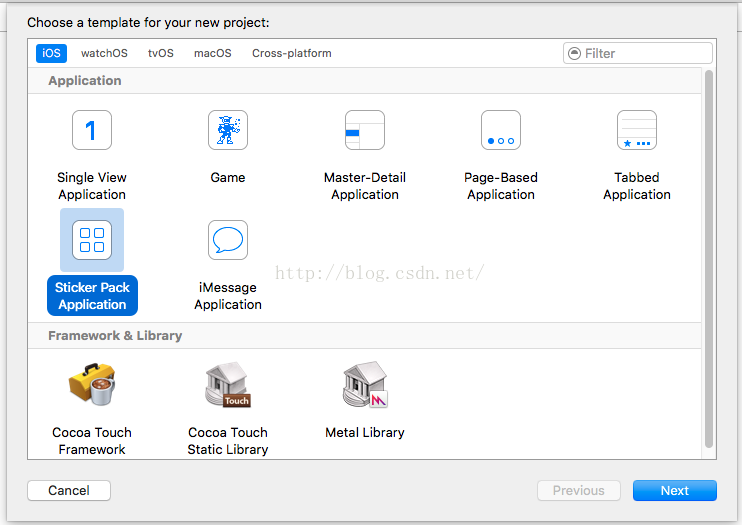
< 1 > 創建Sticker Pack 工程
create a new Xcode project >iOS > Sticker Pack Application > Next
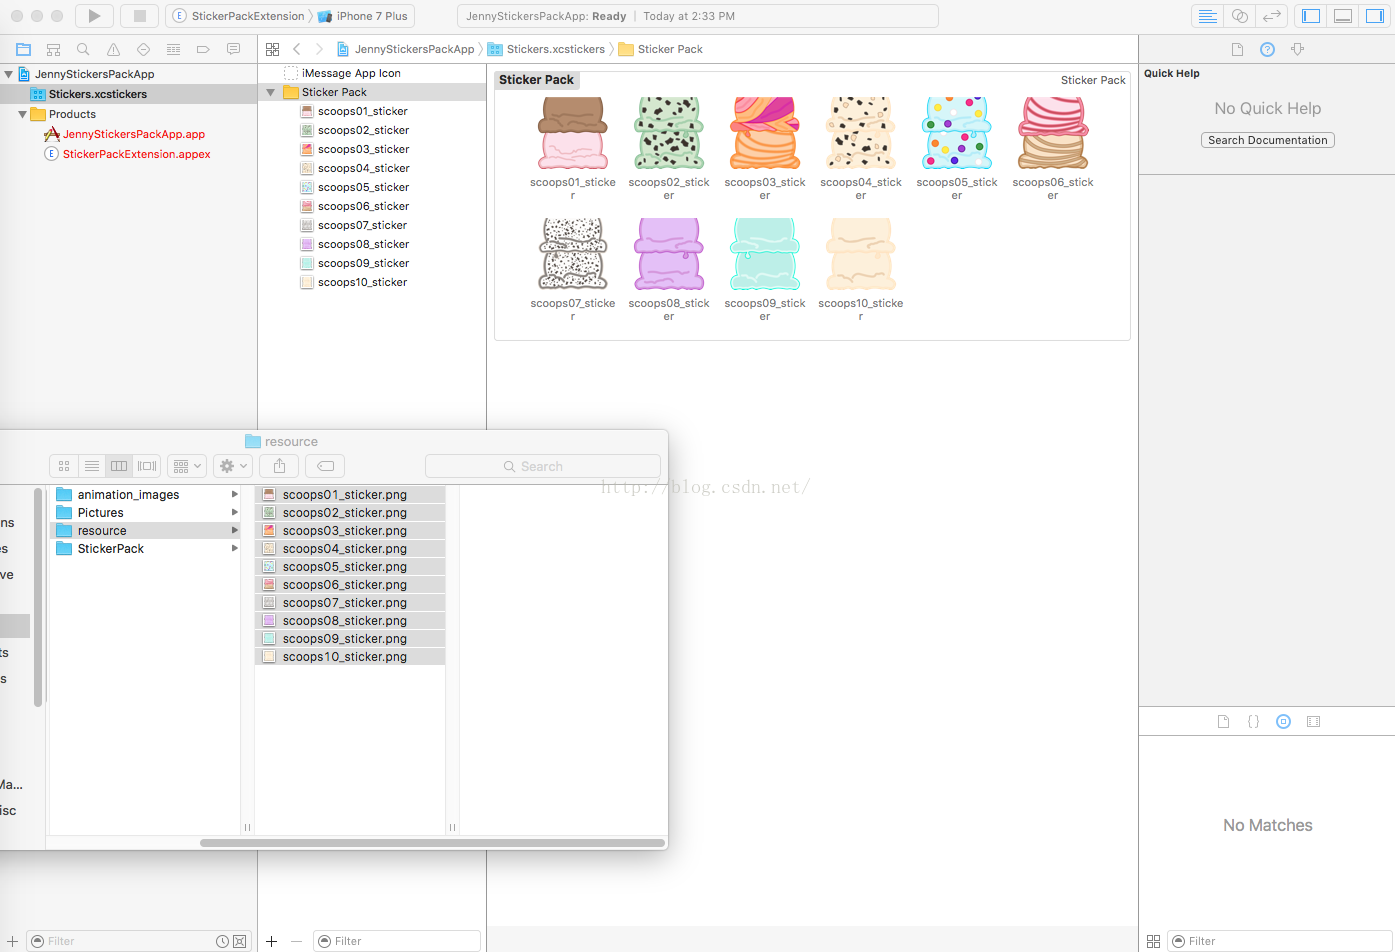
< 2 > 拖入圖片
選中Stickers.xcsstickers > 選中右邊的Sticker Pack文件夾 > 選中素材中的所有圖片 > 拖入Sticker Pack中
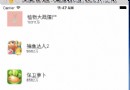
< 2 > 運行效果
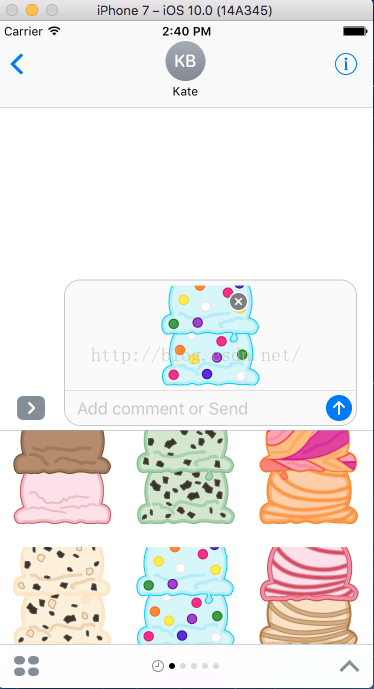
這樣就完成了Sticker pack靜態表情包
2、添加動態表情包
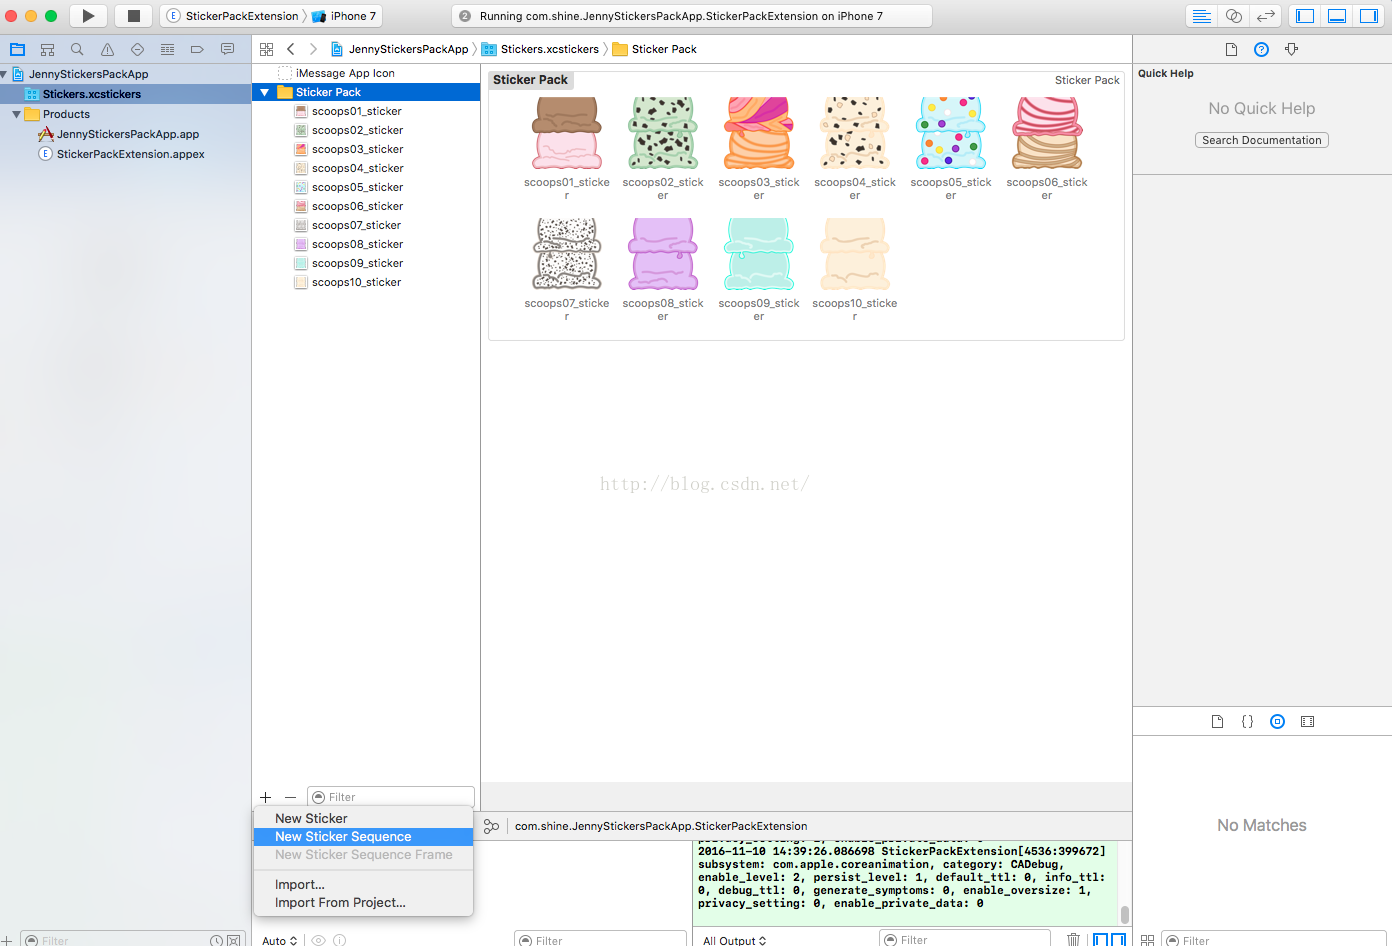
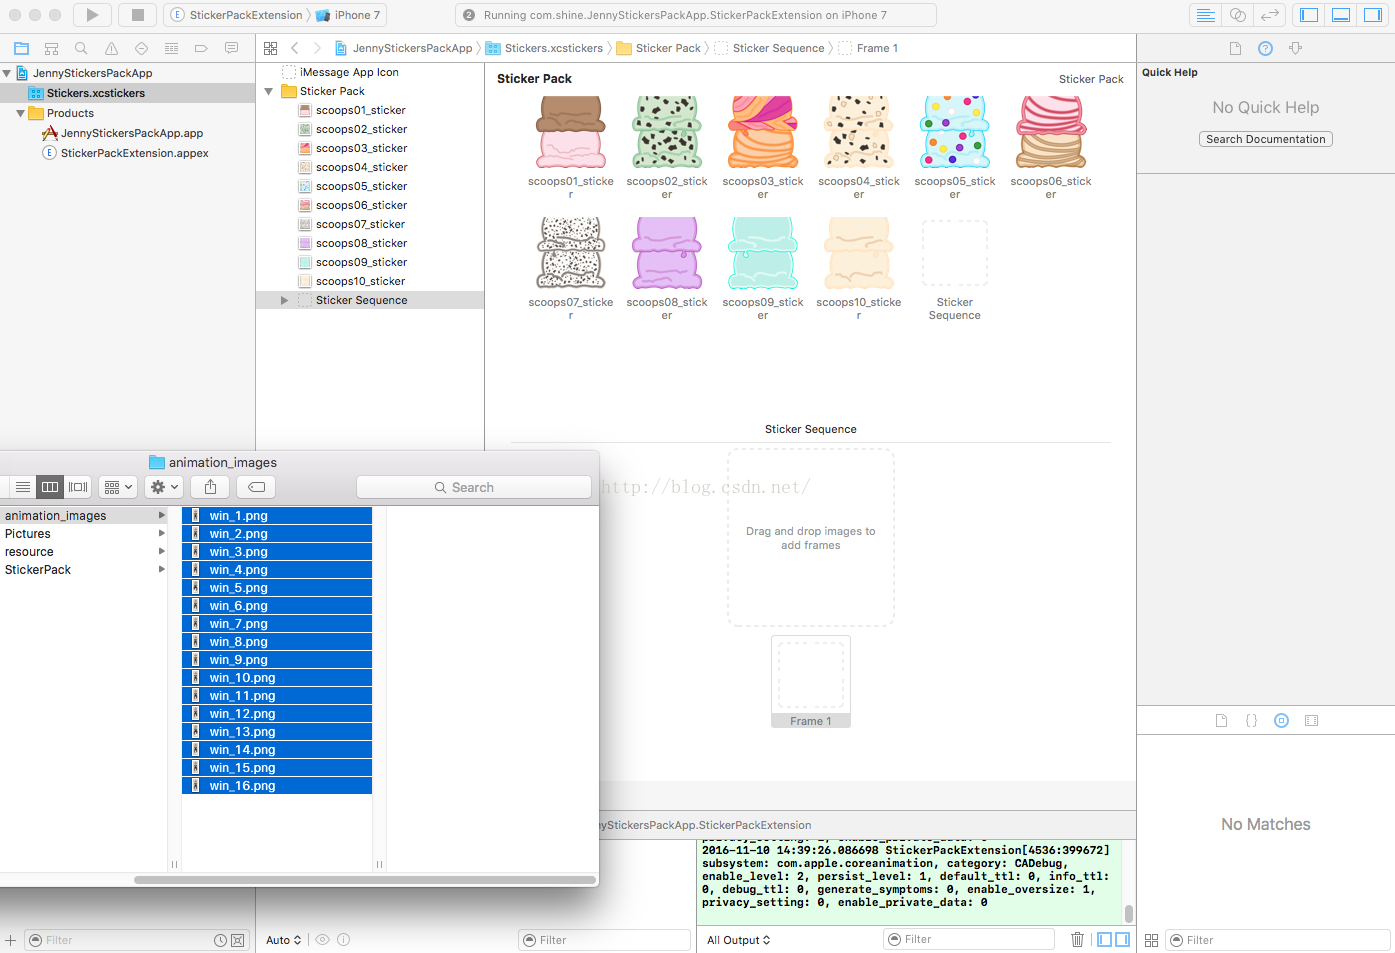
< 1 > 選中Sticker Pack文件夾 > 點擊下方?號 > 選擇New Sticker Sequence添加動態表情
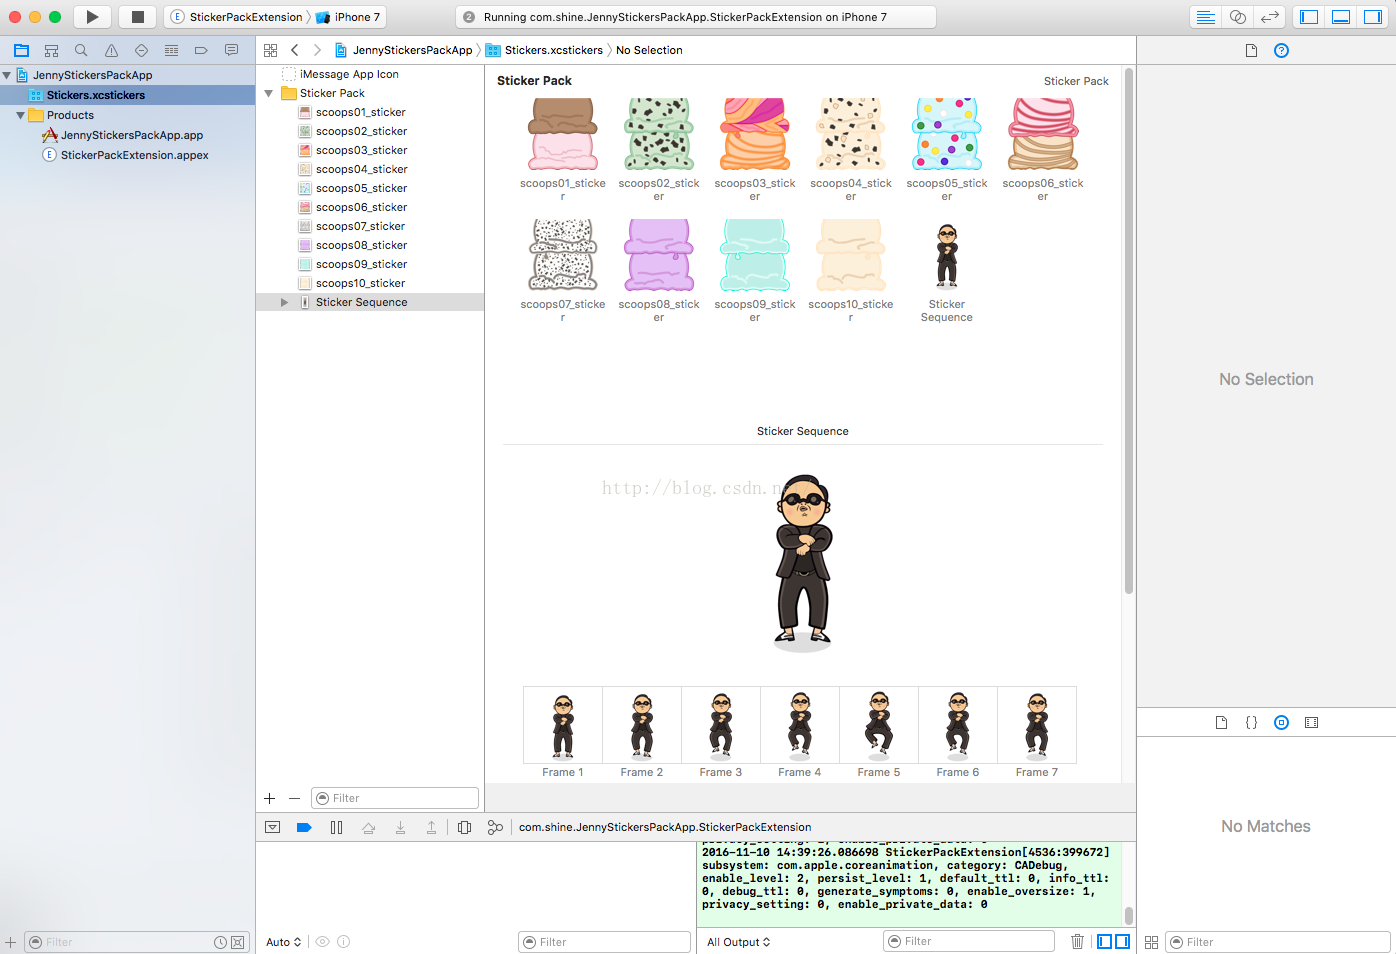
< 2 > 拖入該動態圖片的各個幀圖片即可(拖入Frame1位置)。
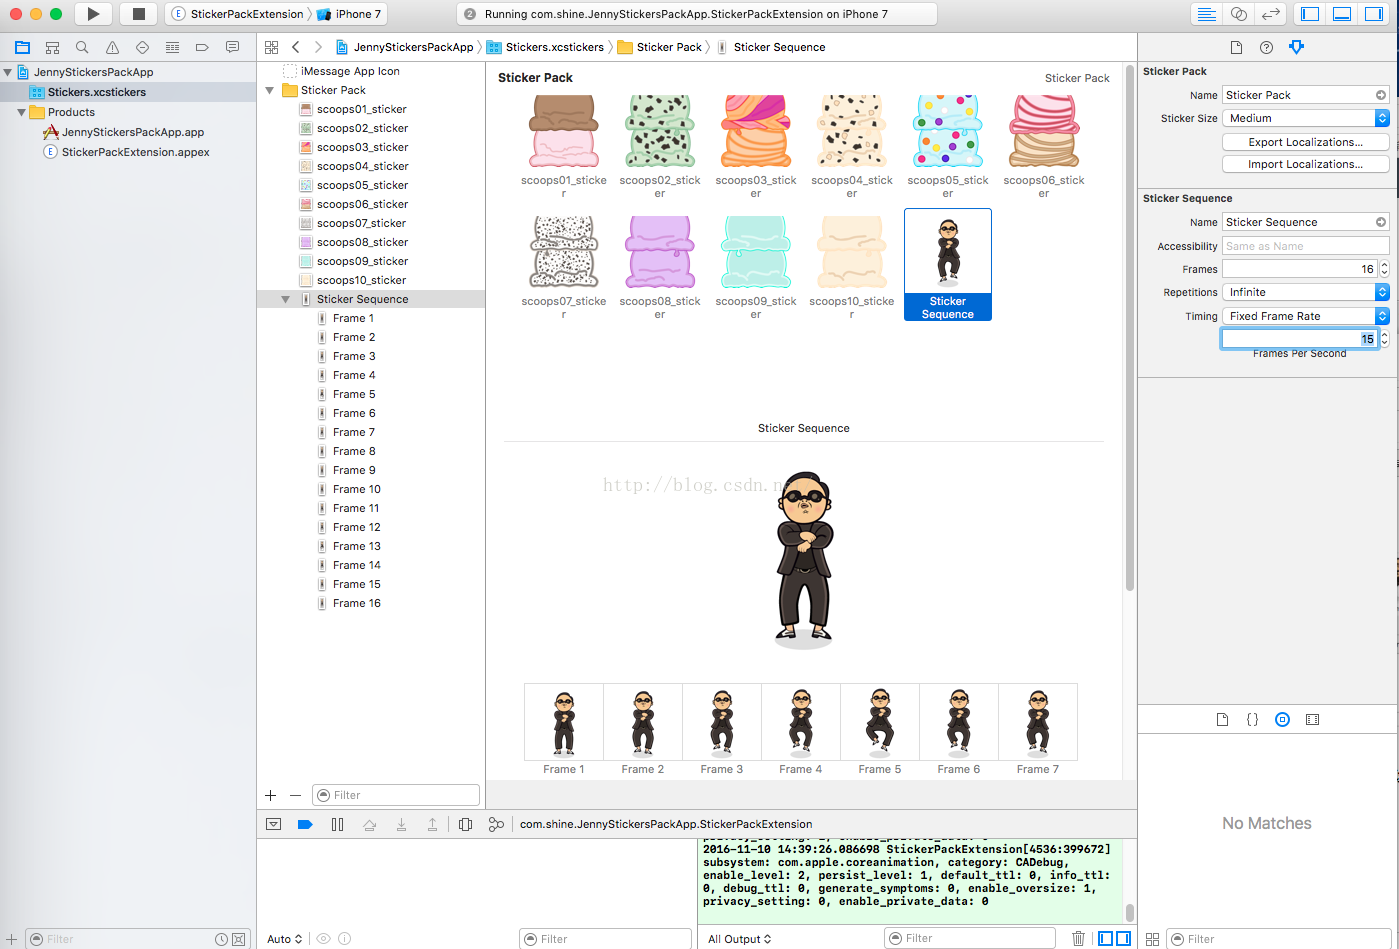
< 3 > 可設置動態表情包的時間
選中Sticker Sequence > 點擊右面板中的屬性檢查器 > 設置Sticker Sequence分類下的Frame Per Second
< 4 >運行效果
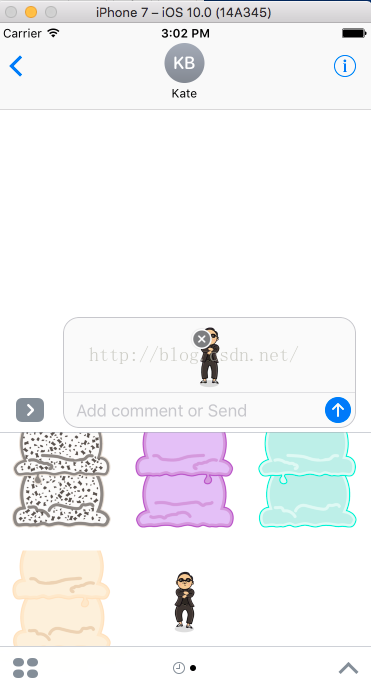
這樣就已經完成了Sticker pack app
二、創建 iMessage 應用(iMessage app):
個人理解有三種實現方式:
* 直接在MessagesAppViewController 類中添加View。簡單,復雜的View不好管理。
* 創建MSStickerBrowserViewController ,作為子類添加到MessagesAppViewController 中,只需要實現貼紙界面可以選擇這種方式比較簡單。
* 自定義一個ViewController,作為子類添加到MessagesAppViewController 中,添加過後和撲通的App開發基本沒區別,但是要注意View高度的變化,自動布局。
Message框架的幾個基礎類介紹:
MessagesAppViewController :iMessage App 程序的入口,工程默認創建其子類MessagesAppViewController 。
MSSticker : 表情。是 NSObject 的子類 。
MSStickerBrowserView : 表情View 。
MSStickerBrowViewController : 表情ViewController 。
MSStickerBrowViewDataSource :表情數據來源代理 。
其實,上面四個類就類似於 UITableViewCell 、 UITableViewController 、 UITableViewDataSource 的關系。
1、自定義貼紙布局
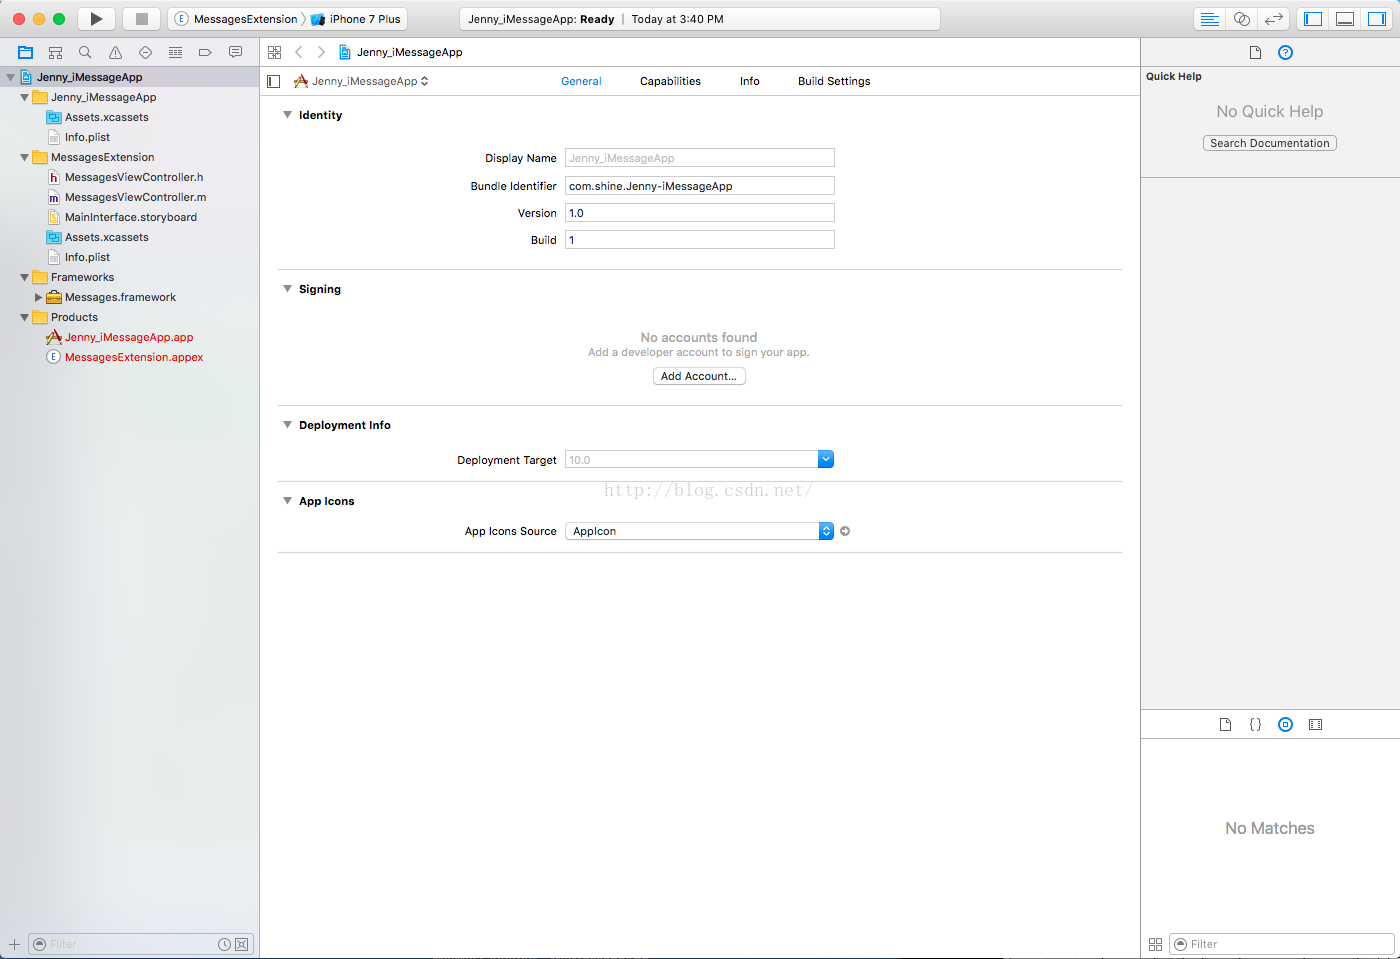
< 1 >Create a new Xcode project > IOS > iMessage Application > Next
生成的目錄結構,主要是針對 MessageExtension 文件夾開發。
< 2 > 將圖片資源添加到工程中 。
< 3 > 在MessagesAppViewController 中加載表情包數據,創建MSStickerBrowserViewController 實現MSStickerBrowserVie wDataSource 代理數據 。
#import "MessagesViewController.h" @interface MessagesViewController ()//創建數據原數組來存儲我們的表情包 @property (nonatomic,strong) NSMutableArray *stickersArray; @end @implementation MessagesViewController - (void)viewDidLoad { [super viewDidLoad]; // 初始化本地表情包 [self loadStickers]; // 創建本地表情包控制器 [self createStickerBrowserViewController]; } //加載表情包,上面設置了數據源,所以我們要加載圖片(數據) - (void)loadStickers{ NSMutableArray *mArray = [NSMutableArray array]; for (int i = 1; i < 11; i++) {
	//傳入對應的url
        NSURL *url = [[NSBundle mainBundle] URLForResource:[NSString stringWithFormat:@"scoops%02d_sticker", i] withExtension:@"png"];
        MSSticker *sticker = [[MSSticker alloc]initWithContentsOfFileURL:url localizedDescription:@"" error:nil];
        [mArray addObject:sticker];
    }
    self.stickersArray = mArray;

}

// 要想顯示圖片表情,必須要初始化一個MSStickerBrowserViewController作為根視圖
- (void)createStickerBrowserViewController{
    MSStickerBrowserViewController *browserVc = [[MSStickerBrowserViewController alloc]initWithStickerSize:MSStickerSizeSmall];
    [self addChildViewController:browserVc];
    [self.view addSubview:browserVc.view];
    browserVc.stickerBrowserView.backgroundColor = [UIColor cyanColor];
    //設置數據源
    browserVc.stickerBrowserView.dataSource = self;
    browserVc.view.translatesAutoresizingMaskIntoConstraints = NO;

    //自動布局
    [self.view.topAnchor constraintEqualToAnchor:browserVc.view.topAnchor].active = YES;
    [self.view.bottomAnchor constraintEqualToAnchor:browserVc.view.bottomAnchor].active = YES;
    [self.view.leftAnchor constraintEqualToAnchor:browserVc.view.leftAnchor].active = YES;
    [self.view.rightAnchor constraintEqualToAnchor:browserVc.view.rightAnchor].active = YES;


}

#pragma mark - MSStickerBrowserViewDataSource 數據源代理方法(必須實現)
// 一共有多少個
-(NSInteger)numberOfStickersInStickerBrowserView:(MSStickerBrowserView *)stickerBrowserView{

    return self.stickersArray.count;
}

// 每一個要顯示什麼
- (MSSticker *)stickerBrowserView:(MSStickerBrowserView *)stickerBrowserView stickerAtIndex:(NSInteger)index{

    return self.stickersArray[index];
}


@end
這樣就實現了在代碼中添加貼圖 。
2、自定義ViewController可發送圖片、音頻、視頻文件
創建方式:
* 可以像上面一樣添加一個 iMessage 應用
* 可以再一個普通的APP中加入iMessage擴展(APP)。
接下來我們主要講一講如何在已有的項目中添加 iMessage APP 擴展。
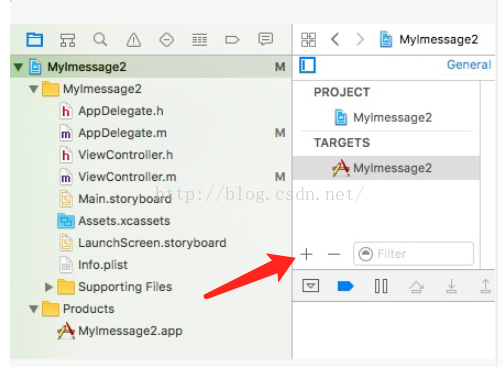
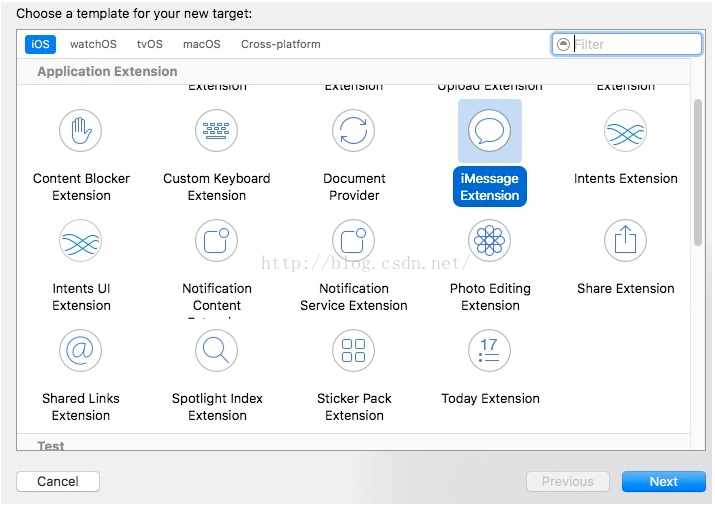
< 1 > 首先創建一個普通的工程,點擊?號添加 iMessage 擴展

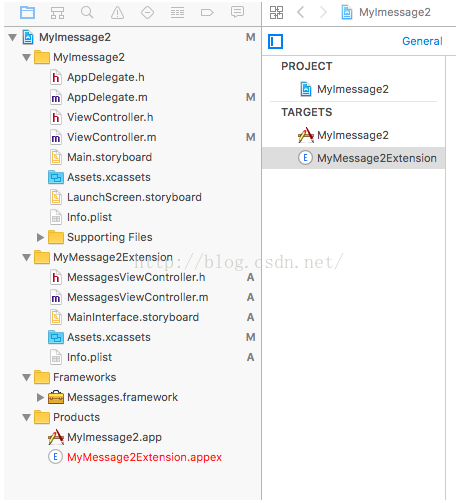
點擊Finish,彈框選Yes ,完成添加擴展生成的目錄和創建的 iMessage App 在 MyMessage2Extension 目錄下是一樣的 。
完整代碼:
#import "MessagesViewController.h"

@implementation MessagesViewController

- (void)viewDidLoad {
    [super viewDidLoad];
    [self setupButton];
}

// 創建按鈕 (懶加載的方法)
-(UIButton *)createButtonWithTitle:(NSString *)title action:(SEL)action{
    UIButton *button = [[UIButton alloc] init];
    [button setBackgroundColor:[self randomColor]];
    button.translatesAutoresizingMaskIntoConstraints = NO;
    [button setTitle:title forState:UIControlStateNormal];
    [button addTarget:self action:action forControlEvents:UIControlEventTouchUpInside];
    [self.view addSubview:button];
    return button;
}

//button的背景顏色設置(隨機顏色)
-(UIColor *)randomColor{
    CGFloat red = (CGFloat)random() / (CGFloat)RAND_MAX;
    CGFloat green = (CGFloat)random() / (CGFloat)RAND_MAX;
    CGFloat blue = (CGFloat)random() / (CGFloat)RAND_MAX;
    return [UIColor colorWithRed:red green:green blue:blue alpha:1.0];
}

//設置按鈕
- (void)setupButton {
    UIButton *photoButton = [self createButtonWithTitle:@"圖片" action:@selector(sendPhoto)];
    UIButton *musicButton = [self createButtonWithTitle:@"音樂" action:@selector(sendMusic)];
    UIButton *videoButton = [self createButtonWithTitle:@"視頻" action:@selector(sendVideo)];
    UIButton *stickerButton = [self createButtonWithTitle:@"貼紙" action:@selector(sendStick)];
    UIButton *alterButton = [self createButtonWithTitle:@"自定義" action:@selector(sendAlter)];

    [photoButton.leftAnchor constraintEqualToAnchor:self.view.leftAnchor].active = YES;
    [photoButton.rightAnchor constraintEqualToAnchor:musicButton.leftAnchor].active = YES;
    [photoButton.centerYAnchor constraintEqualToAnchor:self.view.centerYAnchor].active = YES;
    [photoButton.heightAnchor constraintEqualToConstant:50].active = YES;

    [musicButton.rightAnchor constraintEqualToAnchor:videoButton.leftAnchor].active = YES;
    [musicButton.widthAnchor constraintEqualToAnchor:photoButton.widthAnchor].active = YES;
    [musicButton.centerYAnchor constraintEqualToAnchor:self.view.centerYAnchor].active = YES;
    [musicButton.heightAnchor constraintEqualToConstant:50].active = YES;

    [videoButton.rightAnchor constraintEqualToAnchor:stickerButton.leftAnchor].active = YES;
    [videoButton.widthAnchor constraintEqualToAnchor:photoButton.widthAnchor].active = YES;
    [videoButton.centerYAnchor constraintEqualToAnchor:self.view.centerYAnchor].active = YES;
    [videoButton.heightAnchor constraintEqualToConstant:50].active = YES;

    [stickerButton.rightAnchor constraintEqualToAnchor:alterButton.leftAnchor].active = YES;
    [stickerButton.widthAnchor constraintEqualToAnchor:photoButton.widthAnchor].active = YES;
    [stickerButton.centerYAnchor constraintEqualToAnchor:self.view.centerYAnchor].active = YES;
    [stickerButton.heightAnchor constraintEqualToConstant:50].active = YES;

    [alterButton.rightAnchor constraintEqualToAnchor:self.view.rightAnchor].active = YES;
    [alterButton.widthAnchor constraintEqualToAnchor:photoButton.widthAnchor].active = YES;
    [alterButton.centerYAnchor constraintEqualToAnchor:self.view.centerYAnchor].active = YES;
    [alterButton.heightAnchor constraintEqualToConstant:50].active = YES;
}

//發送圖片
-(void)sendPhoto{
    NSURL *url = [[NSBundle mainBundle] URLForResource:@"image" withExtension:@"png"];
    [self sendMessageWithURL:url];
}
//發送音樂
-(void)sendMusic{
    NSURL *url = [[NSBundle mainBundle] URLForResource:@"blank" withExtension:@"mp3"];
    [self sendMessageWithURL:url];
}
//發送視頻
-(void)sendVideo{
    NSURL *url = [[NSBundle mainBundle] URLForResource:@"moments" withExtension:@"mp4"];
    [self sendMessageWithURL:url];
}
//發送貼紙
-(void)sendStick{
    [self requestPresentationStyle:MSMessagesAppPresentationStyleCompact];
    NSURL *url = [[NSBundle mainBundle] URLForResource:@"sticker" withExtension:@"png"];

    MSSticker *sticker = [[MSSticker alloc] initWithContentsOfFileURL:url localizedDescription:@"localizedDescription" error:nil];

    [self.activeConversation insertSticker:sticker completionHandler:^(NSError * _Nullable error) {
        if (error) {
            NSLog(@"%@",error);
        }
    }];
}
//發送自定義消息
-(void)sendAlter{
    [self requestPresentationStyle:MSMessagesAppPresentationStyleCompact];
    MSMessageTemplateLayout *layout = [[MSMessageTemplateLayout alloc] init];
    layout.image = [UIImage imageNamed:@"image"];
    layout.imageTitle = @"老虎";
    MSMessage *message = [[MSMessage alloc] init];
    message.layout =layout;
    [self.activeConversation insertMessage:message completionHandler:^(NSError * _Nullable error) {
        if (error) {
            NSLog(@"%@",error);
        }
    }];
}

// 通過 URL 發送消息
-(void)sendMessageWithURL:(NSURL *)url{
    [self requestPresentationStyle:MSMessagesAppPresentationStyleCompact];
    [self.activeConversation insertAttachment:url withAlternateFilename:nil completionHandler:^(NSError * _Nullable error) {
        if (error) {
            NSLog(@"%@",error);
        }
    }];
}


@end
代碼分析:
發送圖片、音視頻文件
activeConversation 是 MSMessagesAppViewController 裡面的一個屬性,發送音視頻文件,都是通過這個方法。
[self.activeConversation insertAttachment:url withAlternateFilename:nil completionHandler:^(NSError * _Nullable error) {
    if (error) {
        NSLog(@"%@",error);
    }
}];
傳入對應文件的URL即可。
NSURL *url = [[NSBundle mainBundle] URLForResource:@"image" withExtension:@"png"];
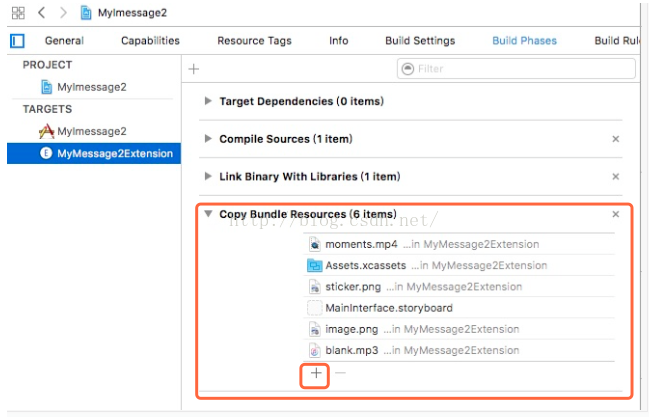
有時候可能找不到對應的URL, 可以再這裡查看是否有加入的文件,如果沒有加入,店家?號加入該文件即可。
發送貼紙
發送貼紙通過這個方法,同理傳入對應的URL 即可,注意貼紙的尺寸問題 。
MSSticker *sticker = [[MSSticker alloc] initWithContentsOfFileURL:url localizedDescription:@"localizedDescription" error:nil];

[self.activeConversation insertSticker:sticker completionHandler:^(NSError * _Nullable error) {
    if (error) {
        NSLog(@"%@",error);
    }
}];
發送自定義消息發送自定義消息主要是自定義 message 的 layout 屬性以及其他的相關屬性。
MSMessageTemplateLayout *layout = [[MSMessageTemplateLayout alloc] init];
layout.image = [UIImage imageNamed:@"image"];
layout.imageTitle = @"老虎";
MSMessage *message = [[MSMessage alloc] init];
message.layout =layout;
[self.activeConversation insertMessage:message completionHandler:^(NSError * _Nullable error) {
    if (error) {
        NSLog(@"%@",error);
    }
}];