
iOS 推送:取得手機裝置的 deviceToken
編輯:iOS 開發綜合
要實作遠端推送,第一步是取得裝置的 deviceToken。整個流程可拆成申請憑證、申請 App ID、生成描述檔、建立應用,最後寫程式碼註冊。
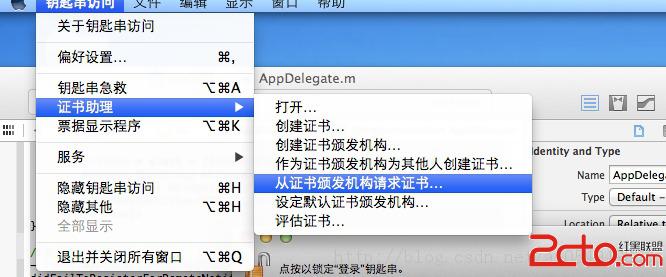
第一步:申請憑證。
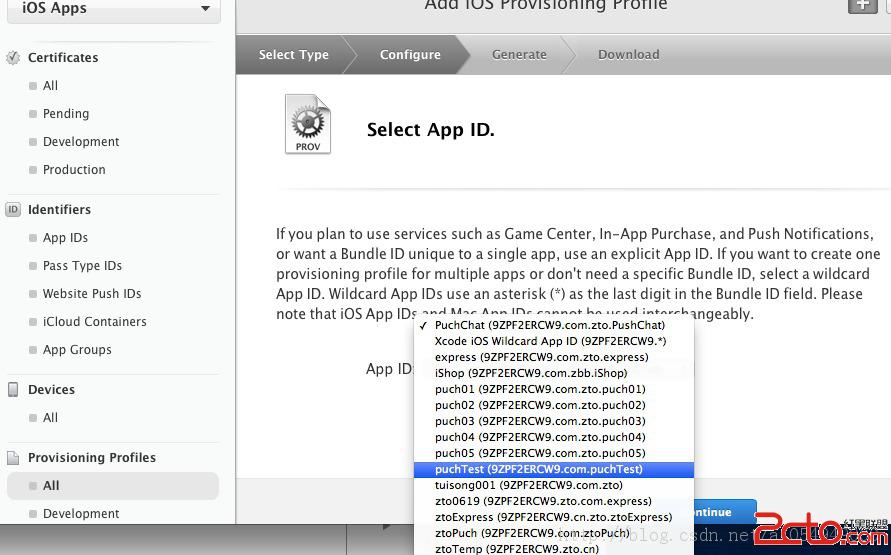
第二步:申請 App IDs,應用名稱必須一致,然後進入編輯使其啟用(綠燈)。
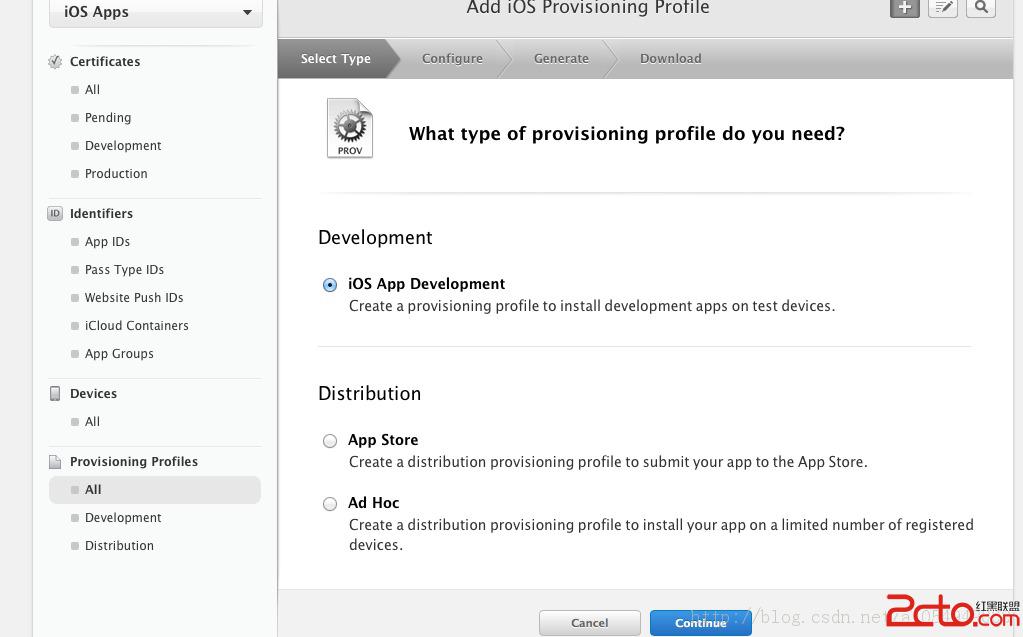
第三步:申請 Provisioning Profile,生成 .mobileprovision,需雙擊該憑證才能正確匯入手機裝置(不能拖曳)。
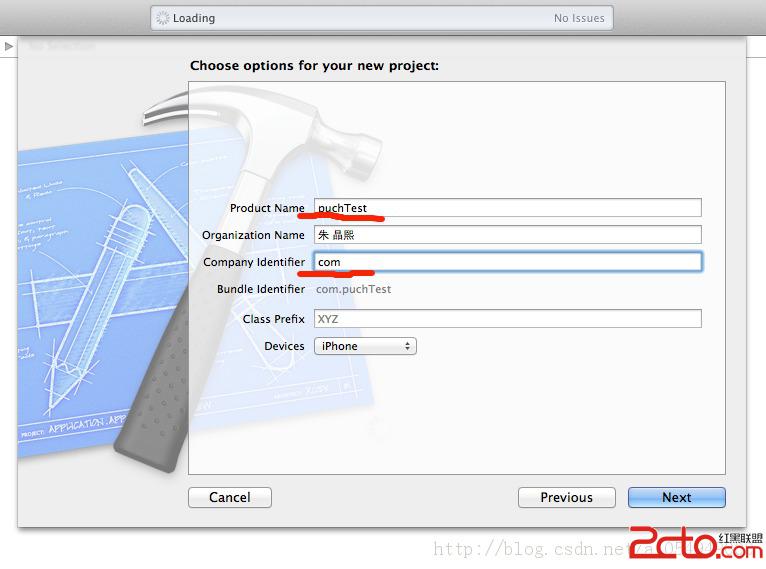
第四步:建立應用,讓名稱保持一致。
第五步:寫程式碼。在 App 啟動時註冊遠端通知,並處理成功、失敗與收到通知的回呼:
- (BOOL)application:(UIApplication *)application
didFinishLaunchingWithOptions:(NSDictionary *)launchOptions {
    UIRemoteNotificationType types = (UIRemoteNotificationTypeBadge
                                      | UIRemoteNotificationTypeSound
                                      | UIRemoteNotificationTypeAlert);
    // 註冊消息推送
    [UIApplication sharedApplication] registerForRemoteNotificationTypes:types];
    return YES;
}

// 獲取 DeviceToken 成功
- (void)application:(UIApplication *)application
didRegisterForRemoteNotificationsWithDeviceToken:(NSData *)deviceToken {
    NSLog(@"DeviceToken: {%@}", deviceToken);
    // 這裡通常會把 Device Token 發送到服務端
    UIAlertView *alert = [[UIAlertView alloc] initWithTitle:nil
                                                   message:[NSString stringWithFormat:@"DeviceToken:%@", deviceToken]
                                                  delegate:self
                                         cancelButtonTitle:nil
                                         otherButtonTitles:@"確定", nil];
    [alert show];
}

// 註冊消息推送失敗
- (void)application:(UIApplication *)application
didFailToRegisterForRemoteNotificationsWithError:(NSError *)error {
    NSLog(@"Register Remote Notifications error: {%@}", error);
}

// 處理收到的消息推送
- (void)application:(UIApplication *)application
didReceiveRemoteNotification:(NSDictionary *)userInfo {
    NSLog(@"Receive remote notification : %@", userInfo);
    UIAlertView *alert = [[UIAlertView alloc] initWithTitle:@"溫馨提示"
                                                   message:@"推送成功!"
                                                  delegate:nil
                                         cancelButtonTitle:@"確定"
                                         otherButtonTitles:nil];
    [alert show];
}
取得 deviceToken 後,把它上報到服務端,之後便能透過 APNs 向這台裝置推送訊息了。