
iOS 團購專案:iPad 上子控制器的螢幕適配
編輯:iOS 開發綜合
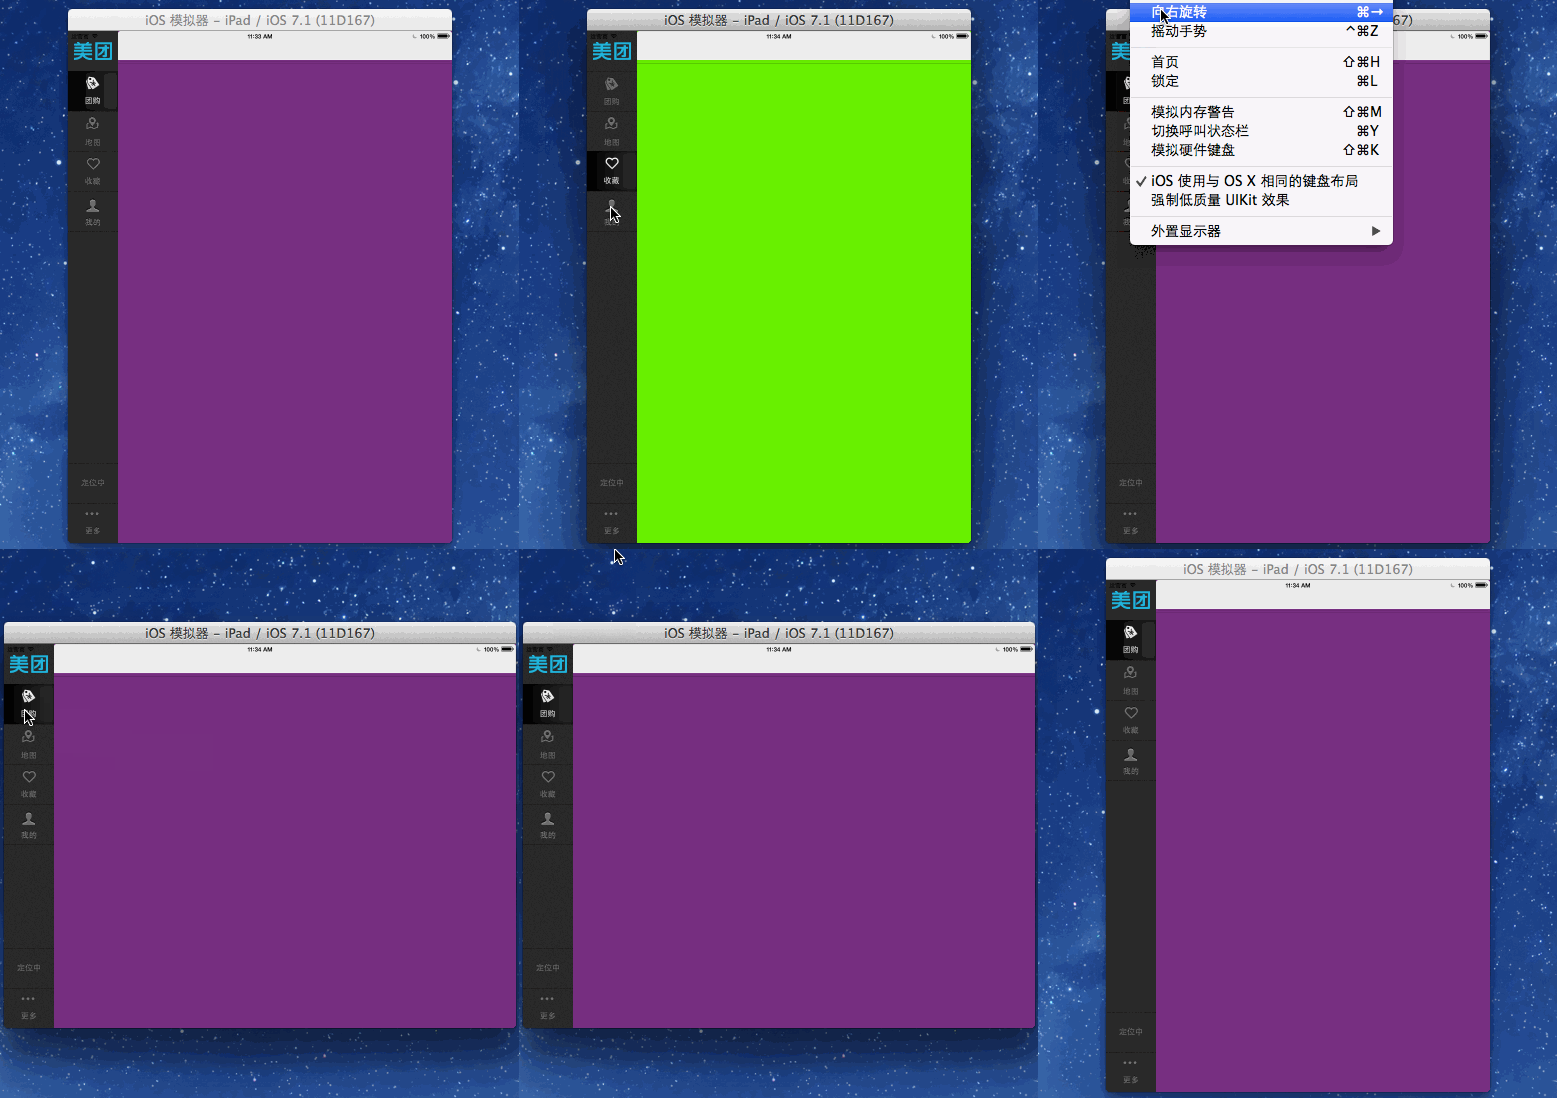
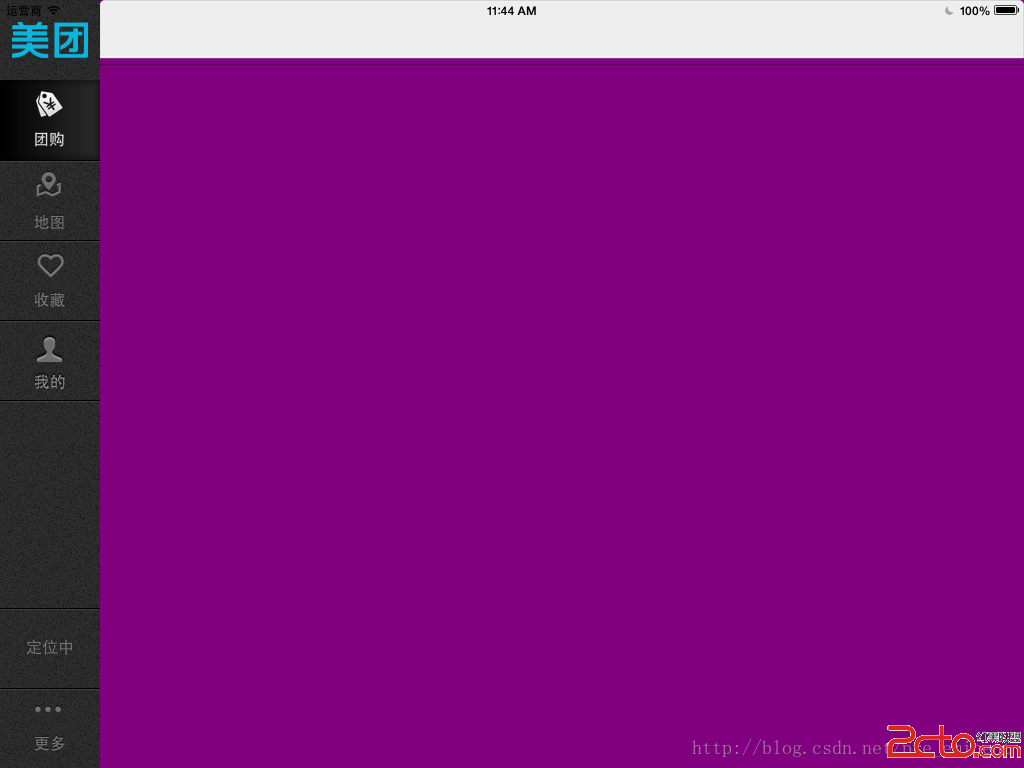
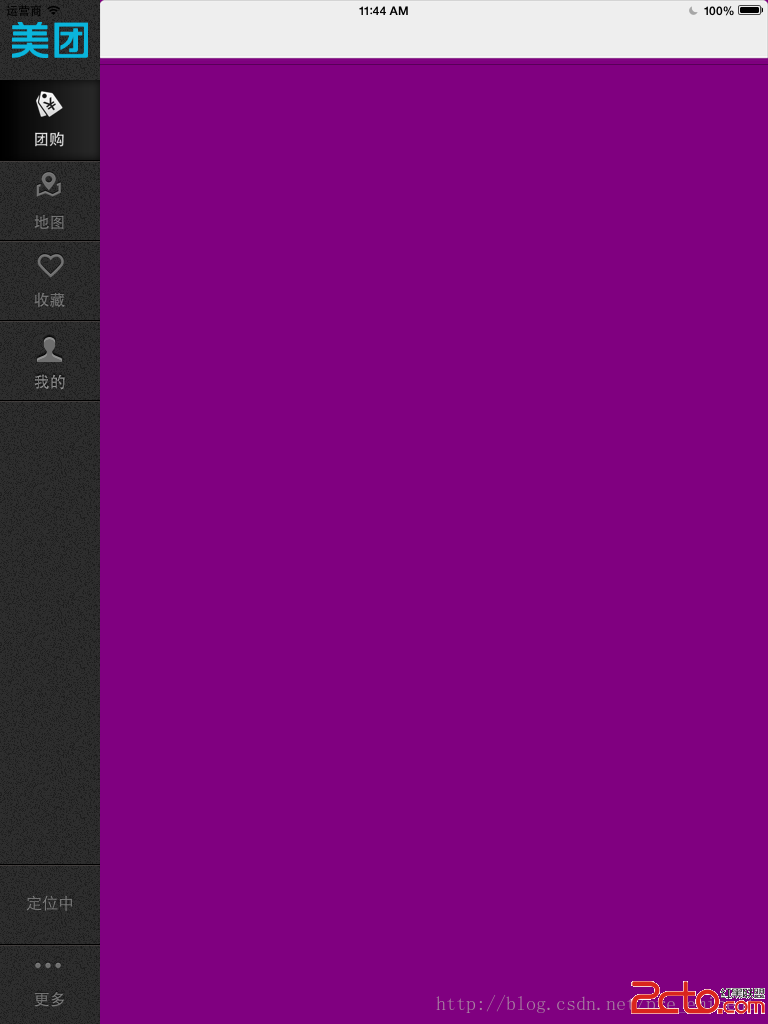
核心思路:先放一個 contentView 占位
iPad 上橫竖屏切換最麻煩,但其實有個關鍵事實可以利用:無論橫屏還是豎屏,寬度都是比較短的那一邊。既然 Dock 固定在左側且寬度固定,剩下的右側區域就是子控制器的舞台。
因此做法是:
- 在主控制器右側放一個
_contentView占位。 - 只在
viewDidLoad設定一次它的 frame,並讓它隨主控制器自動伸縮。 - 子控制器的 view 直接加進
_contentView,原點 (0, 0)、尺寸取 contentView 的 bounds。
這樣橫竖屏都不需要重新計算任何數字,autoresize mask 會把其餘的該做的事做完。
主控制器
@interface MainViewController ()<DockDelegate>
{
    UIView *_contentView;
}
@end

@implementation MainViewController

- (void)viewDidLoad {
    [super viewDidLoad];
    self.view.backgroundColor = [UIColor whiteColor];

    [self addDock];              // 1. 左側 Dock
    [self addContentView];       // 2. 右側 contentView 占位
    [self addAllChildControllers];   // 3. 四個子控制器
}

- (void)addDock {
    Dock *dock = [[Dock alloc] init];
    // Dock 內部會處理高度與右間距,寬度則在 setFrame 中固定為 kDockItemW
    dock.frame = CGRectMake(0, 0, 0, self.view.frame.size.height);
    dock.delegate = self;
    [self.view addSubview:dock];
}

#pragma mark Dock 代理

- (void)dock:(Dock *)dock tabChangeFromIndex:(int)fromIndex toIndex:(int)toIndex {
    // 1. 移除舊的子控制器
    UIViewController *oldVC = self.childViewControllers[fromIndex];
    [oldVC.view removeFromSuperview];

    // 2. 取出新的子控制器
    UIViewController *newVC = self.childViewControllers[toIndex];

    // 3. 讓它填滿 contentView,即完成橫竖屏適配
    newVC.view.autoresizingMask = UIViewAutoresizingFlexibleHeight | UIViewAutoresizingFlexibleWidth;
    newVC.view.frame = _contentView.bounds;
    [_contentView addSubview:newVC.view];
}

- (void)addContentView {
    _contentView = [[UIView alloc] init];
    CGFloat contentViewW = self.view.frame.size.width - kDockItemW;
    CGFloat contentViewH = self.view.frame.size.height;
    _contentView.autoresizingMask = UIViewAutoresizingFlexibleHeight | UIViewAutoresizingFlexibleWidth;
    _contentView.frame = CGRectMake(kDockItemW, 0, contentViewW, contentViewH);
    [self.view addSubview:_contentView];
}

- (void)addAllChildControllers {
    // 團購
    DealListController *dealVC = [[DealListController alloc] init];
    BeyondNavigationController *nav = [[BeyondNavigationController alloc] initWithRootViewController:dealVC];
    [self addChildViewController:nav];

    // 地圖
    MapController *mapVC = [[MapController alloc] init];
    nav = [[BeyondNavigationController alloc] initWithRootViewController:mapVC];
    [self addChildViewController:nav];

    // 收藏
    CollectionController *collectionVC = [[CollectionController alloc] init];
    nav = [[BeyondNavigationController alloc] initWithRootViewController:collectionVC];
    [self addChildViewController:nav];

    // 我的
    MineController *mineVC = [[MineController alloc] init];
    nav = [[BeyondNavigationController alloc] initWithRootViewController:mineVC];
    [self addChildViewController:nav];

    // 預設選中第 0 個
    [self dock:nil tabChangeFromIndex:0 toIndex:0];
}
@end
自訂導覽控制器:統一外觀
把全專案的導覽列樣式集中在 +initialize 裡,透過 appearance 一次改完,各頁面就不用重複設定。
@implementation BeyondNavigationController

+ (void)initialize {
    UINavigationBar *naviBar = [UINavigationBar appearance];
    [naviBar setBackgroundImage:[UIImage imageStretchedWithName:@"bg_navigation.png"]
                  forBarMetrics:UIBarMetricsDefault];
    [naviBar setTitleTextAttributes:@{
        NSForegroundColorAttributeName : [UIColor blackColor],
        NSShadowAttributeName : [NSValue valueWithUIOffset:UIOffsetZero]
    }];

    UIBarButtonItem *barBtnItem = [UIBarButtonItem appearance];
    [barBtnItem setBackgroundImage:[UIImage imageStretchedWithName:@"bg_navigation_right.png"]
                          forState:UIControlStateNormal
                        barMetrics:UIBarMetricsDefault];
    [barBtnItem setBackgroundImage:[UIImage imageStretchedWithName:@"bg_navigation_right_hl.png"]
                          forState:UIControlStateHighlighted
                        barMetrics:UIBarMetricsDefault];

    NSDictionary *dict = @{
        NSForegroundColorAttributeName : [UIColor darkGrayColor],
        NSShadowAttributeName : [NSValue valueWithUIOffset:UIOffsetZero],
        NSFontAttributeName : [UIFont systemFontOfSize:16]
    };
    [barBtnItem setTitleTextAttributes:dict forState:UIControlStateNormal];
    [barBtnItem setTitleTextAttributes:dict forState:UIControlStateHighlighted];

    [UIApplication sharedApplication].statusBarStyle = UIStatusBarStyleLightContent;
}
@end
Dock 的組成
Dock 由上而下依序是:Logo、四個 Tab 按鈕(團購/地圖/收藏/我的)、分隔線、定位按鈕、更多按鈕。它同時負責把「誰被點了」透過代理事件告訴主控制器。
@interface Dock ()
{
    DockItemTab *_currentTab;   // 目前選中的那一個
}
@end

@implementation Dock

- (id)initWithFrame:(CGRect)frame {
    self = [super initWithFrame:frame];
    if (self) {
        [self setDockPositionAndBg];
        [self addLogo];
        [self addMoreBtn];
        [self addLocationBtn];
        [self addFourTabBtn];
    }
    return self;
}

- (void)setDockPositionAndBg {
    // 高度與右間距自動伸縮
    self.autoresizingMask = UIViewAutoresizingFlexibleHeight | UIViewAutoresizingFlexibleRightMargin;
    self.backgroundColor = [UIColor colorWithPatternImage:[UIImage imageNamed:@"bg_tabbar.png"]];
}

- (void)addOneTabBtn:(NSString *)iconName
        selectedIcon:(NSString *)selectedIconName
               index:(int)index {
    DockItemTab *tab = [[DockItemTab alloc] init];
    [tab setIcon:iconName selectedIcon:selectedIconName];
    tab.frame = CGRectMake(0, kDockItemH * (index + 1), 0, 0);
    // 選項卡只要手指碰到就切換
    [tab addTarget:self action:@selector(tabBtnClick:) forControlEvents:UIControlEventTouchDown];
    tab.tag = index;
    [self addSubview:tab];

    if (index == 0) {
        [self tabBtnClick:tab];
    }
}

// Dock 收到點擊,再通知它的代理(也就是主控制器)
- (void)tabBtnClick:(DockItemTab *)tab {
    if ([_delegate respondsToSelector:@selector(dock:tabChangeFromIndex:toIndex:)]) {
        [_delegate dock:self tabChangeFromIndex:_currentTab.tag toIndex:tab.tag];
    }
    _currentTab.enabled = YES;   // 上一個恢復(圖片 enable 態為黑色)
    tab.enabled = NO;            // 這一個高亮(disable 態為白色)
    _currentTab = tab;
}

#pragma mark 內定寬度,禁止外部修改
- (void)setFrame:(CGRect)frame {
    frame.size.width = kDockItemW;
    [super setFrame:frame];
}
@end
這套做法的代價
用 frame + autoresizingMask 手刻版面,在只有一個固定 Dock 的情境下很有效,程式碼也一目了然。但它撐不住更複雜的版面:一旦需要面對 iPhone、不同分割比例、或更細的 breakpoint,就會變成 if 判斷的泥團。新專案建議改用 Auto Layout 搭配 UISplitViewController,把「左側固定、右側伸縮」這個結構直接交給系統;上面這個 contentView 的思路仍然值得借用,只是改用 constraint 來表達它。
另外提醒兩點:UIPopoverController 與 interfaceOrientation 相關寫法在近年 iOS 版本中已大幅變動,實作時請對照目前 SDK;而 +initialize 中設定全域外觀雖然方便,卻會讓外觀變成隱性的全域狀態,除錯時不容易看出樣式從哪來,大型專案通常會改成明確呼叫的 setupAppearance 方法。
- 上一篇文章: iOS 程式碼分塊整理的兩個小技巧
- 下一篇文章: Unity3D 開發筆記:在 iOS 平台接入 Google Admob(上)