
iOS Core Animation 之八:深入顯式動畫
「如果想讓事情變得順利,只有靠自己。」——夏爾·紀堯姆
上一章我們介紹了隱式動畫的概念。隱式動畫是在 iOS 平台上創建動態使用者介面最直接的方式,也是 UIKit 動畫機制的基礎,但它並不能覆蓋所有動畫類型。本章我們來研究「顯式動畫」——它能對某些屬性做定製化的指定動畫,也能創建非線性動畫,例如讓圖層沿著任意曲線移動。
屬性動畫
屬性動畫作用於圖層的某個單一屬性,並為它指定一個目標值,或一連串要做動畫的值。屬性動畫分為兩類:基礎動畫與關鍵幀動畫。
基礎動畫
動畫本質上就是一段時間內發生的改變,最簡單的形式就是從一個值變化到另一個值,這正是 CABasicAnimation 的主要功能。CABasicAnimation 是 CAPropertyAnimation 的子類,而 CAPropertyAnimation 又是 Core Animation 所有動畫類型的抽象基類。
作為抽象類,CAAnimation 本身並不做太多工作,它提供了一個計時函數、一個用於反饋動畫狀態的委託,以及一個標識動畫結束後是否自動釋放的 removedOnCompletion(默認 YES,以防內存洩露)。同時它還實現了 CAAction(允許動畫子類提供圖層行為)與 CAMediaTiming 等協議。
CAPropertyAnimation 通過指定 keyPath 作用於單一屬性。這裡的 keyPath 是一個關鍵「路徑」,而非單純的屬性名,因此動畫不僅能作用於圖層自身的屬性,還能作用於其子成員的屬性,甚至一些「虛擬」屬性。
CABasicAnimation 在 CAPropertyAnimation 基礎上新增了三個屬性:
id fromValue
id toValue
id byValue
顧名思義:fromValue 代表動畫開始前的值,toValue 代表動畫結束後的值,byValue 代表動畫過程中改變的量。這三者被定義為 id 類型,是因為屬性動畫可用於數字、矢量、變換矩眼看矩陣、顏色甚至圖片等多種屬性類型。
需要注意的是,為了避免衝突,不能同時指定這三個值。例如同時設置 fromValue=2、toValue=4、byValue=3,Core Animation 就無法判斷結果應為 4 還是 5。一般只需指定 toValue 或 byValue,其餘的值會由上下文自動推算。
示例:用 CABasicAnimation 替換隱式動畫
我們把第七章的顏色漸變動畫改用顯式的 CABasicAnimation 實現:
- (IBAction)changeColor {
    // 生成一個隨機顏色
    CGFloat red = arc4random() / (CGFloat)INT_MAX;
    CGFloat green = arc4random() / (CGFloat)INT_MAX;
    CGFloat blue = arc4random() / (CGFloat)INT_MAX;
    UIColor *color = [UIColor colorWithRed:red green:green blue:blue alpha:1.0];
    // 創建基礎動畫
    CABasicAnimation *animation = [CABasicAnimation animation];
    animation.keyPath = @"backgroundColor";
    animation.toValue = (__bridge id)color.CGColor;
    // 應用動畫到圖層
    [self.colorLayer addAnimation:animation forKey:nil];
}
運行後會發現一個問題:點擊按鈕的確能觸發顏色過渡,但動畫結束後圖層立刻變回原始顏色。這是因為動畫並沒有改變圖層的「模型」,而只是改變了它的「呈現」。一旦動畫結束並從圖層移除,圖層就恢復到之前定義的外觀狀態。
解決思路有兩種:在動畫開始之前更新屬性值,或在動畫結束之後更新。前者最簡單,但需要手動把 fromValue 設為圖層當前值。更完善的做法是從「呈現圖層」取值,並用 CATransaction 禁用隱式動畫:
CALayer *layer = self.colorLayer.presentationLayer ?: self.colorLayer;
animation.fromValue = (__bridge id)layer.backgroundColor;
[CATransaction begin];
[CATransaction setDisableActions:YES];
self.colorLayer.backgroundColor = color.CGColor;
[CATransaction commit];
為避免每次都寫這一大段程式碼,我們可以封裝一個可複用方法:
- (void)applyBasicAnimation:(CABasicAnimation *)animation toLayer:(CALayer *)layer {
    // 使用呈現圖層設置起始值
    animation.fromValue = [layer.presentationLayer ?: layer valueForKeyPath:animation.keyPath];
    // 提前更新屬性
    [CATransaction begin];
    [CATransaction setDisableActions:YES];
    [layer setValue:animation.toValue forKeyPath:animation.keyPath];
    [CATransaction commit];
    // 應用動畫
    [layer addAnimation:animation forKey:nil];
}
CAAnimationDelegate
如果選擇在動畫結束後再更新屬性,就需要一個實現了 CAAnimationDelegate 協議的委託。我們用 -animationDidStop:finished: 方法在動畫結束時更新 backgroundColor。注意更新屬性時要開啟新的事務並禁用圖層行為,否則動畫會觸發兩次(顯式與隱式各一次)。
使用委託模式的一個困擾是:當有多個動畫時,回調方法無法直接區分是哪個動畫。一個巧妙的解法是利用 KVC——CAAnimation 的行為很像 NSDictionary,允許你用 -setValue:forKey: 掛上任意標籤。例如給每個指針動畫打上「handView」標記,就能在回調中準確辨識並更新對應指針。
不過要特別提醒:委託回調可能在動畫「返回初始狀態之前」就被調用,這一點在模擬器上未必明顯,但真機上卻會出現指針閃回原位的情況。這也說明了「動畫程式碼一定要在真實設備上測試」的重要性。更優雅的解法是使用下一章要講的 fillMode 屬性。
關鍵幀動畫
CAKeyframeAnimation 同樣是 CAPropertyAnimation 的子類,但它不限於設置起止兩個值,而是能根據一連串任意的值來做動畫。「關鍵幀」源自傳統動畫,指的是主導的、發生顯著改變的幀,其餘中間幀由系統自動插值補全。
- (IBAction)changeColor {
    CAKeyframeAnimation *animation = [CAKeyframeAnimation animation];
    animation.keyPath = @"backgroundColor";
    animation.duration = 2.0;
    animation.values = @[
        (__bridge id)[UIColor blueColor].CGColor,
        (__bridge id)[UIColor redColor].CGColor,
        (__bridge id)[UIColor greenColor].CGColor,
        (__bridge id)[UIColor blueColor].CGColor ];
    [self.colorLayer addAnimation:animation forKey:nil];
}
注意序列的首尾都是藍色,這是因為 CAKeyframeAnimation 不會自動把當前值作為第一幀,動畫開始時會突然跳到第一幀的值,結束時又突然恢復原值。為保證過渡平滑,需要讓首尾關鍵幀與當前屬性值一致。此外,由於動畫以「恆定步調」運行,看起來會有些不自然,這就需要調整「緩衝」,第十章程會詳細說明。
除了提供值數組,CAKeyframeAnimation 還可以用 CGPath 直觀地描述運動軌跡。下面用一個宇宙飛船沿貝塞爾曲線移動的例子來演示:
- (void)viewDidLoad {
    [super viewDidLoad];
    // 創建路徑
    UIBezierPath *bezierPath = [[UIBezierPath alloc] init];
    [bezierPath moveToPoint:CGPointMake(0, 150)];
    [bezierPath addCurveToPoint:CGPointMake(300, 150) controlPoint1:CGPointMake(75, 0) controlPoint2:CGPointMake(225, 300)];
    // 用 CAShapeLayer 繪製曲線
    CAShapeLayer *pathLayer = [CAShapeLayer layer];
    pathLayer.path = bezierPath.CGPath;
    pathLayer.fillColor = [UIColor clearColor].CGColor;
    pathLayer.strokeColor = [UIColor redColor].CGColor;
    pathLayer.lineWidth = 3.0f;
    [self.containerView.layer addSublayer:pathLayer];
    // 添加飛船
    CALayer *shipLayer = [CALayer layer];
    shipLayer.frame = CGRectMake(0, 0, 64, 64);
    shipLayer.position = CGPointMake(0, 150);
    shipLayer.contents = (__bridge id)[UIImage imageNamed:@"Ship.png"].CGImage;
    [self.containerView.layer addSublayer:shipLayer];
    // 創建關鍵幀動畫
    CAKeyframeAnimation *animation = [CAKeyframeAnimation animation];
    animation.keyPath = @"position";
    animation.duration = 4.0;
    animation.path = bezierPath.CGPath;
    [shipLayer addAnimation:animation forKey:nil];
}

圖 8.1 沿著貝塞爾曲線移動的宇宙飛船
此時飛船雖然沿曲線移動,卻始終朝向右方,顯得不夠真實。為了解決這個問題,蘋果為 CAKeyframeAnimation 提供了 rotationMode 屬性。將它設為 kCAAnimationRotateAuto,圖層便會自動依據曲線切線方向旋轉:
animation.rotationMode = kCAAnimationRotateAuto;
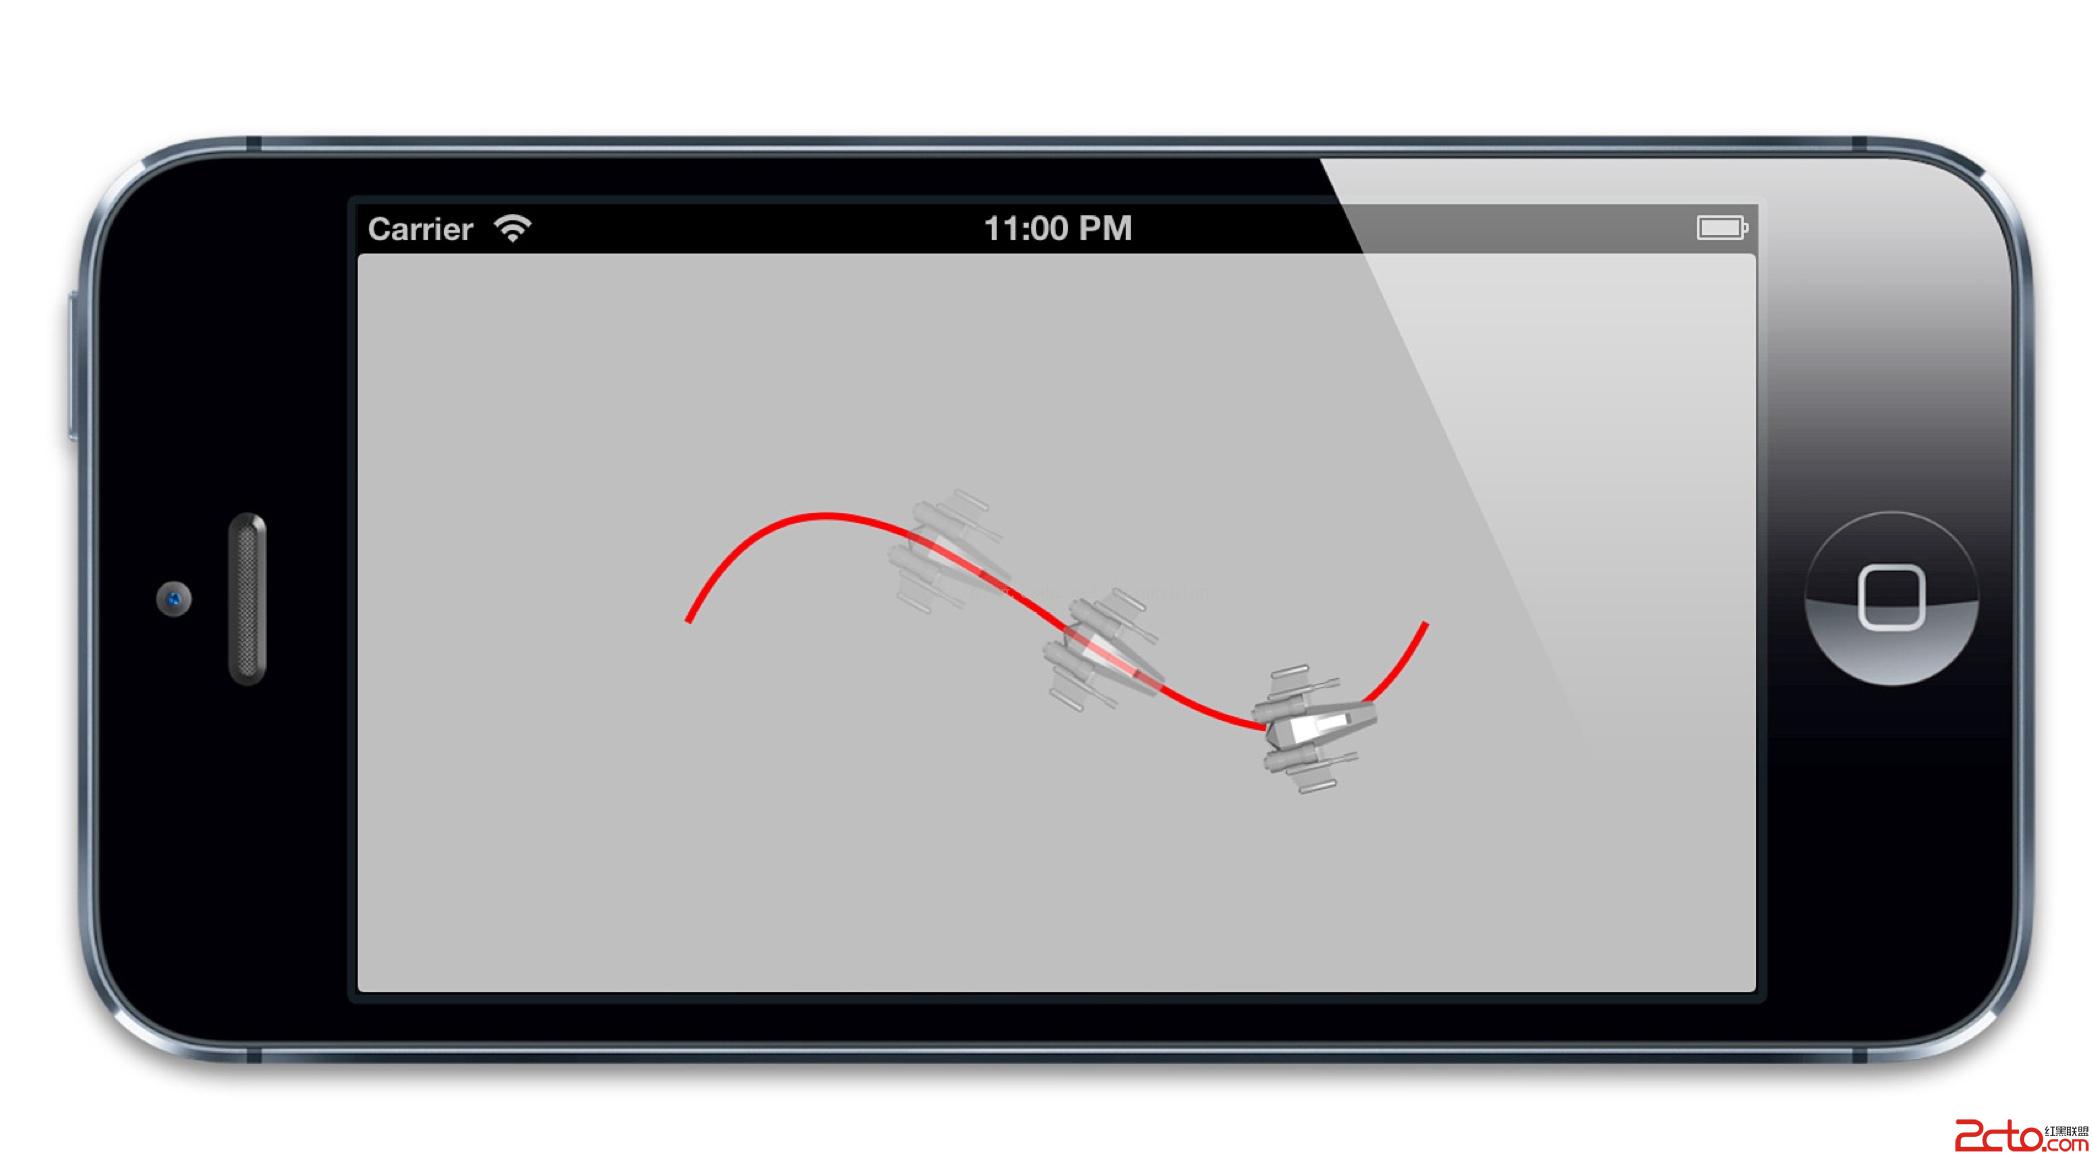
圖 8.2 匹配曲線切線方向的飛船圖層
虛擬屬性
前面提到,屬性動畫針對的是關鍵「路徑」,因此可以對子屬性乃至「虛擬屬性」做動畫。考慮一個旋轉動畫:若直接對 transform 做動畫,當你把角度從 M_PI(180 度)改成 2 * M_PI(360 度)時,飛船會完全不動——因為 360 度矩陣等同於 0 度,最終值根本沒變;而改用 byValue 時,矩陣又無法像角度那樣疊加,飛船只會放大而不旋轉。
更好的方案是對 transform.rotation 這個虛擬關鍵路徑應用動畫:
CABasicAnimation *animation = [CABasicAnimation animation];
animation.keyPath = @"transform.rotation";
animation.duration = 2.0;
animation.byValue = @(M_PI * 2);
[shipLayer addAnimation:animation forKey:nil];
這樣做的好處是:可以不借助關鍵幀旋轉超過 180 度、可以用相對值(byValue)旋轉、可以用簡單數值指定角度,並且不會與 transform.position 或 transform.scale 衝突。值得注意的是,transform.rotation 其實並不存在——CATransform3D 是結構體而非物件,不符合 KVC 規範,它是 CALayer 專門用來處理變換動畫的虛擬屬性。當你對它做動畫時,Core Animation 會通過 CAValueFunction 自動計算出真正的 CATransform3D 矩陣。
動畫組
CAAnimationGroup 同樣繼承自 CAAnimation,它提供了一個 animations 數組屬性,可以把多個動畫組合成一個獨立單元:
CAAnimationGroup *groupAnimation = [CAAnimationGroup animation];
groupAnimation.animations = @[animation1, animation2];
groupAnimation.duration = 4.0;
[colorLayer addAnimation:groupAnimation forKey:nil];
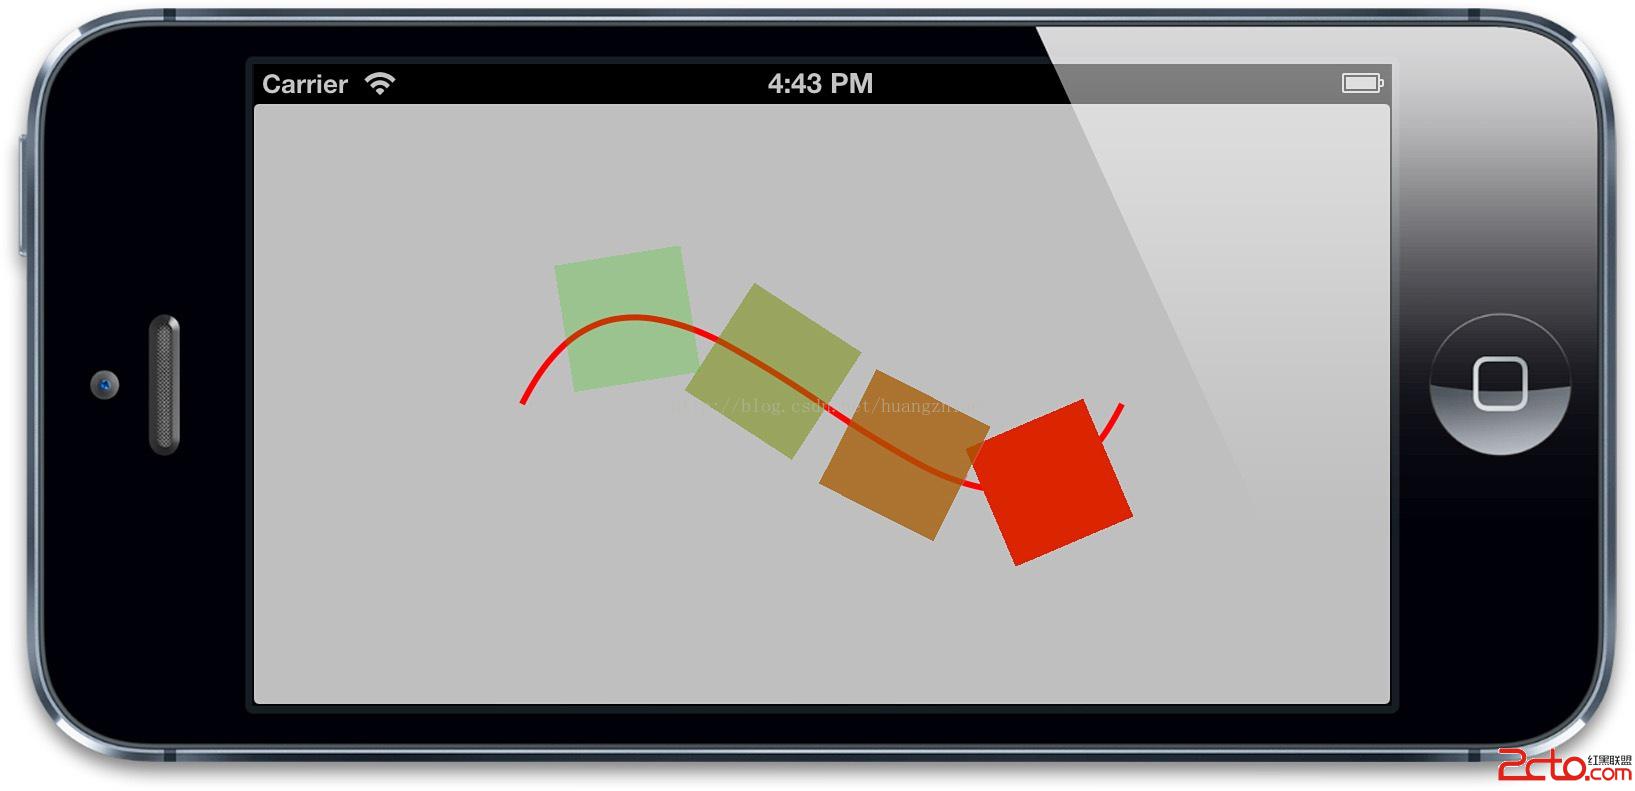
圖 8.3 關鍵幀路徑動畫與基礎動畫的組合
過渡
屬性動畫只對圖層的可動畫屬性生效。若要改變無法動畫的屬性(比如替換圖片),或在層級關係中添加、移除圖層,就需要用到「過渡」。過渡不像屬性動畫那樣在兩值間平滑插值,而是影響整個圖層的變化:先展示舊外觀,再通過交換過渡到新外觀。
創建過渡動畫使用 CATransition,它有 type 與 subtype 兩個屬性。type 可取以下四種:
kCATransitionFade
kCATransitionMoveIn
kCATransitionPush
kCATransitionReveal
默認類型是 kCATransitionFade,即淡入淡出。kCATransitionPush 讓新圖層從一側滑入、舊圖層從另一側被推出。MoveIn 與 Reveal 也實現定向滑動,但細節不同:MoveIn 讓新圖層滑入而不推走舊圖層,Reveal 則讓舊圖層滑出以顯示新外觀。後三者可通過 subtype 控制方向(FromRight/FromLeft/FromTop/FromBottom)。
下面用 CATransition 為 UIImageView 的圖片切換添加淡入淡出效果:
- (IBAction)switchImage {
    CATransition *transition = [CATransition animation];
    transition.type = kCATransitionFade;
    [self.imageView.layer addAnimation:transition forKey:nil];
    // 循環切換到下一張圖片
    UIImage *currentImage = self.imageView.image;
    NSUInteger index = [self.images indexOfObject:currentImage];
    index = (index + 1) % [self.images count];
    self.imageView.image = self.images[index];
}
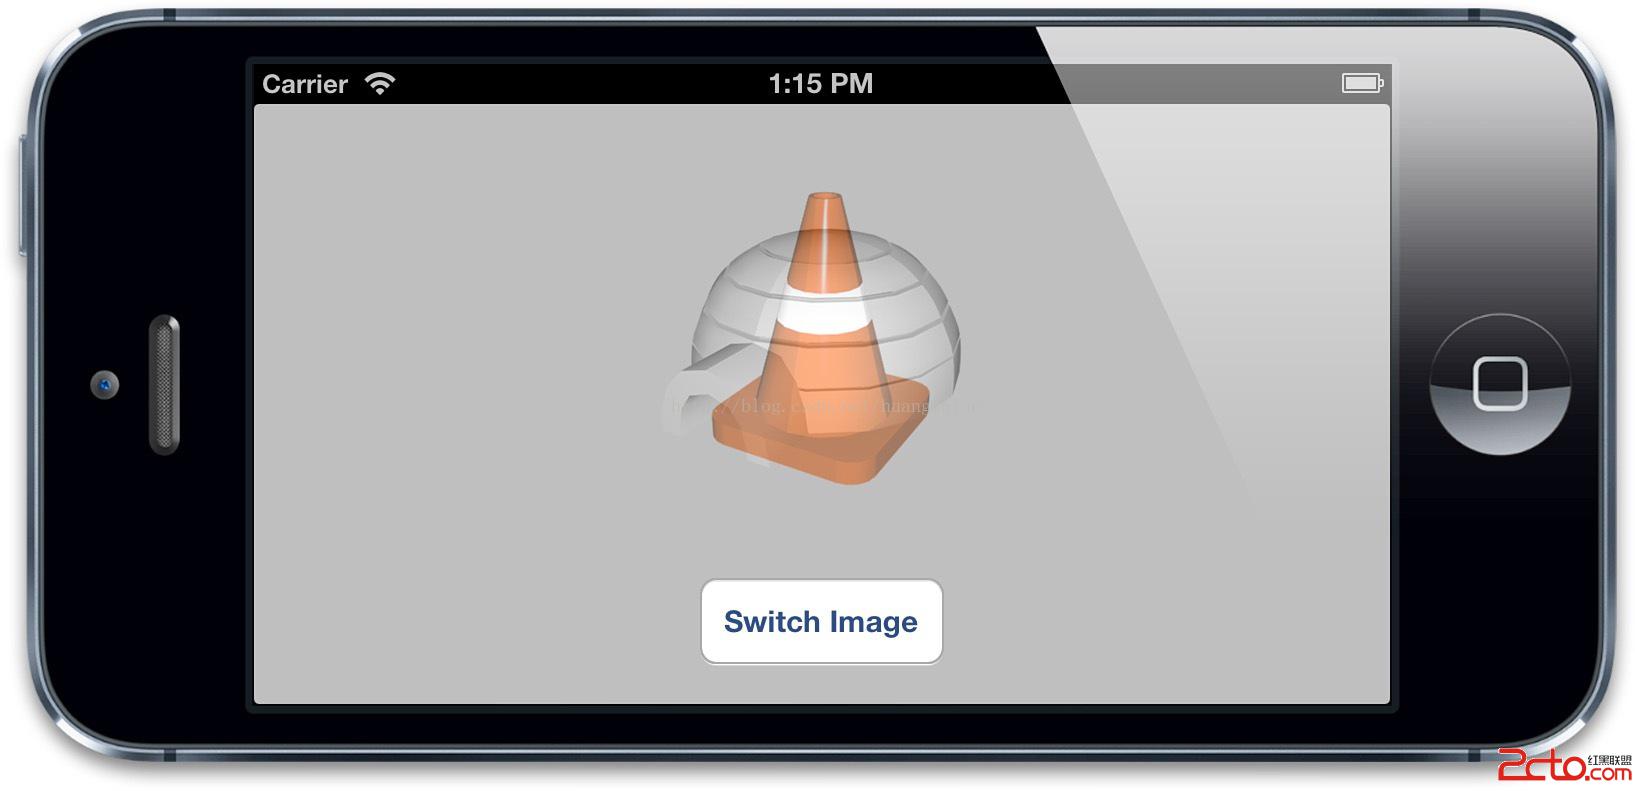
圖 8.4 使用 CATransition 讓圖像平滑淡入淡出
與屬性動畫不同,對指定圖層一次只能使用一個 CATransition,無論你給動畫設置什麼 key,它都會被設為常量 kCATransition。
對圖層樹的動畫
CATransition 並不作用於具體的圖層屬性,因此你可以在無法準確得知「改了什麼」的情況下對圖層做動畫,例如直接平滑刷新整個 UITabBarController 的切換:
- (void)tabBarController:(UITabBarController *)tabBarController didSelectViewController:(UIViewController *)viewController {
    CATransition *transition = [CATransition animation];
    transition.type = kCATransitionFade;
    [self.tabBarController.view.layer addAnimation:transition forKey:nil];
}
關鍵技巧是:要把動畫添加到「不會被移除」的 superlayer 上,否則 CATransition 會跟著被影響的圖層一起消失。
自定義動畫
除了 CATransition,UIKit 還提供了 UIView 的過渡方法(如 transitionWithView:duration:options:animations:),它支持翻轉、捲曲等更豐富的效果。若這些都滿足不了需求,還可以自己實現:核心思路是先用 -renderInContext: 對當前視圖截圖,把截圖視圖蓋在原視圖上遮住變化,再對截圖做任意動畫:
- (IBAction)performTransition {
    // 截取當前視圖快照
    UIGraphicsBeginImageContextWithOptions(self.view.bounds.size, YES, 0.0);
    [self.view.layer renderInContext:UIGraphicsGetCurrentContext()];
    UIImage *coverImage = UIGraphicsGetImageFromCurrentImageContext();
    // 把快照視圖插入到最上層
    UIView *coverView = [[UIImageView alloc] initWithImage:coverImage];
    coverView.frame = self.view.bounds;
    [self.view addSubview:coverView];
    // 更新原視圖(此處隨機改變背景色)
    self.view.backgroundColor = [UIColor colorWithRed:arc4random()/(CGFloat)INT_MAX green:arc4random()/(CGFloat)INT_MAX blue:arc4random()/(CGFloat)INT_MAX alpha:1.0];
    // 執行自定義動畫:縮放、旋轉並淡出
    [UIView animateWithDuration:1.0 animations:^{
        CGAffineTransform transform = CGAffineTransformMakeScale(0.01, 0.01);
        transform = CGAffineTransformRotate(transform, M_PI_2);
        coverView.transform = transform;
        coverView.alpha = 0.0;
    } completion:^(BOOL finished) {
        [coverView removeFromSuperview];
    }];
}
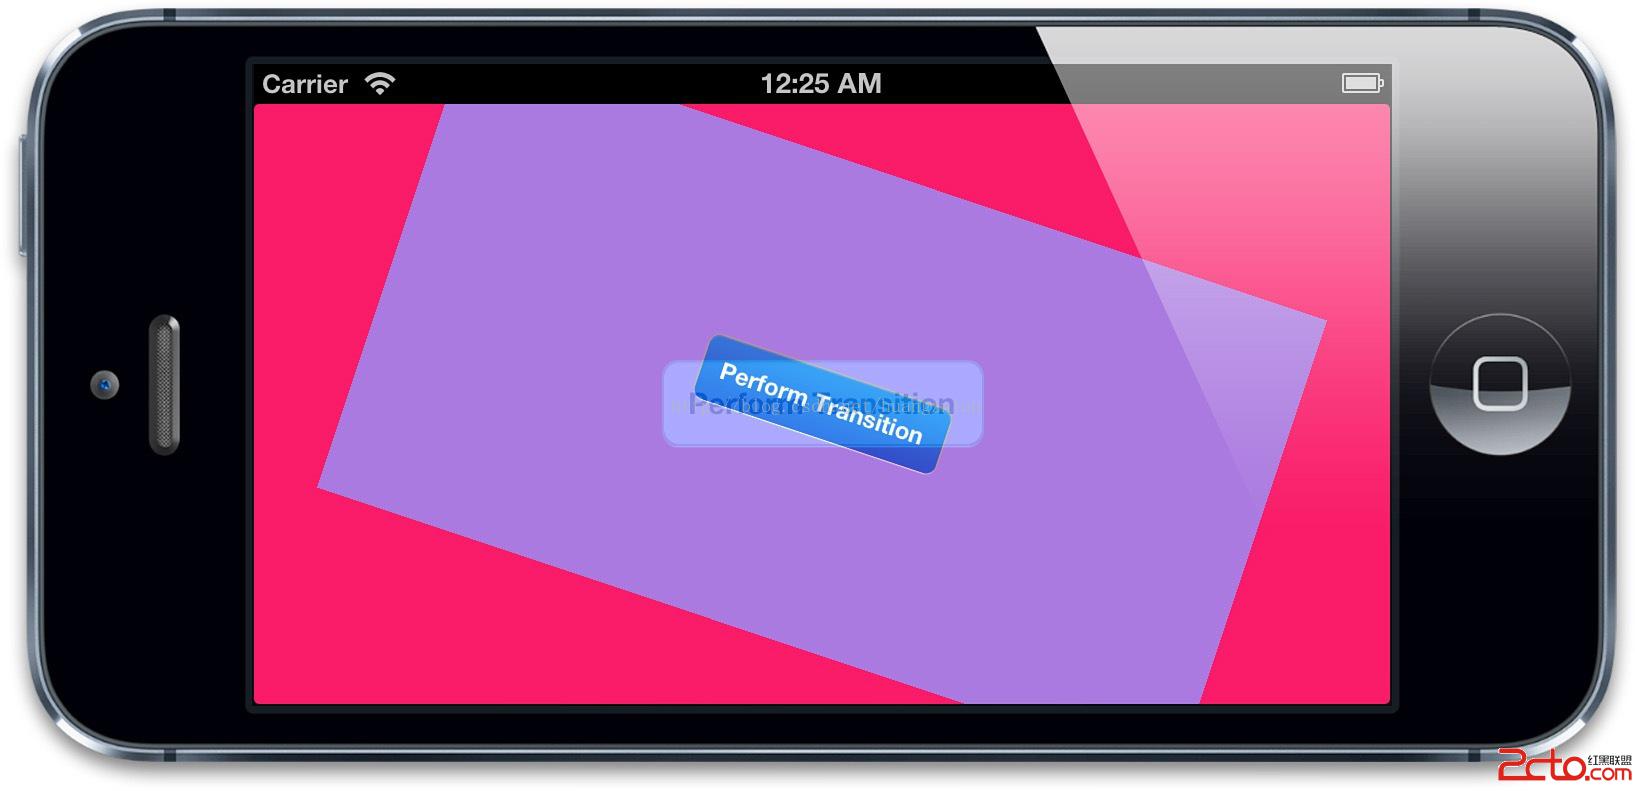
圖 8.5 使用 renderInContext: 創建自定義過渡效果
需要提醒的是:-renderInContext: 無法正確處理子圖層的變換,也對視頻和 OpenGL 內容無效,而 CATransition 或私有截屏 API 則沒有這些限制。
在動畫過程中取消動畫
你可以用 -animationForKey: 檢索已添加的動畫(主要用於檢測屬性),但不支持在運行中修改它。若要終止動畫,用 -removeAnimationForKey: 移除指定動畫,或用 -removeAllAnimations 移除全部。動畫一旦被移除,圖層外觀會立刻更新為模型圖層的值。
- (IBAction)start {
    CABasicAnimation *animation = [CABasicAnimation animation];
    animation.keyPath = @"transform.rotation";
    animation.duration = 2.0;
    animation.byValue = @(M_PI * 2);
    animation.delegate = self;
    [self.shipLayer addAnimation:animation forKey:@"rotateAnimation"];
}

- (IBAction)stop {
    [self.shipLayer removeAnimationForKey:@"rotateAnimation"];
}
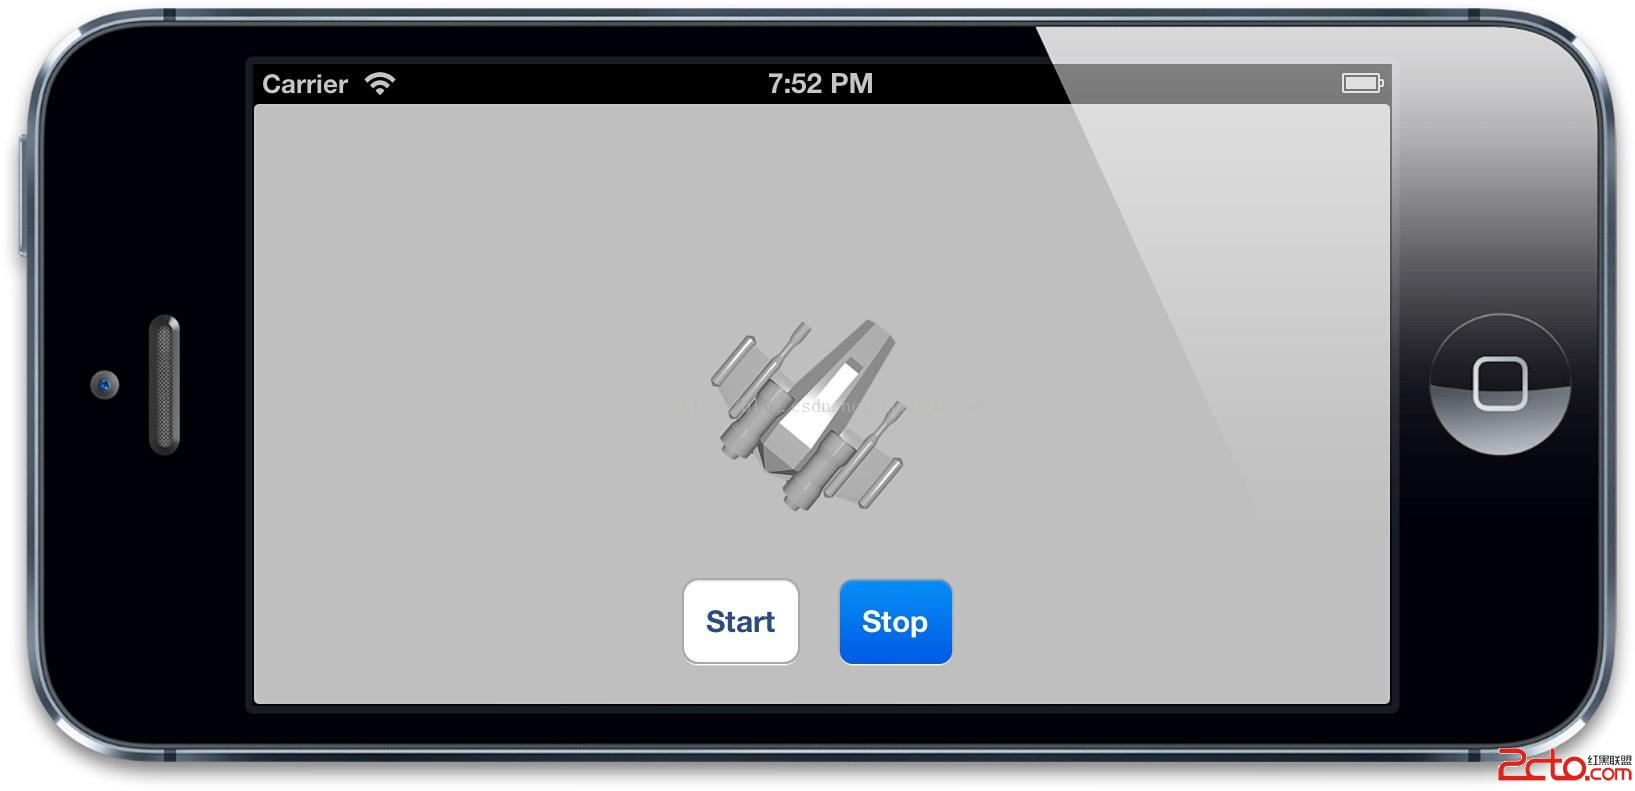
圖 8.6 通過開始/停止按鈕控制的旋轉動畫
回調方法 -animationDidStop:finished: 中的 flag 參數能表明動畫是自然結束(YES)還是被打斷(NO)。
總結
本章我們學習了三種核心動畫:屬性動畫(對單一屬性做精細控制)、動畫組(把多個動畫組合成一個單元),以及過渡(影響整個圖層,可對任意內容乃至子圖層的增刪做動畫)。在下一章中,我們將學習 CAMediaTiming 協議,看看 Core Animation 是如何處理「時間」這個概念的。