
iOS 多線程:NSThread 的三種建立方式
編輯:iOS 開發綜合
GCD 出現之前,NSThread 是 iOS 上開線程的主要手段;即便今天,在需要精確控制線程生命週期或設定線程優先級時,NSThread 仍有其位置。本文整理三種建立線程的寫法,並用同一個方法驗證它們確實跑在不同線程上。
取得當前線程
#import "ViewController.h"

@interface ViewController ()
@end

@implementation ViewController

- (void)viewDidLoad {
    [super viewDidLoad];
}

// 用戶點擊螢幕時觸發
- (void)touchesBegan:(NSSet *)touches withEvent:(UIEvent *)event {
    [self testThread];
}

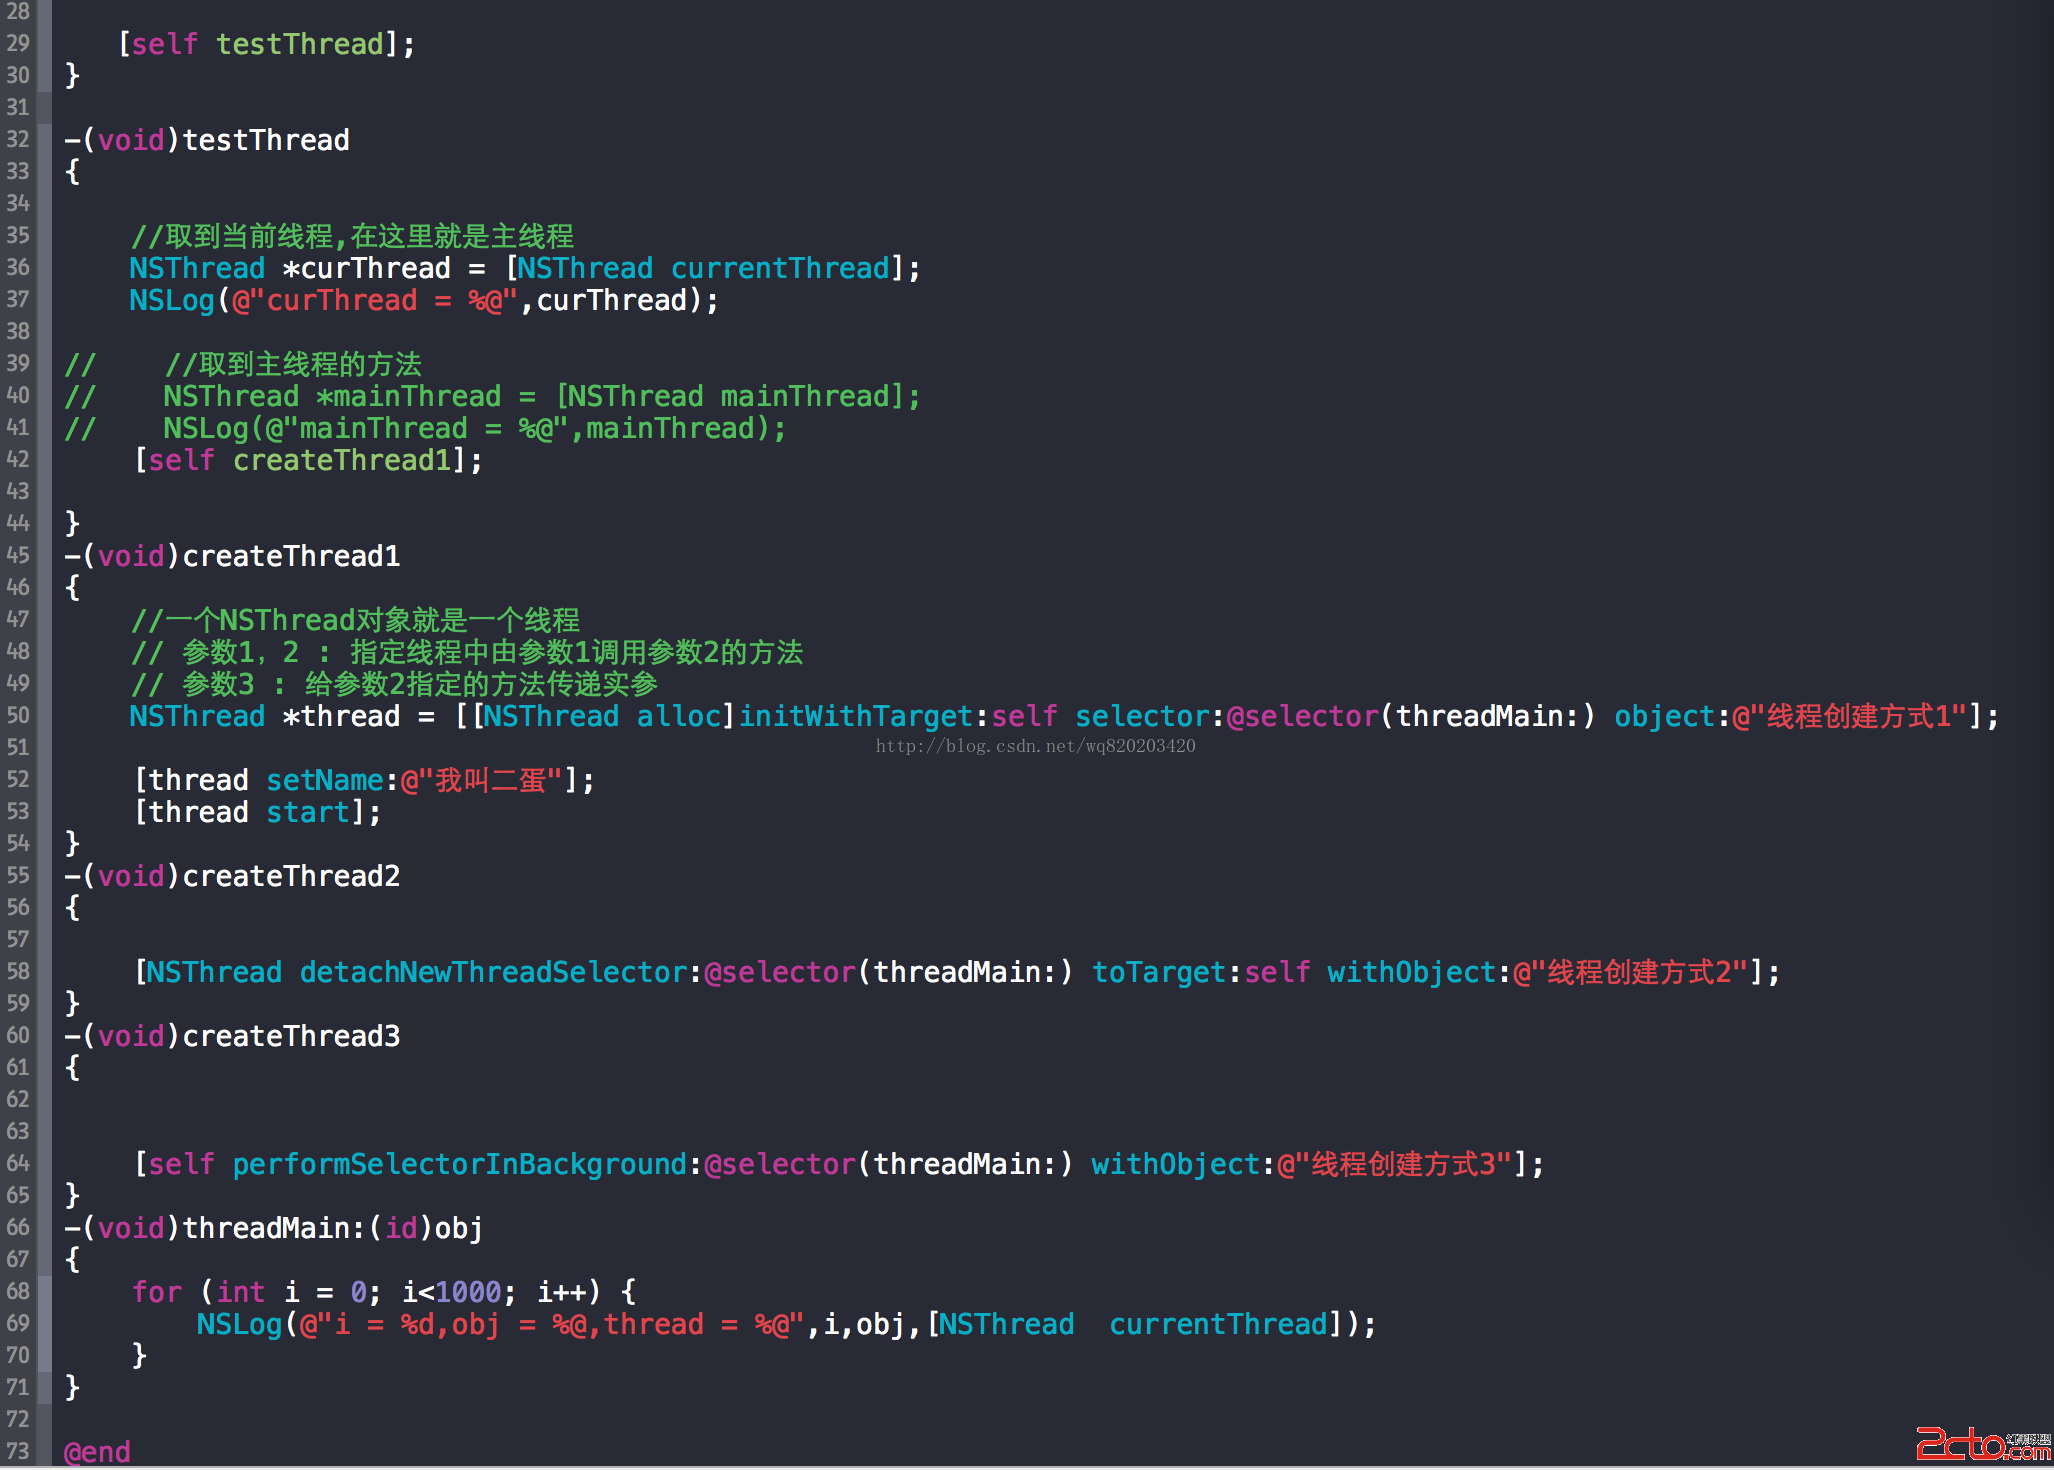
- (void)testThread {
    // 取到當前線程,這裡就是主線程
    NSThread *curThread = [NSThread currentThread];
    NSLog(@"curThread = %@", curThread);

    // 取主線程的另一種寫法
    // NSThread *mainThread = [NSThread mainThread];
    // NSLog(@"mainThread = %@", mainThread);

    [self createThread1];
}
方式一:alloc/init + start
一個 NSThread 對象就是一個線程。參數依次是:target(接收消息的對象)、selector(要執行的選擇器)、object(傳給該方法的參數)。這種方式的好處是可以先設定名稱、優先級,再決定何時 start。
- (void)createThread1 {
    NSThread *thread = [[NSThread alloc] initWithTarget:self
                                              selector:@selector(threadMain:)
                                                object:@"線程創建方式1"];
    [thread setName:@"我叫二蛋"];
    [thread start];
}
方式二:detachNewThreadSelector
一行代碼建立並立即啟動,最為簡潔:
- (void)createThread2 {
    [NSThread detachNewThreadSelector:@selector(threadMain)
                            toTarget:self
                          withObject:@"線程創建方式2"];
}
方式三:performSelectorInBackground
以「在後台執行某方法」的語義建立線程,寫法最直觀:
- (void)createThread3 {
    [self performSelectorInBackground:@selector(threadMain)
                           withObject:@"線程創建方式3"];
}
線程主體
- (void)threadMain:(id)obj {
    for (int i = 0; i < 1000; i++) {
        NSLog(@"i = %d, obj = %@, thread = %@", i, obj, [NSThread currentThread]);
    }
}
補充:NSThread 的實用能力
除了建立線程,NSThread 還提供了一些實用接口:
// 睡眠指定秒數
[NSThread sleepForTimeInterval:2.0];

// 睡眠到指定時刻
[NSThread sleepUntilDate:[NSDate dateWithTimeIntervalSinceNow:3.0]];

// 判斷是否為主線程
if ([NSThread isMainThread]) { /* ... */ }

// 在主線程排隊執行(不阻塞)
[self performSelectorOnMainThread:@selector(updateUI)
                       withObject:nil
                    waitUntilDone:NO];
最後提醒:新專案請優先使用 GCD 或 NSOperation。NSThread 需要自己管理線程數量與生命週期,容易開出過多線程拖垮效能;而 GCD 會依系統負載自動調度線程池,是更省心也更高效的选择。
- 上一篇文章: iOS GCD 線程安全:用鎖保護共享資源
- 下一篇文章: iOS UIScrollView 代理實戰:滾動與縮放的關鍵方法