
MapKit 入門:在 iOS 中顯示地圖與位置標注
編輯:iOS 開發綜合
iOS 內建的 MapKit 框架就能完成大部分基礎地圖需求,不必一開始就引入第三方服務。
基本步驟
- 匯入 MapKit。
- 讓 ViewController 遵循
MKMapViewDelegate協定。 - 在畫面上擺一個 MKMapView。
- 準備 region 資訊,也就是以哪個座標為中心、方圓多廣。
- 呼叫 mapView 的
setRegion:animated:。 - 需要時加上位置標注 annotation。
ViewController
import UIKit
import MapKit

class ViewController: UIViewController, MKMapViewDelegate {

    @IBOutlet weak var mapView: MKMapView!

    override func viewDidLoad() {
        super.viewDidLoad()

        mapView.delegate = self   // 遵循 MKMapViewDelegate 協定後設定 delegate

        let location = CLLocationCoordinate2D(latitude: 22.284681, longitude: 114.158177)
        let span = MKCoordinateSpanMake(0.05, 0.05)

        // region 可視為以 location 為中心、方圓多少範圍
        let region = MKCoordinateRegion(center: location, span: span)

        // mapView.mapType = MKMapType.standard
        mapView.setRegion(region, animated: true)
    }
}
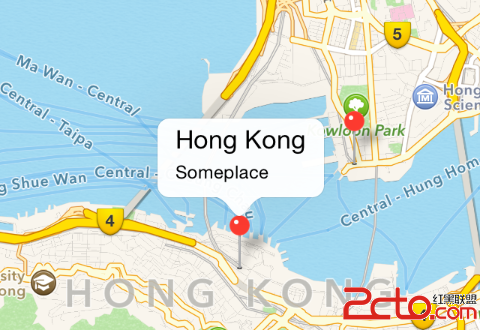
準備好 location,再對 mapView 做一次 setRegion,地圖就出來了。
加上位置標注
// 第一個標注
let annotation = MKPointAnnotation()
annotation.coordinate = location
annotation.title = "Hong Kong"
annotation.subtitle = "Someplace"
mapView.addAnnotation(annotation)

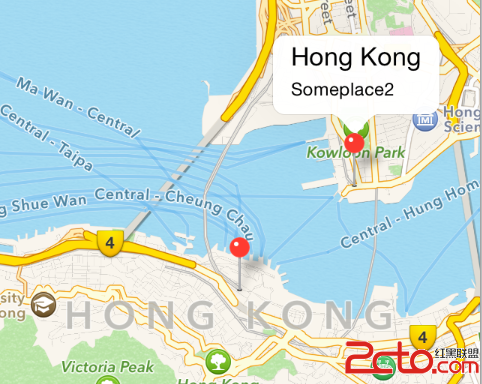
// 第二個標注
let location2 = CLLocationCoordinate2D(latitude: 22.294681, longitude: 114.170177)
let annotation2 = MKPointAnnotation()
annotation2.coordinate = location2
annotation2.title = "Hong Kong"
annotation2.subtitle = "Someplace2"
mapView.addAnnotation(annotation2)
| annotation 1 | annotation 2 |
|---|---|
 |
 |
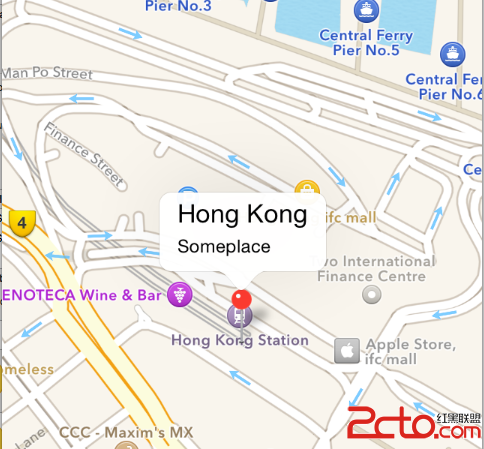
標注出現時順帶調整視野
有時我們希望標注一被加進地圖,畫面就自動縮放到那個位置:
// 呈現該 annotation 時呼叫
func mapView(_ mapView: MKMapView, didAddAnnotationViews views: [MKAnnotationView]) {
    println("didAddAnnotationViews")

    let annotationView: MKAnnotationView = views[0]
    let annotation = annotationView.annotation

    let region = MKCoordinateRegionMakeWithDistance(annotation.coordinate, 500, 500)
    self.mapView.centerCoordinate = region.center
    self.mapView.setRegion(region, animated: true)
    self.mapView.selectAnnotation(annotation, animated: true)
}
如此一來,標注一顯示,畫面就跳到以它為中心、方圓 500 公尺的區域並自動選中。
MapKit 還能做路線規劃、使用者定位、地圖樣式切換等事,但上面這幾個步驟已經足夠應付「顯示一個位置並標記起來」這類最常見的需求。
- 上一篇文章: iOS 播放系統音效與自訂音效的完整做法
- 下一篇文章: iOS 點擊事件是怎麼被處理的:hitTest 與事件穿透