
iOS 入門實戰:UIButton 與 UILabel 的互動應用
編輯:iOS 開發綜合
本文示範如何初始化 UIButton 與 UILabel 物件,並為按鈕添加點擊事件監聽,在點擊時把 Label 的文字更新為當前時間。這是一個能幫助初學者理解控件互動的經典小例子。
運行效果如下圖:
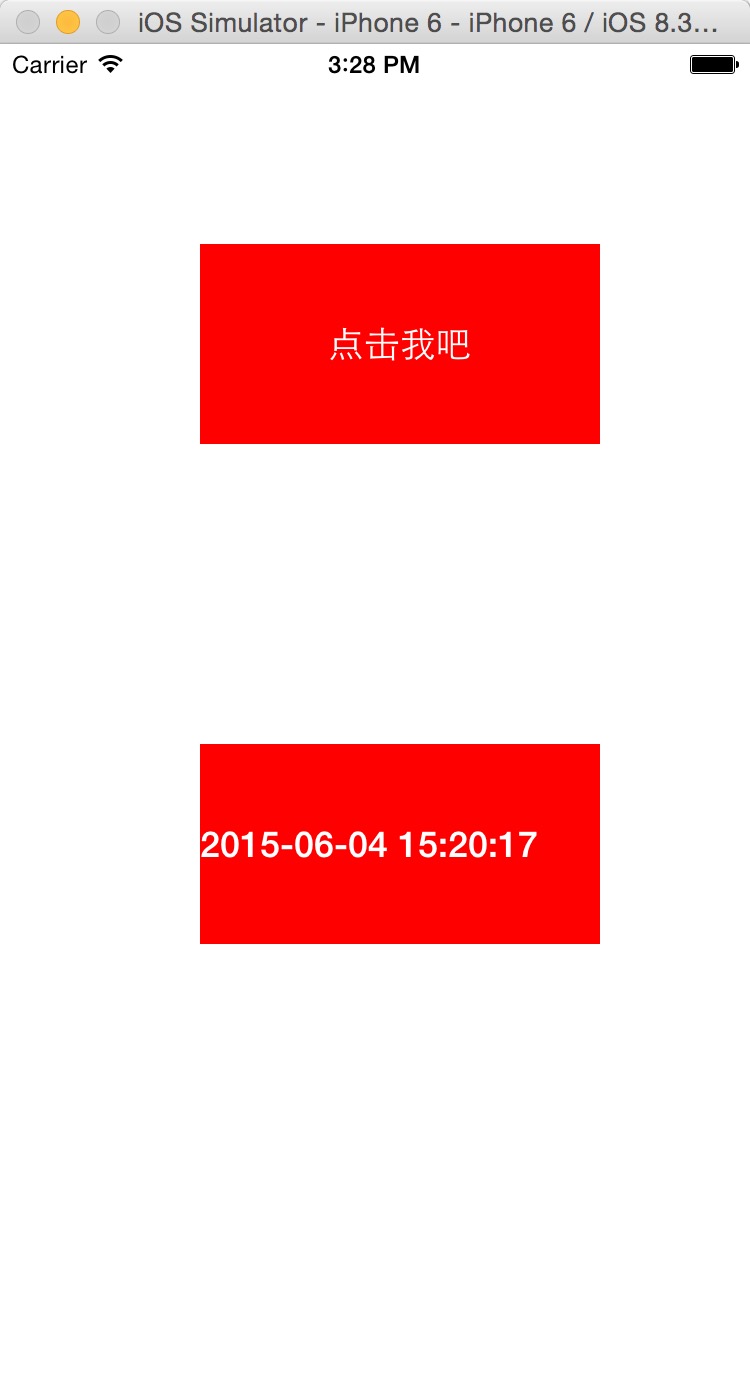
代碼如下:
//
//  ViewController.m
//  tableviewdemo04
//
#import "ViewController.h"

@interface ViewController ()
// 定義按鈕
@property (nonatomic, strong) UIButton *mButton;
// 定義 Label
@property (nonatomic, strong) UILabel *mLable;
@end

@implementation ViewController

- (void)viewDidLoad {
    [super viewDidLoad];

    // 初始化按鈕
    _mButton = [UIButton buttonWithType:UIButtonTypeCustom];
    // 設置按鈕尺寸
    _mButton.frame = CGRectMake(100.0f, 100.0f, 200.0f, 100.0f);
    // 設置背景顏色
    [_mButton setBackgroundColor:[UIColor redColor]];
    // 設置按鈕文字
    [_mButton setTitle:@"點擊我吧" forState:UIControlStateNormal];
    // 設置點擊事件,調用 onClick:
    [_mButton addTarget:self action:@selector(onClick:) forControlEvents:UIControlEventTouchUpInside];
    // 將按鈕添加到 view 上
    [self.view addSubview:_mButton];

    // 初始化 UILabel
    _mLable = [[UILabel alloc] initWithFrame:CGRectMake(100, 350, 200, 100)];
    // 設置字體大小與對齊方式
    _mLable.font = [UIFont boldSystemFontOfSize:18.0f];
    _mLable.textAlignment = NSTextAlignmentCenter;
    // 設置文字與背景顏色
    _mLable.textColor = [UIColor whiteColor];
    [_mLable setBackgroundColor:[UIColor redColor]];
    // 將 Label 添加到 view 上
    [self.view addSubview:_mLable];
}

- (void)didReceiveMemoryWarning {
    [super didReceiveMemoryWarning];
}

// 點擊事件調用的方法:更新 Label 為當前時間
- (void)onClick:(id)sender {
    _mLable.text = [self getDate];
}

// 獲取當前時間字符串
- (NSString *)getDate {
    NSDate *senddate = [NSDate date];
    NSDateFormatter *dateformatter = [[NSDateFormatter alloc] init];
    [dateformatter setDateFormat:@"YYYY-MM-dd HH:mm:ss"];
    NSString *locationString = [dateformatter stringFromDate:senddate];
    return locationString;
}

@end
這個例子展示了 iOS 開發最核心的互動模式:透過 addTarget:action:forControlEvents: 為按鈕綁定事件,在事件回調中更新另一個控件的內容。掌握這個模式,就能進一步構建更複雜的交互界面。