
iOS 相冊瀏覽與拍照上傳:UIImagePickerController 完整實作
編輯:iOS 開發綜合
功能目標
畫面上放兩個按鈕:一個「訪問相冊」,點下去開啟系統相簿挑選照片,選完後顯示在 UIImageView 上;另一個「拍照」,開啟相機取景,拍完同樣顯示在 imageView 上,並自動存進相簿。
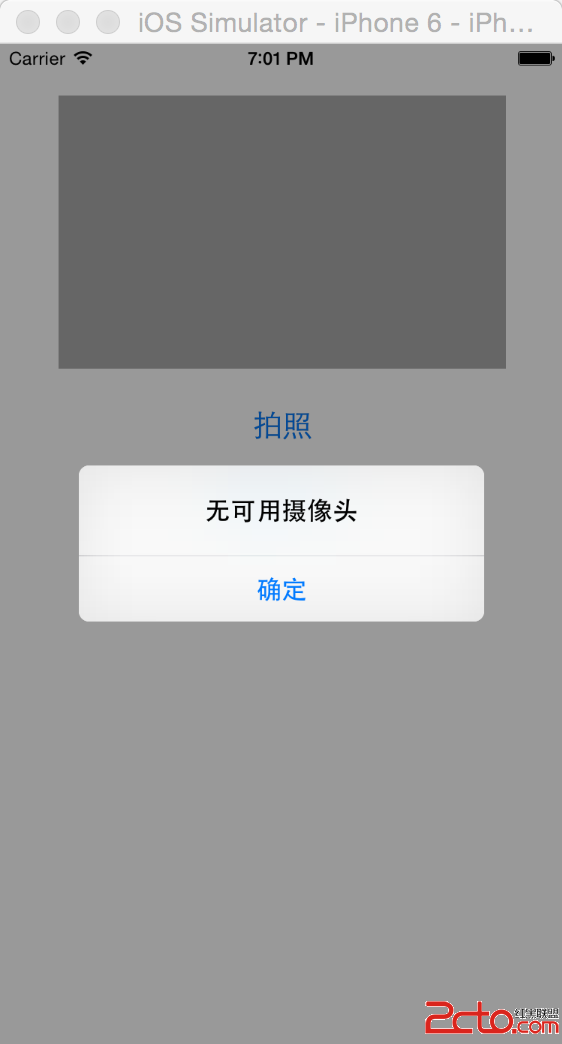
注意:拍照功能必須在真機上測試,模擬器沒有相機會直接跳出警告框。
delegates 別忘了簽
UIImagePickerController 的 delegate 需要同時遵循 UINavigationControllerDelegate 與 UIImagePickerControllerDelegate 兩個協議。
 @interface ViewController : UIViewController

@property (weak, nonatomic) IBOutlet UIImageView *imageShow;

@end
拍照:先檢查硬體是否可用
直接開相機是不安全的,某些裝置(例如模擬器或 iPod touch)並沒有後置鏡頭,所以要用 isCameraDeviceAvailable: 先確認。
 - (IBAction)takePhotoAction:(id)sender {
    BOOL isCamera = [UIImagePickerController isCameraDeviceAvailable:UIImagePickerControllerCameraDeviceRear];
    if (!isCamera) {
        UIAlertView *alert = [[UIAlertView alloc] initWithTitle:@"無可用攝像頭"
            message:nil delegate:self cancelButtonTitle:@"確定" otherButtonTitles:nil, nil];
        [alert show];
        return;
    }

    UIImagePickerController *imagePicker = [[UIImagePickerController alloc] init];
    imagePicker.sourceType = UIImagePickerControllerSourceTypeCamera;
    imagePicker.delegate = self;
    [self presentViewController:imagePicker animated:YES completion:nil];
}
sourceType 有三種可選值:PhotoLibrary 對應所有資源、Camera 對應相機、SavedPhotosAlbum 對應內建相簿,依需求挑一個即可。
瀏覽相冊
 - (IBAction)browseAlbum:(id)sender {
    UIImagePickerController *imagePicker = [[UIImagePickerController alloc] init];
    imagePicker.sourceType = UIImagePickerControllerSourceTypeSavedPhotosAlbum;
    imagePicker.delegate = self;
    [self presentViewController:imagePicker animated:YES completion:nil];
}
接收結果並判斷來源
不論拍照還是選照片,結果都會回到同一個協議方法。info 字典裡可以取得媒體類型與原始圖片;若來源是相機,就額外呼叫儲存相簿的 API。
 - (void)imagePickerController:(UIImagePickerController *)picker
      didFinishPickingMediaWithInfo:(NSDictionary *)info {
    NSString *mediaType = info[@"UIImagePickerControllerMediaType"];
    if ([mediaType isEqualToString:@"public.image"]) {
        UIImage *image = [info objectForKey:@"UIImagePickerControllerOriginalImage"];
        self.imageShow.image = image;

        if (picker.sourceType == UIImagePickerControllerSourceTypeCamera) {
            UIImageWriteToSavedPhotosAlbum(image, self,
                @selector(image:didFinishSavingWithError:contextInfo:), nil);
        }
    }
    [picker dismissViewControllerAnimated:YES completion:nil];
}

- (void)image:(UIImage *)image didFinishSavingWithError:(NSError *)error
      contextInfo:(void *)contextInfo {
    NSLog(@"已保存");
}
若 mediaType 不是 public.image,代表使用者挑的是影片,此例中未處理,但流程完全一致,只是要多從 info 中取出影片路徑而已。另外,從 iOS 10 開始存取相簿需要先在 Info.plist 補上相簿使用說明字串,否則 App 會直接閃退。