
iOS 實戰:用 ScrollView 承載多個 TableView 並實現左右側滑切換
編輯:iOS 開發綜合
Android 開發中我們常用 ListView 呈現列表;來到 iOS,對應的控件叫做 TableView。本文示範如何把 ScrollView 與 TableView 結合,做出「左右滑動切換多個列表」的效果,這在分類瀏覽場景(例如昨天/今天/明天)中很實用,也能顯著提升使用者體驗。
先看成果:
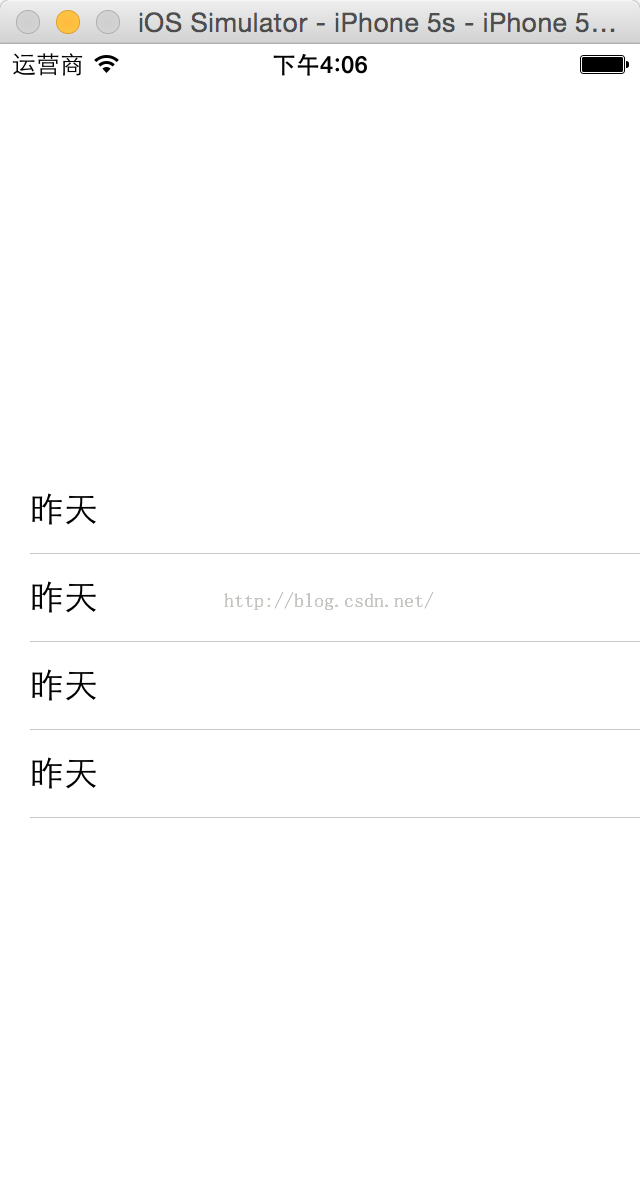
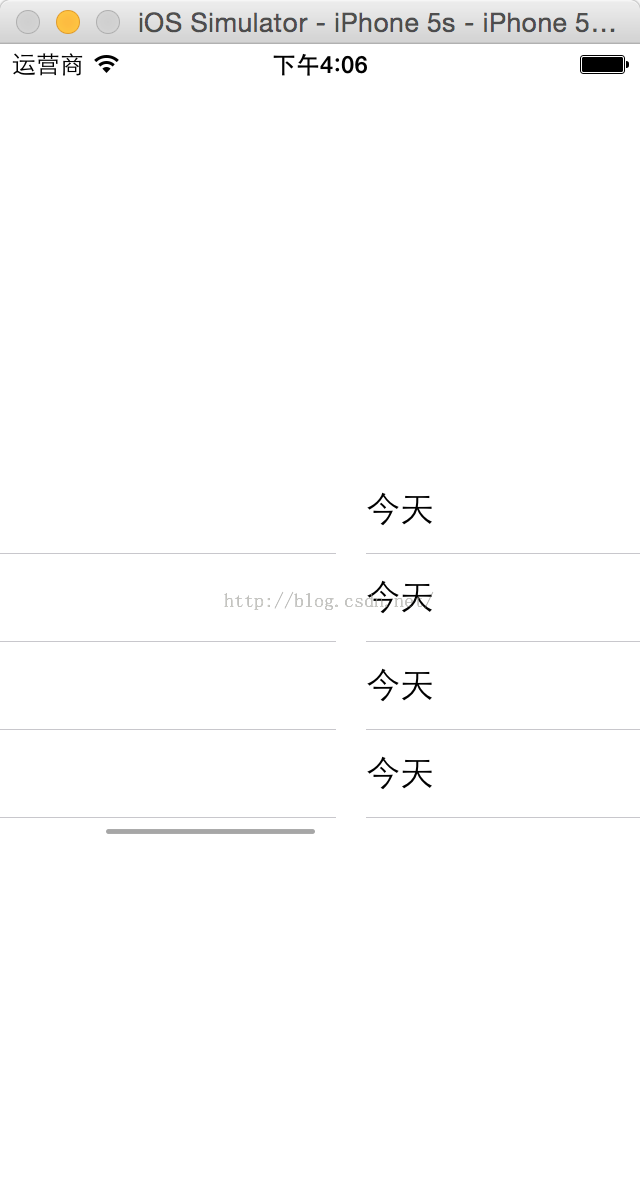
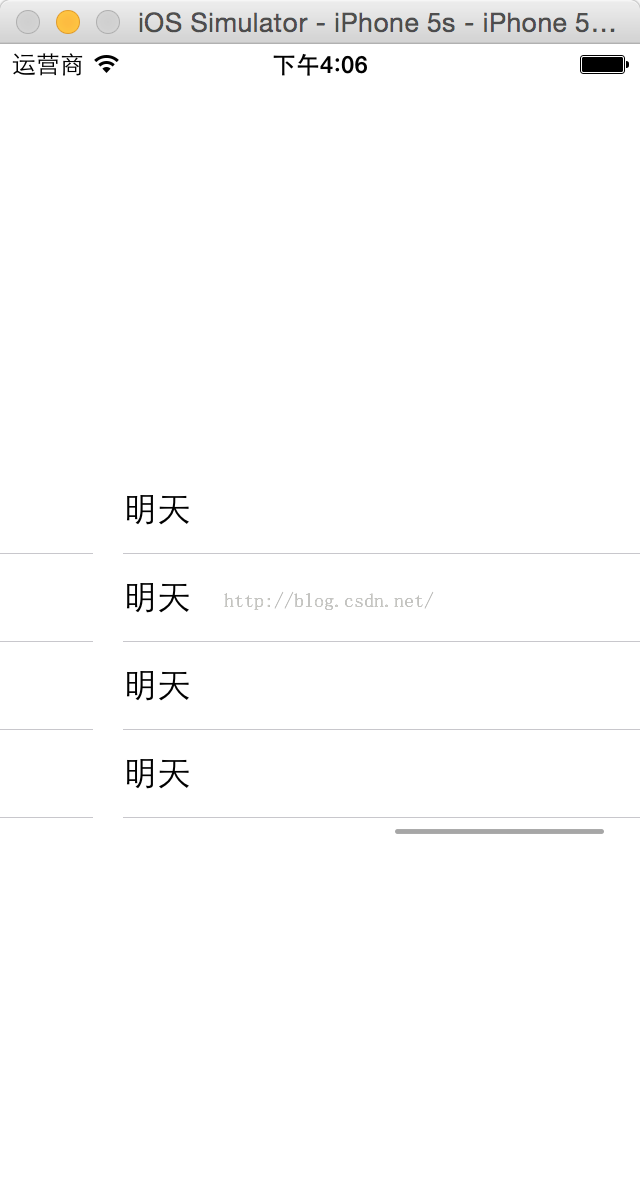
步驟一:建立專案與界面
新建 iOS 專案,語言選 Swift。在 Main.storyboard 中拖入一個 ScrollView(滾動視圖),界面設計如下:
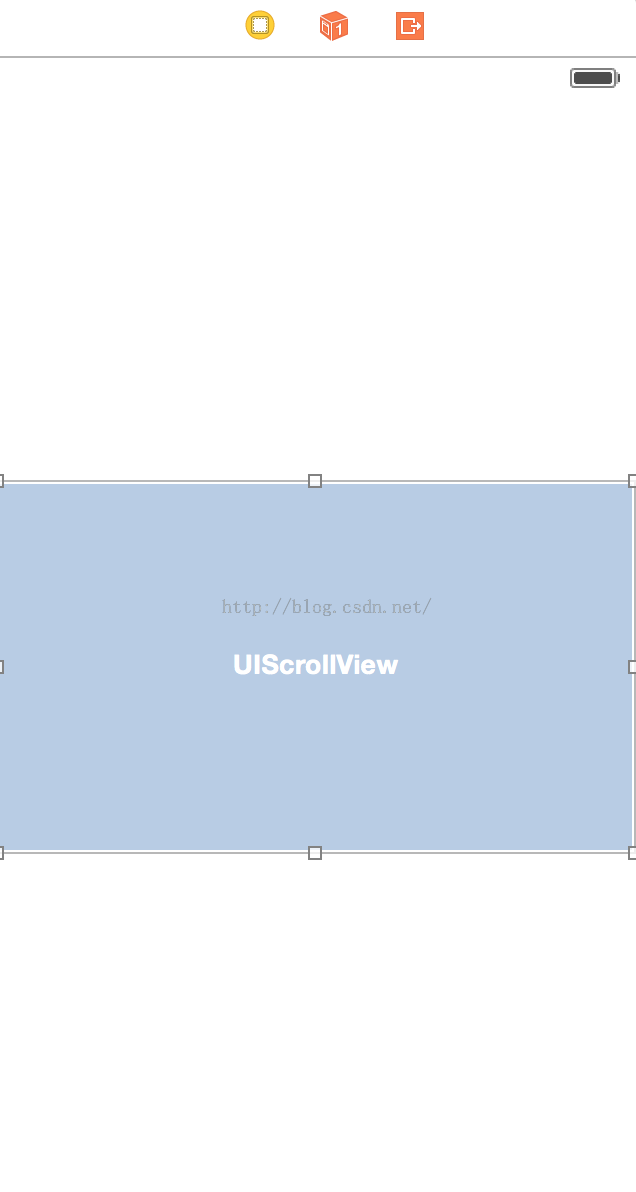
步驟二:綁定 Outlet
@IBOutlet weak var dynamicScrollView: UIScrollView!步驟三:宣告所需變量
我們要在一個 ScrollView 中放三個 TableView,透過手指左右滑動切換:
var tableView11: UITableView = UITableView()
var tableView22: UITableView = UITableView()
var tableView33: UITableView = UITableView()

var cell1 = UITableViewCell()
var cell2 = UITableViewCell()
var cell3 = UITableViewCell()
步驟四:設定 delegate 與 dataSource
該類別需實作三個協議:UIScrollViewDelegate、UITableViewDelegate、UITableViewDataSource。
override func viewDidLoad() {
    super.viewDidLoad()

    tableView11.delegate = self
    tableView11.dataSource = self
    tableView22.delegate = self
    tableView22.dataSource = self
    tableView33.delegate = self
    tableView33.dataSource = self

    dynamicScroll()
    initCustomTableView()
}
步驟五:配置 ScrollView 與三個列表的座標
func dynamicScroll() {
    let tableW: CGFloat = self.dynamicScrollView.frame.size.width
    let tableH: CGFloat = self.dynamicScrollView.frame.size.height
    let tableY: CGFloat = 0
    let totalCount: NSInteger = 3      // 三個分頁

    // 讓三個列表水平並排,各自佔滿一屏寬
    tableView11.frame = CGRectMake(CGFloat(0) * tableW, tableY, tableW, tableH)
    tableView22.frame = CGRectMake(CGFloat(1) * tableW, tableY, tableW, tableH)
    tableView33.frame = CGRectMake(CGFloat(2) * tableW, tableY, tableW, tableH)

    dynamicScrollView.addSubview(tableView11)
    dynamicScrollView.addSubview(tableView22)
    dynamicScrollView.addSubview(tableView33)

    // contentSize 決定總可滾動寬度
    let contentW: CGFloat = tableW * CGFloat(totalCount)
    dynamicScrollView.contentSize = CGSizeMake(contentW, 0)

    // pagingEnabled 讓滑動自動對齊到整屏,這是「側滑切換」的關鍵
    dynamicScrollView.pagingEnabled = true
    dynamicScrollView.delegate = self
}
步驟六:為各列表設定 reuseIdentifier
func initCustomTableView() {
    tableView11.registerClass(UITableViewCell.self, forCellReuseIdentifier: cell1)
    tableView22.registerClass(UITableViewCell.self, forCellReuseIdentifier: cell2)
    tableView33.registerClass(UITableViewCell.self, forCellReuseIdentifier: cell3)
}
步驟七:實作資料來源方法
func tableView(tableView: UITableView, numberOfRowsInSection section: Int) -> Int {
    return 5      // 可依各列表需要動態設定
}

func tableView(tableView: UITableView, cellForRowAtIndexPath indexPath: NSIndexPath) -> UITableViewCell {
    var cell = UITableViewCell()

    switch tableView {
    case tableView11:
        cell1 = tableView11.dequeueReusableCellWithIdentifier(cell1) as! UITableViewCell
        cell1.textLabel!.text = "昨天"
        cell = cell1
    case tableView22:
        cell2 = tableView22.dequeueReusableCellWithIdentifier(cell2) as! UITableViewCell
        cell2.textLabel!.text = "今天"
        cell = cell2
    case tableView33:
        cell3 = tableView33.dequeueReusableCellWithIdentifier(cell3) as! UITableViewCell
        cell3.textLabel!.text = "明天"
        cell = cell3
    default:
        break
    }
    return cell
}
關鍵觀念整理
- pagingEnabled = true 是側滑分頁的靈魂。它讓 ScrollView 每次滑動自動吸附到最近的整屏位置,不會停在半途。
- contentSize 必須算對:寬度等於「單屏寬 × 分頁數」,否則滑不過去或出現空白。
- 三個 TableView 共用一個 dataSource 與 delegate,因此在 cellForRow 中要用 switch 判斷是哪一個列表在詢問,各自回傳對應內容。
- reuseIdentifier 要各自獨立,避免不同列表的 cell 互相混用導致內容錯亂。
螢幕空間有限,但透過視圖切換,就能在同一屏內呈現更豐富的內容。TableView 與 ScrollView 是 iOS 開發中使用最頻繁、也最靈活的兩個控件,值得反覆練習直到融會貫通。
- 上一篇文章: iOS 小技巧:如何隱藏與還原 NavigationBar
- 下一篇文章: iOS 技術架構解析:四大分層與各框架職責