
iOS 實戰:多視圖平移動畫與 Closure 的宣告與呼叫
iOS 動畫可以對不同控件分別設定效果與延遲時間,讓畫面呈現層次感。這裡要特別注意 closure(閉包)的組織方式。以下用三個色塊做示範。
實作步驟
(1)配置介面
在 Main.storyboard 中拖入三個不同顏色的 View,放在不同位置,並分別綁定為 IBOutlet。
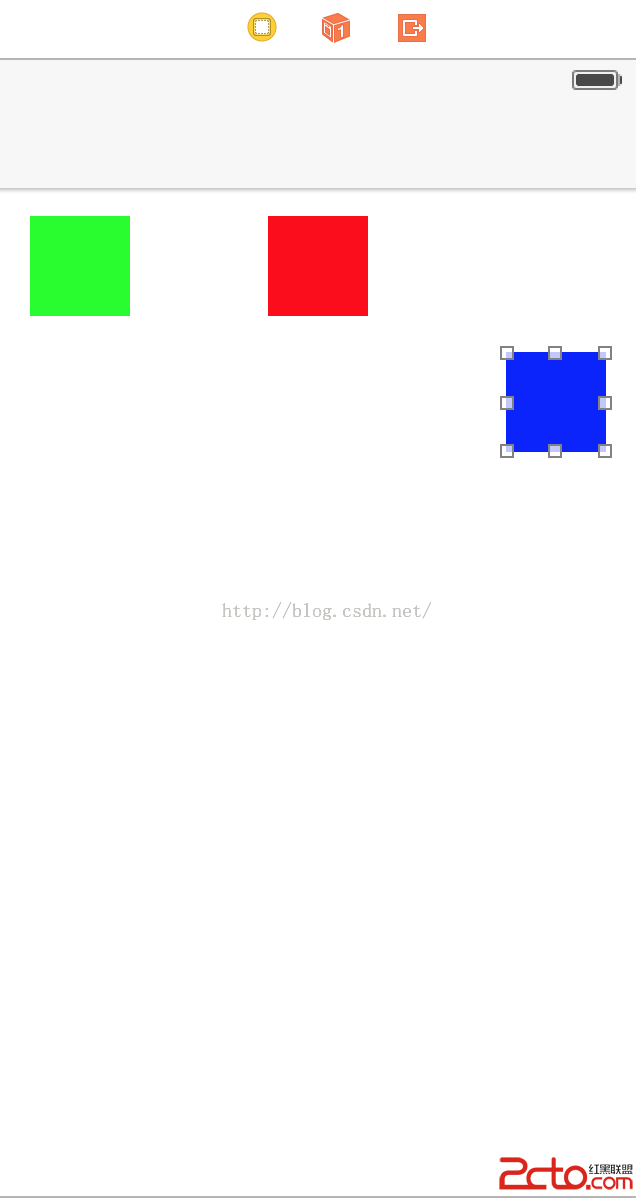
(2)撰寫程式碼
import UIKit

class PositionViewController: UIViewController {

    @IBOutlet weak var greenSquare: UIView!
    @IBOutlet weak var redSquare: UIView!
    @IBOutlet weak var blueSquare: UIView!

    override func viewDidLoad() {
        super.viewDidLoad()
    }

    override func viewDidAppear(animated: Bool) {

        // 完成回呼
        func completeGreen(v: Bool) { println("Green Completion") }
        func completeRed(v: Bool)   { println("Red Completion") }
        func completeBlue(v: Bool)  { println("Blue Completion") }

        // 動畫內容
        func animGreen() {
            self.greenSquare.center.x = self.view.bounds.width - self.greenSquare.center.x
        }
        func animRed() {
            self.redSquare.center.y = self.view.bounds.height - self.redSquare.center.y
        }
        func animBlue() {
            self.blueSquare.center.y = self.view.bounds.height - self.blueSquare.center.y
            self.blueSquare.center.x = self.view.bounds.width - self.blueSquare.center.x
        }

        // delay 參數代表延遲秒數,第一個參數是動畫時長
        UIView.animateWithDuration(1, delay: 0,   options: nil,
                                   animations: animGreen,
                                   completion: completeGreen)
        UIView.animateWithDuration(1, delay: 0.5, options: nil,
                                   animations: animRed,
                                   completion: completeRed)
        UIView.animateWithDuration(1, delay: 1,   options: nil,
                                   animations: animBlue,
                                   completion: completeBlue)
    }

    override func didReceiveMemoryWarning() {
        super.didReceiveMemoryWarning()
    }
}
(3)執行結果
三個色塊依序以 0、0.5、1 秒的延遲錯開啟動,形成接力效果。

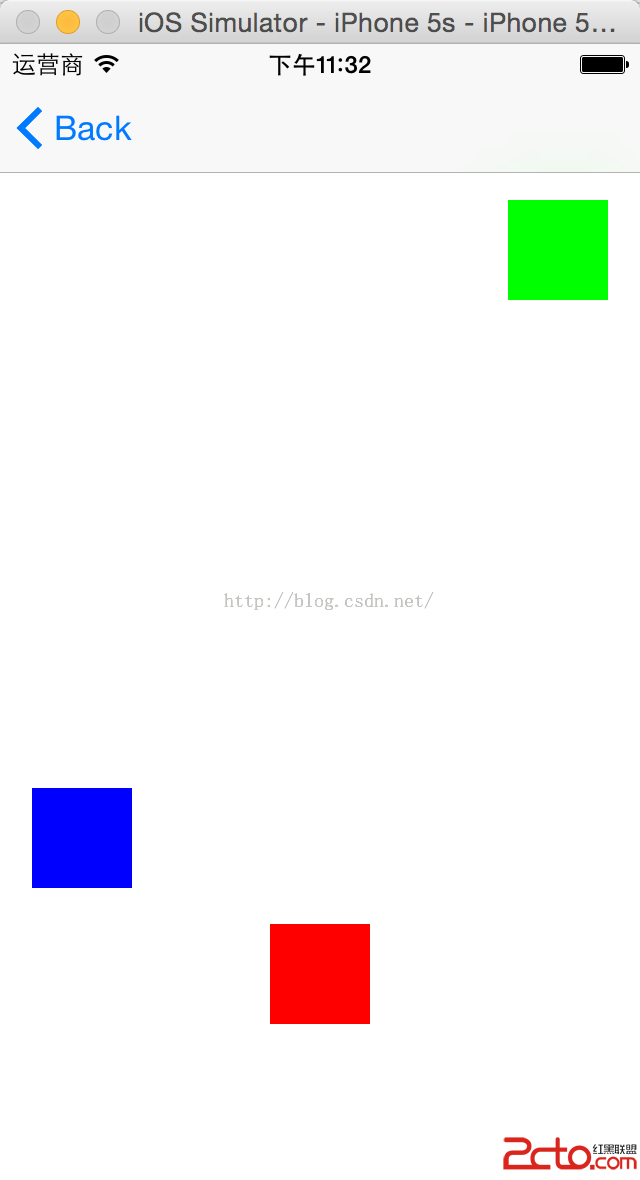
關於 animateWithDuration 的參數
class func animateWithDuration(
    duration: NSTimeInterval,
    delay: NSTimeInterval,
    options: UIViewAnimationOptions,
    animations: () -> Void,
    completion: ((Bool) -> Void)?)
兩個 closure 參數的意義不同:
animations: () -> Void —— 無參數、無回傳,必須實作,動畫內容寫在這裡。
completion: ((Bool) -> Void)? —— 有一個 Bool 參數代表動畫是否完整播完,結尾的问號表示可以為 nil。
把 animations 與 completion 抽到外部命名函式的好處很明顯:動畫邏輯與時序控制分開,程式碼可讀性大幅提升。當動畫數量多、彼此還有依賴關係時,這個習慣尤其重要。
三個容易踩的坑
1. 别忘了取消 Use Auto Layout。 和上一篇一樣,若啟用 Auto Layout 卻直接改 center,版面會被約束拉回原位。這份程式碼沿用了舊式寫法,正式專案請改用約束常數動畫或 transform。
2. Swift 中的 self 循環引用。 這裡的 animGreen 等函式在 class 內部定義並捕獲 self,而 UIView.animateWithDuration 是同步執行、動畫結束即釋放,因此不會造成長期循環引用。但如果你把 closure 存進某個物件的屬性,就必須用 [unowned self] 或 [weak self] 明確處理。
3. 想串接多段動畫時,別用 delay 硬湊。 延遲寫死 0.5、1.0 很脆弱,只要中途改了某段動畫時長,整串節奏就亂了。正確做法是在 completion 中呼叫下一段動畫,或用 UIView.animateKeyframesWithDuration 描述整條時間軸:
UIView.animateKeyframesWithDuration(3, delay: 0,
                                   options: .CalculationModeLinear,
                                   animations: {
    UIView.addKeyframeWithRelativeStartTime(0,   relativeDuration: 0.33) {
        // 第一段
    }
    UIView.addKeyframeWithRelativeStartTime(0.33, relativeDuration: 0.33) {
        // 第二段
    }
    UIView.addKeyframeWithRelativeStartTime(0.66, relativeDuration: 0.34) {
        // 第三段
    }
}, completion: nil)