
MBProgressHUD 進階用法:直接用原生庫打造自訂圖示的提示
編輯:iOS 開發綜合
上一篇用的是他人二次封裝的版本,一行就能彈出提示,確實方便。今天改用 GitHub 上的原生 MBProgressHUD,程式碼多寫幾行,但換來的是完全的控制權——例如自訂成功或失敗的圖示。範例程式碼同樣放在 https://github.com/chenyufeng1991/UseMBProgressHUD。
實作:手動管理 HUD 的生命週期
- (IBAction)sourceButtonPressed:(id)sender {

    // 建立 HUD 物件
    MBProgressHUD *hud = [MBProgressHUD showHUDAddedTo:self.view animated:YES];
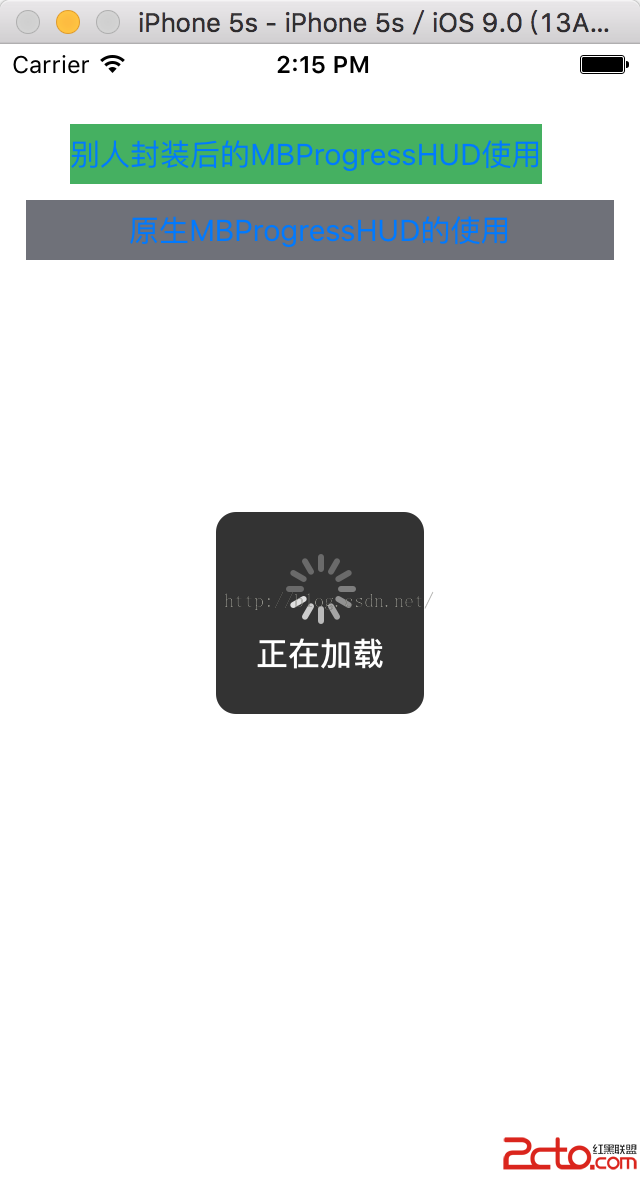
    hud.labelText = @"正在加載";

    AFHTTPRequestOperationManager *manager = [AFHTTPRequestOperationManager manager];
    manager.responseSerializer = [AFHTTPResponseSerializer serializer];

    [manager GET:@"https://webservice.webxml.com.cn/WebServices/MobileCodeWS.asmx/getMobileCodeInfo?mobileCode=18888888888&userId="
      parameters:nil
         success:^(AFHTTPRequestOperation *operation, id responseObject) {
             NSString *string = [[NSString alloc] initWithData:responseObject encoding:NSUTF8StringEncoding];
             NSLog(@"成功: %@", string);

             // 先移除載入中的 HUD
             hud.removeFromSuperViewOnHide = YES;
             [hud hide:YES afterDelay:0];

             // 接著顯示成功提示,並搭配自訂圖示
             MBProgressHUD *successHUD = [MBProgressHUD showHUDAddedTo:self.view animated:YES];
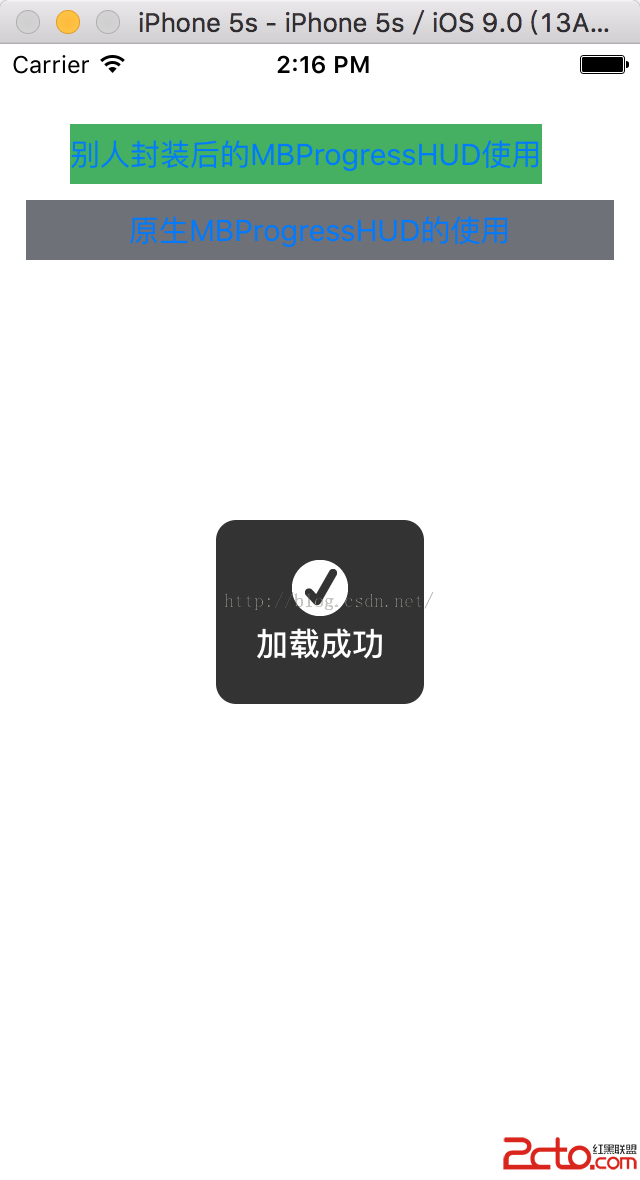
             successHUD.labelText = @"加載成功";
             successHUD.mode = MBProgressHUDModeCustomView;
             successHUD.customView = [[UIImageView alloc] initWithImage:[UIImage imageNamed:@"success"]];
             successHUD.removeFromSuperViewOnHide = YES;
             [successHUD hide:YES afterDelay:1];
         }
         failure:^(AFHTTPRequestOperation *operation, NSError *error) {
             NSLog(@"失敗: %@", error);

             hud.removeFromSuperViewOnHide = YES;
             [hud hide:YES afterDelay:0];

             MBProgressHUD *failHUD = [MBProgressHUD showHUDAddedTo:self.view animated:YES];
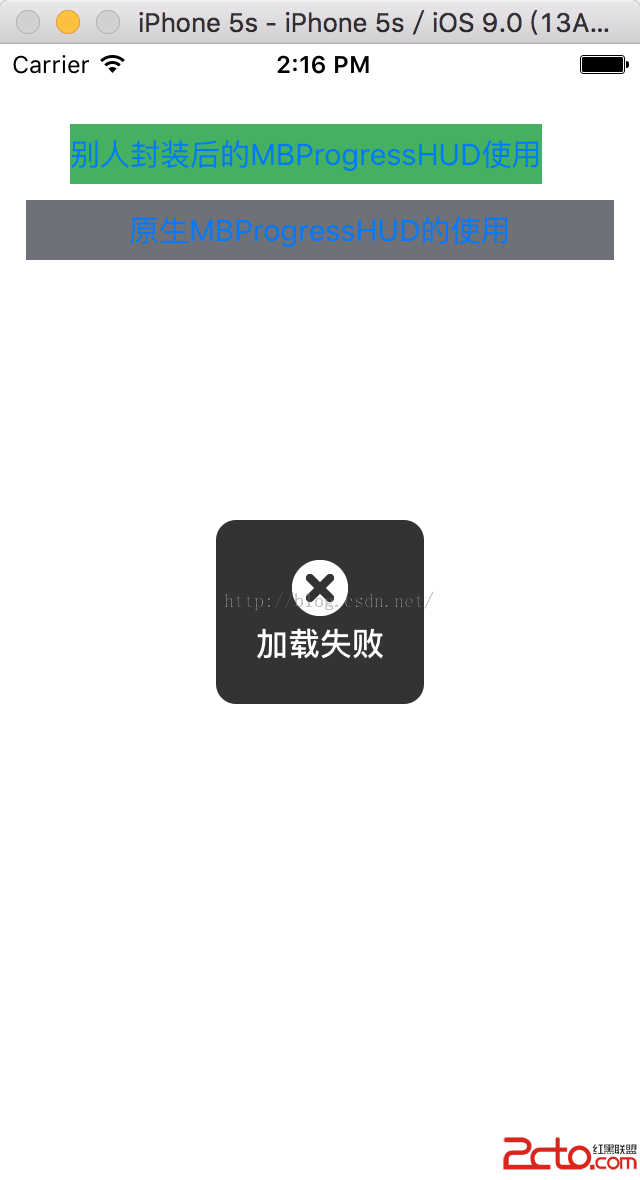
             failHUD.labelText = @"加載失敗";
             failHUD.mode = MBProgressHUDModeCustomView;
             failHUD.customView = [[UIImageView alloc] initWithImage:[UIImage imageNamed:@"error"]];
             failHUD.removeFromSuperViewOnHide = YES;
             [failHUD hide:YES afterDelay:1];
         }];
}
執行結果
正在加載:
加載成功(帶自訂圖示):
加載失敗:
原生與封裝版的取捨
原生版需要手動照顧幾件事:建立 HUD、設定文字、切換 mode、指定移除時機(removeFromSuperViewOnHide)、以及控制顯示秒數。缺點是囉嗦,優點是每一個細節都能自己決定。
實務上的建議是:若專案裡這類提示會重複出現十幾二十次,就值得自己包一層。把常用的三種情境(載入中、成功、失敗)各自封成類別方法,日後呼叫就是一行,同時還保留了自訂彈性。這也是封裝的真正價值——不是為了少寫幾行,而是為了讓重複的決策只做一次。