
iOS 開發實戰:攝像頭與相冊權限申請邏輯優化
訪問相冊和攝像頭幾乎每個 App 都要做。功能本身很簡單,但如果直接調起 UIImagePickerController,用戶在系統彈窗里點了「不允許」之後,會看到一個純白的空白界面,沒有任何提示,也無法自定義——這是一個體驗上說得過去、產品上說不通的 bug。
本文記錄了這個問題的優化過程。示例代碼已上傳至 GitHub。
一、問題復現
以相冊為例,最直白的實現是這樣:
- (void)photoBtnPressed:(id)sender {
    if ([UIImagePickerController isSourceTypeAvailable:UIImagePickerControllerSourceTypePhotoLibrary]) {
        [self presentToImagePickerController:UIImagePickerControllerSourceTypePhotoLibrary];
    } else {
        [self showAlertController:@"提示" message:@"當前設備不支持相冊"];
    }
}

- (void)presentToImagePickerController:(UIImagePickerControllerSourceType)type {
    UIImagePickerController *picker = [[UIImagePickerController alloc] init];
    picker.delegate = self;
    picker.allowsEditing = YES;
    picker.sourceType = type;
    [self presentViewController:picker animated:YES completion:nil];
}
首次運行,系統彈出授權框:
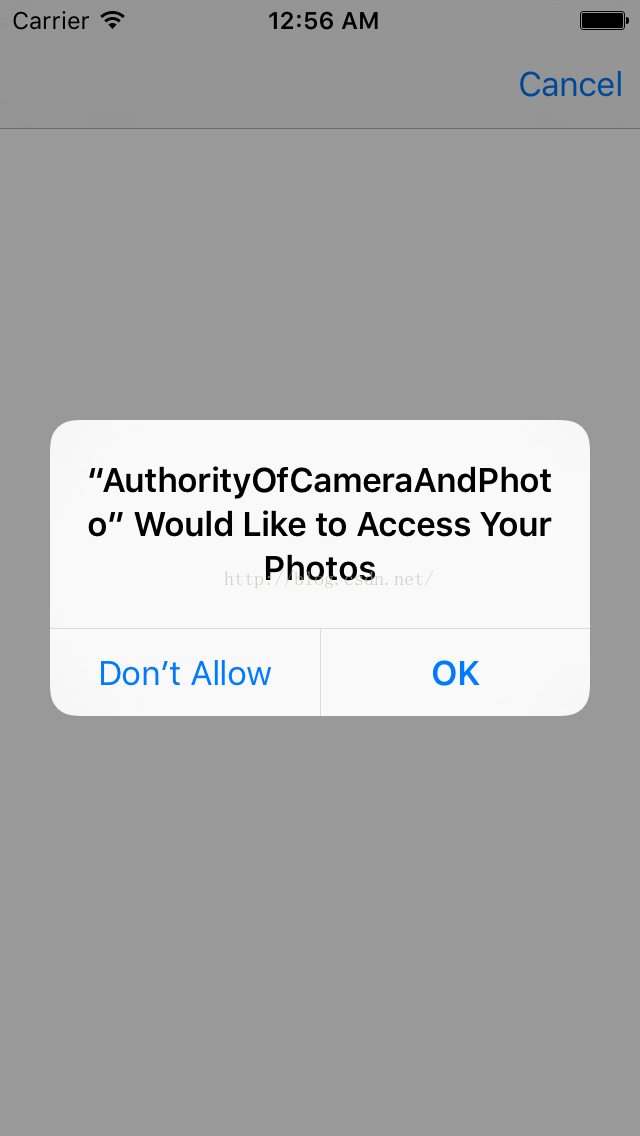
點擊「允許」一切正常。但點擊「不允許」之後:

問題根源在於順序:界面是先彈出空白相冊頁,後彈出授權對話框。也就是說,權限判斷發生在頁面已經呈現之後,工程師失去了在拒絕時攔截的機會。攝像頭的情況完全類似。
二、優化目標
把順序反過來:先查權限狀態,需要時主動申請;用戶允許則進入相冊/相機,用戶拒絕則跳轉到自定義的引導頁面。
1. 三種授權狀態
iOS 的隱私權限有三種狀態:已授權(Authorized)、未確定(NotDetermined)、已拒絕(Denied / Restricted)。這些狀態可以直接讀取,封裝成工具方法:
+ (BOOL)isPhotoAlbumDenied {
    ALAuthorizationStatus author = [ALAssetsLibrary authorizationStatus];
    return (author == ALAuthorizationStatusRestricted || author == ALAuthorizationStatusDenied);
}

+ (BOOL)isPhotoAlbumNotDetermined {
    ALAuthorizationStatus author = [ALAssetsLibrary authorizationStatus];
    return (author == ALAuthorizationStatusNotDetermined);
}
2. 相冊權限的完整判斷邏輯
- (void)optimalPhotoBtnPressed:(id)sender {
    if (![UIImagePickerController isSourceTypeAvailable:UIImagePickerControllerSourceTypePhotoLibrary]) {
        [self showAlertController:@"提示" message:@"當前設備不支持相冊"];
        return;
    }

    // 首次安裝,權限尚未確定
    if ([YFKit isPhotoAlbumNotDetermined]) {
        if ([[[UIDevice currentDevice] systemVersion] floatValue] >= 8.0) {
            // requestAuthorization: 從 iOS 8.0 開始提供
            [PHPhotoLibrary requestAuthorization:^(PHAuthorizationStatus status) {
                dispatch_async(dispatch_get_main_queue(), ^{
                    if (status == PHAuthorizationStatusRestricted || status == PHAuthorizationStatusDenied) {
                        // 用戶拒絕 → 自定義引導頁
                        DeniedAuthViewController *vc = [[DeniedAuthViewController alloc] init];
                        [self presentViewController:vc animated:YES completion:nil];
                    } else if (status == PHAuthorizationStatusAuthorized) {
                        [self presentToImagePickerController:UIImagePickerControllerSourceTypePhotoLibrary];
                    }
                });
            }];
        } else {
            // iOS 7 及以下無法主動申請,只能直接調起
            [self presentToImagePickerController:UIImagePickerControllerSourceTypePhotoLibrary];
        }
        return;
    }

    // 曾經拒絕過 → 提示去設置開啟
    if ([YFKit isPhotoAlbumDenied]) {
        [self showAlertController:@"提示" message:@"已拒絕訪問相冊,可前往「設置 - 隱私」中開啟"];
        return;
    }

    // 已授權 → 直接進入
    [self presentToImagePickerController:UIImagePickerControllerSourceTypePhotoLibrary];
}
注意 requestAuthorization: 的回調可能在非主線程執行,所有 UI 操作必須切回主線程,這一點在真机上經常被忽略而導致隨機崩潰。
3. 優化後的效果
申請授權時——先彈對話框,而不是先跳空白頁:

拒絕授權時——進入可自定義的空態引導頁:
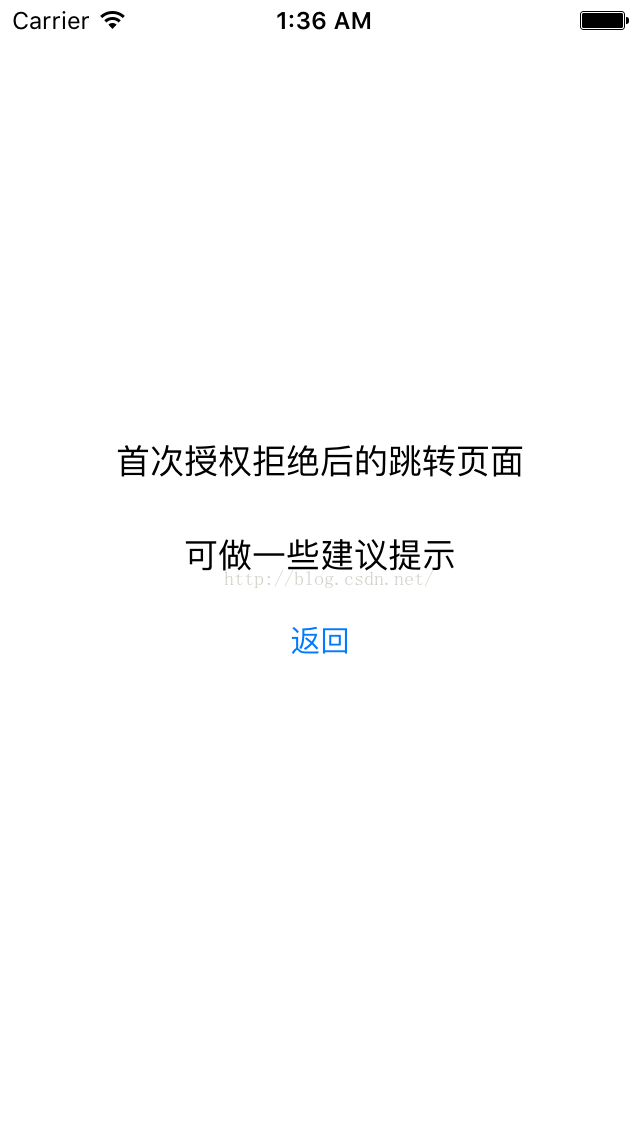
已授權時——直接進入相冊:
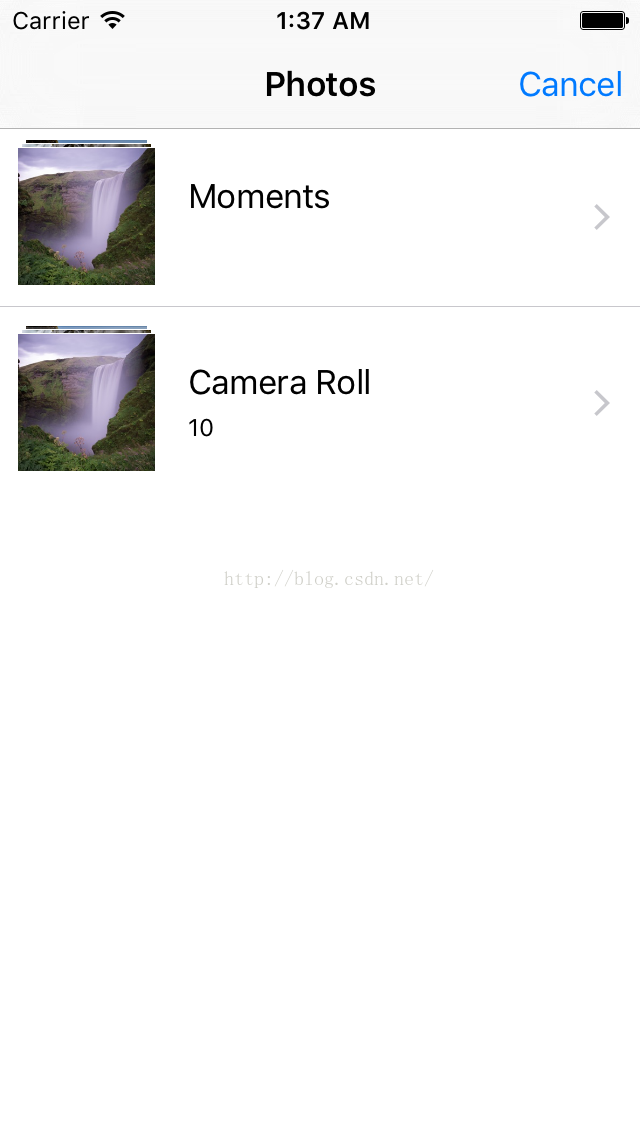
4. 攝像頭權限
邏輯與相冊一致,使用的 API 不同,而且更簡單——AVCaptureDevice 的接口從 iOS 7 就支持,不需要判斷系統版本:
- (void)optimalCameraBtnPressed:(id)sender {
    if (![UIImagePickerController isSourceTypeAvailable:UIImagePickerControllerSourceTypeCamera]) {
        // 模擬器不支持攝像頭
        [self showAlertController:@"提示" message:@"當前設備不支持拍照"];
        return;
    }

    if ([YFKit isCameraNotDetermined]) {
        [AVCaptureDevice requestAccessForMediaType:AVMediaTypeVideo
                                 completionHandler:^(BOOL granted) {
            dispatch_async(dispatch_get_main_queue(), ^{
                if (granted) {
                    [self presentToImagePickerController:UIImagePickerControllerSourceTypeCamera];
                } else {
                    DeniedAuthViewController *vc = [[DeniedAuthViewController alloc] init];
                    [self presentViewController:vc animated:YES completion:nil];
                }
            });
        }];
        return;
    }

    if ([YFKit isCameraDenied]) {
        [self showAlertController:@"提示" message:@"已拒絕訪問攝像頭,可前往「設置 - 隱私」中開啟"];
        return;
    }

    [self presentToImagePickerController:UIImagePickerControllerSourceTypeCamera];
}
攝像頭相關功能必須在真機上測試,模擬器無法驗證。
三、幾個實用調試技巧
模擬器重置權限:菜單 Simulator → Reset Content and Settings,之後所有權限都會回到「未確定」狀態,方便反復測試首次安裝流程。
真機重置權限:設置 → 通用 → 重置 → 重置位置與隱私。這種方式只清除權限記錄,不會刪除其他數據,是安全的。
單獨開關某項權限:設置 → 隱私,找到對應 App 打開開關即可。
四、延伸建議
本文示例使用的是 ALAssetsLibrary 與 ALAuthorizationStatus,這是較早的 Photos 框架接口,在 iOS 9 之後已被 PHPhotoLibrary 取代。新項目應直接使用:
PHAuthorizationStatus status = [PHPhotoLibrary authorizationStatus];
// 對應 PHAuthorizationStatusNotDetermined / Authorized / Denied / Restricted / Limited
另外,iOS 14 引入了 Limited 狀態(用戶只授權部分照片)與 PHPhotoLibraryChangeObserver 監聽機制,在這個狀態下需要引導用戶進入系統的照片選擇器重新挑選可訪問範圍,體驗上比直接讀取相冊更合適。如果項目要適配新系統,建議把權限判斷抽成獨立一層,根據系統版本走不同分支,避免把版本判斷散落在業務代碼里。
小結
權限申請的核心原則只有一句:先問,再進。把授權狀態查詢提前到頁面呈現之前,就能同時解決空白頁問題和拒絕後的引導問題。這類優化代碼量不大,但對用戶第一印象的影響很直接。
- 上一篇文章: iOS 讀取並解析 CSV 文件:從沙盒到數組的完整實現
- 下一篇文章: 用 Shimmer 實現 iPhone 解鎖界面的流光閃爍動畫