
構建一個動畫的漢堡按鈕
編輯:iOS 開發綜合
構建一個動畫的漢堡按鈕
漢堡按鈕是最常見的導覽入口之一,但如果只是一個靜態圖示,難免少了點趣味。若能在點擊時加入細膩的回饋,就能讓使用者感受到介面的生命力。

建立按鈕
首先建立一個自訂按鈕,並設定背景色、圓角與點擊事件。這裡使用一個可回彈的按鈕子類別,讓按壓時更有手感。
self.hamburgerButton = [DTCTestButton buttonWithType:UIButtonTypeCustom];
[self.hamburgerButton addTarget:self action:@selector(didTapHamburgerButton:) forControlEvents:UIControlEventTouchUpInside];
self.hamburgerButton.backgroundColor = [UIColor blackColor];
[self.hamburgerButton setFrame:CGRectMake(200, 200, 150, 150)];
self.hamburgerButton.layer.cornerRadius = 75;
[self.window addSubview:self.hamburgerButton];
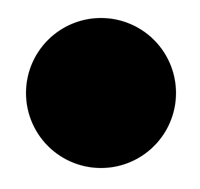
接著,把按鈕加入畫面。此時會看到一個黑色圓形按鈕,但裡面還沒有漢堡線。
加入三條漢堡線
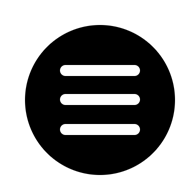
漢堡線可以用三個白色圓角矩形來表示。它們需要水平置中,並在垂直方向均勻分布。
CGFloat sectionWidth = 80;
CGFloat sectionHeight = 11;

self.top = [[UIView alloc] initWithFrame:CGRectMake(
    self.hamburgerButton.bounds.size.width / 2 - sectionWidth / 2,
    40,
    sectionWidth,
    sectionHeight
)];
self.top.backgroundColor = [UIColor whiteColor];
self.top.userInteractionEnabled = NO;
self.top.layer.cornerRadius = sectionHeight / 2;
[self.hamburgerButton addSubview:self.top];
中間線與下方線可以用相同方式建立,只是 y 座標不同。
這裡有一個很重要的細節:每條線都要把 userInteractionEnabled 設為 NO。否則點擊可能會被這些子視圖攔截,無法傳遞給真正的按鈕。
點擊回饋
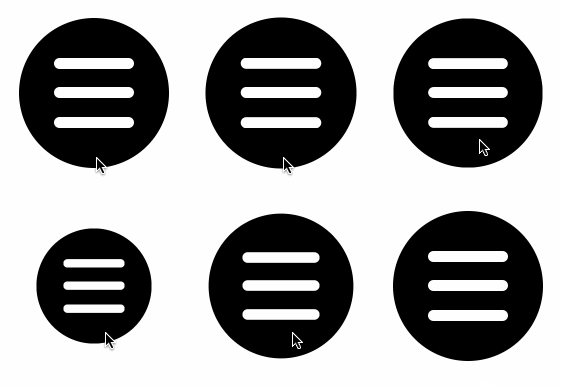
由於按鈕本身使用了可回彈的子類別,所以即使還沒有寫交叉動畫,按下與放開時已經會有縮放與回彈感。
接下來,就可以在點擊事件中安排線條的旋轉、淡出與顏色變化,讓漢堡線逐步轉換成 X。
查看完整合集:
https://github.com/Cloudox/Motion-Design-for-iOS
- 上一篇文章: Apple 開發者賬號申請與類型區分
- 下一篇文章: iOS 之靜態庫與動態庫