
實現類似美顏相機的相機啟動動畫
編輯:iOS 開發綜合
實現類似美顏相機的相機啟動動畫
有些相機 App 在啟動時,會用一個像鏡頭張開的過場動畫,讓畫面從中央裂開或展開。這個效果看起來很細緻,但其實可以用 Core Animation 相關的圖層 API 完成。
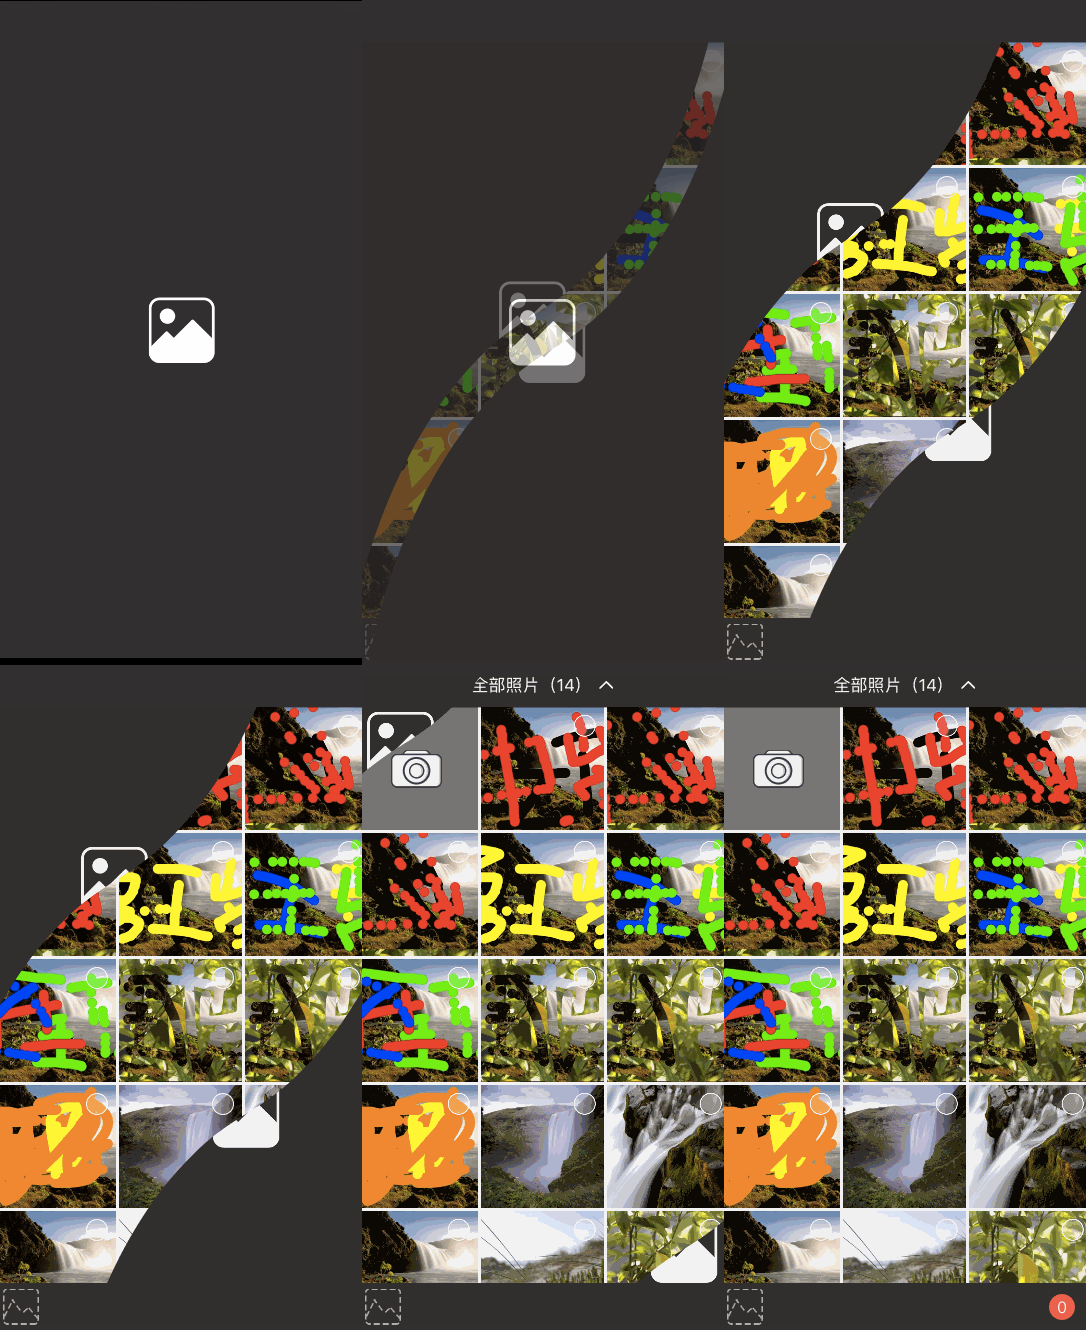
步驟分析
整體思路可以拆成幾個部分:
- 用兩個
CALayer呈現啟動圖。 - 用
UIBezierPath畫出具有曲線的遮罩。 - 用
CAShapeLayer承載曲線路徑。 - 把 shape layer 設為 layer 的 mask。
- 用
CABasicAnimation讓上下兩層分開移動。
先繪製上半部分
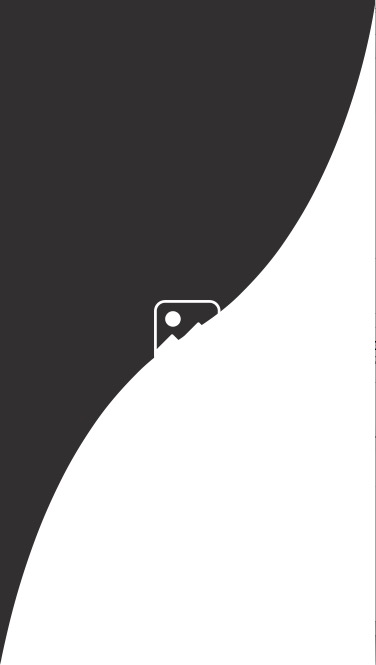
上半部分的遮罩可以畫出一條中央向下凹的曲線,讓畫面看起來像鏡頭上半部正在打開。
private func configTopShapeLayer() {
    let topBezier = UIBezierPath()
    topBezier.moveToPoint(CGPointMake(-1, -1))
    topBezier.addLineToPoint(CGPointMake(bounds.width + 1, -1))
    topBezier.addCurveToPoint(
        CGPointMake(bounds.width / 2.0 + 1, bounds.height / 2.0 + 1),
        controlPoint1: CGPointMake(bounds.width + 1, 1),
        controlPoint2: CGPointMake(343.5 + 1, 242.5 + 1)
    )
    topBezier.addCurveToPoint(
        CGPointMake(-1, bounds.height + 2),
        controlPoint1: CGPointMake(31.5 + 2, 424.5 + 2),
        controlPoint2: CGPointMake(2, bounds.height + 2)
    )
    topBezier.closePath()

    let topShape = CAShapeLayer()
    topShape.path = topBezier.CGPath

    topLayer.contents = launchImage?.CGImage
    topLayer.frame = bounds
    layer.addSublayer(topLayer)
    topLayer.mask = topShape
}
再繪製下半部分
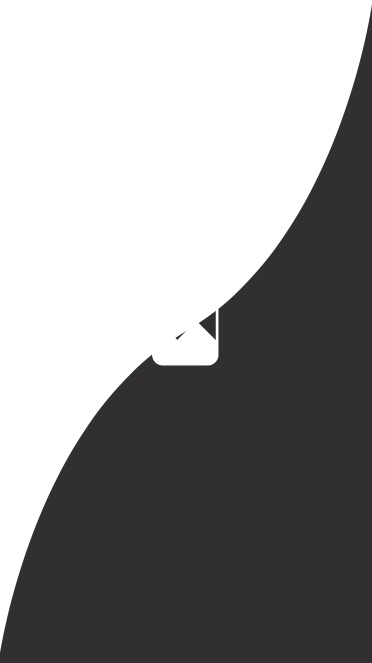
下半部分的原理相同,只是曲線方向相反。兩半合起來後,就會形成一個可以被拉開的鏡頭畫面。
private func configBottomShapeLayer() {
    let bottomBezier = UIBezierPath()
    bottomBezier.moveToPoint(CGPointMake(bounds.width, 0))
    bottomBezier.addCurveToPoint(
        CGPointMake(bounds.width / 2.0, bounds.height / 2.0),
        controlPoint1: CGPointMake(bounds.width, 0),
        controlPoint2: CGPointMake(343.5, 242.5)
    )
    bottomBezier.addCurveToPoint(
        CGPointMake(0, bounds.height),
        controlPoint1: CGPointMake(31.5, 424.5),
        controlPoint2: CGPointMake(0, bounds.height)
    )
    bottomBezier.addLineToPoint(CGPointMake(bounds.width, bounds.height))
    bottomBezier.addLineToPoint(CGPointMake(bounds.width, 0))
    bottomBezier.closePath()

    let bottomShape = CAShapeLayer()
    bottomShape.path = bottomBezier.CGPath

    bottomLayer.contents = launchImage?.CGImage
    bottomLayer.frame = bounds
    layer.addSublayer(bottomLayer)
    bottomLayer.mask = bottomShape
}
實作時可以發現,上半部分的曲線最好整體向下微移一點,以避免鋸齒或接縫太明顯。
加入位移動畫
最後,只要讓兩個 layer 往相反方向移動,就會產生鏡頭張開的效果。這裡使用 anchorPoint 動畫,讓位移看起來更自然。
func starAnimation() {
    let topAnimation = CABasicAnimation(keyPath: "anchorPoint")
    topAnimation.toValue = NSValue(cgPoint: CGPointMake(1, 1))
    topAnimation.duration = 0.6
    topAnimation.timingFunction = CAMediaTimingFunction(name: kCAMediaTimingFunctionLinear)
    topAnimation.removedOnCompletion = false
    topAnimation.fillMode = kCAFillModeForwards
    topLayer.addAnimation(topAnimation, forKey: "topAnimation")

    let bottomAnimation = CABasicAnimation(keyPath: "anchorPoint")
    bottomAnimation.toValue = NSValue(cgPoint: CGPointMake(0, 0))
    bottomAnimation.duration = 0.6
    bottomAnimation.timingFunction = CAMediaTimingFunction(name: kCAMediaTimingFunctionLinear)
    bottomAnimation.removedOnCompletion = false
    bottomAnimation.fillMode = kCAFillModeForwards
    bottomLayer.addAnimation(bottomAnimation, forKey: "bottomAnimation")
}
為了方便觀察,範例中把動畫時間拉長了。實際專案裡,可以依需求調整 duration 與 timing function,讓節奏更貼近產品風格。
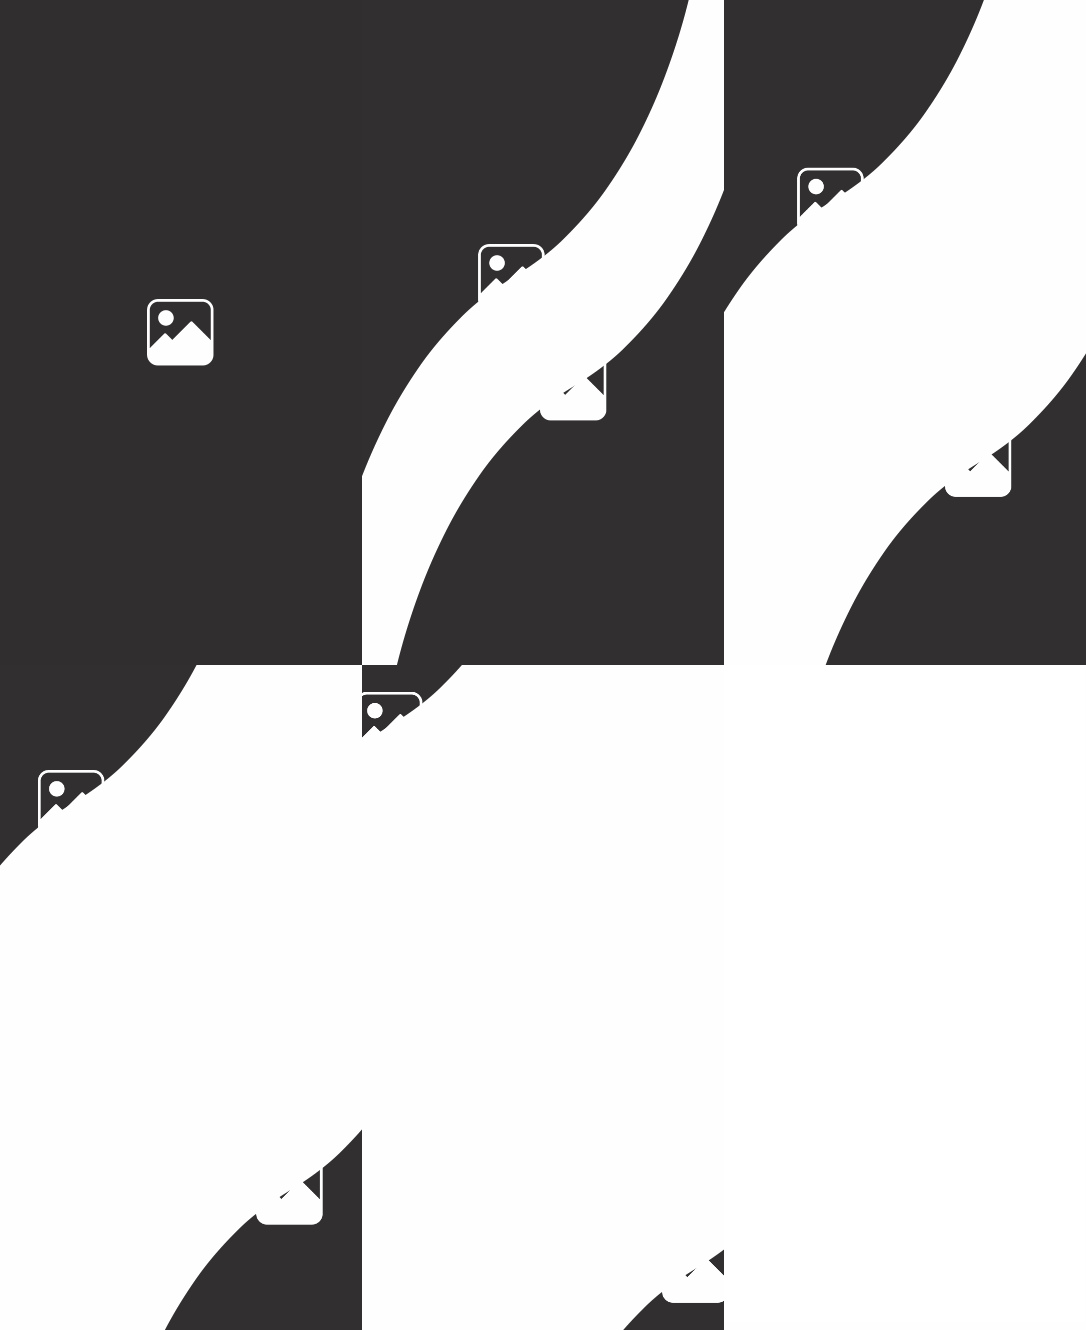
這個效果的重點不在於畫了多少曲線,而在於把遮罩、圖層與動畫拆成清楚的步驟。只要結構合理,後續要換成不同形狀或不同啟動圖,也會容易很多。
- 上一篇文章: iOS 性能優化與內存優化常用方法整理
- 下一篇文章: Apple 開發者賬號申請與類型區分