
iOS 觸摸手勢入門:UITouch 四大方法與實作技巧
UITouch 是處理觸摸手勢的基礎。開發時主要是覆寫四個方法——觸摸開始、觸摸移動、觸摸結束、觸摸退出——來實作觸摸響應邏輯。本文將逐一說明這四個方法及其常見用法。
四個核心方法
1. 觸摸開始:- (void)touchesBegan:(NSSet *)touches withEvent:(UIEvent *)event { }
2. 觸摸移動:- (void)touchesMoved:(NSSet *)touches withEvent:(UIEvent *)event { }
3. 觸摸結束:- (void)touchesEnded:(NSSet *)touches withEvent:(UIEvent *)event { }
4. 觸摸退出:- (void)touchesCancelled:(NSSet *)touches withEvent:(UIEvent *)event { }(通常因來電、電量不足關機等系統事件而觸發)
觸摸開始方法中常用的屬性
1-1、取得觸摸對象:UITouch *touch = touches.anyObject;
1-2、取得觸摸次數,用來判斷單擊、雙擊等:NSInteger clickNumber = touch.tapCount;
1-3、判斷觸摸位置是否落在欲處理的子視圖上:
CGPoint currentPoint = [touch locationInView:self.view];,再以 CGRectContainsPoint(self.label.frame, currentPoint) 判斷是否命中,命中後即可改變標題等內容。
觸摸移動方法中常用的屬性
2-1、取得觸摸對象:UITouch *touch = touches.anyObject;
2-2、取得當前點擊位置與上一個點擊位置:
CGPoint currentPoint = [touch locationInView:self.view];
CGPoint previousPoint = [touch previousLocationInView:self.view];
透過兩者相減可算出位移量,進而移動子視圖的位置:
float moveX = currentPoint.x - previousPoint.x;
float moveY = currentPoint.y - previousPoint.y;
self.label.center = CGPointMake(self.label.center.x + moveX, self.label.center.y + moveY);
完整程式碼示例
以下範例展示了如何在四個方法中取得觸摸資訊、判斷點擊次數、改變背景色與移動子視圖:
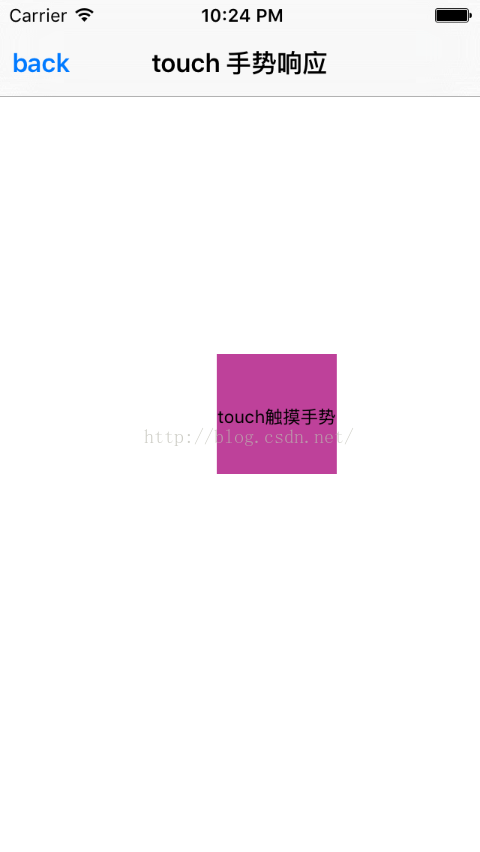
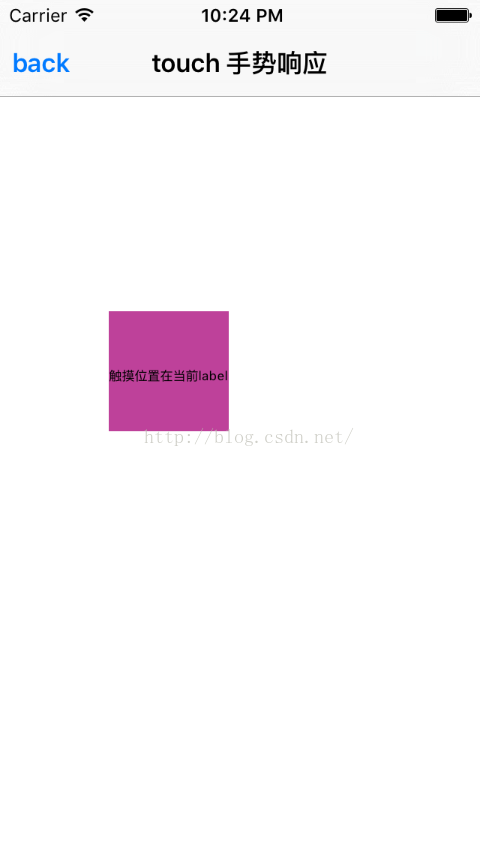
在 touchesBegan: 中,取得觸摸對象與 tapCount,當點擊兩次時將 label 背景設為紅色、三次設為綠色,並取得觸摸狀態(phase)、響應視圖(view)、當前位置與前一次位置,最後判斷觸摸點是否落在 label 範圍內以改變其文字。
在 touchesMoved: 中,可遍歷 event.allTouches 以支援多點觸摸,逐一取得每根手指的當前與前一次座標,計算位移後更新 label 的 center,達到拖曳效果。
在 touchesEnded: 中,將 label 文字重設為初始狀態。
在 touchesCancelled: 中,處理觸摸被中斷的情況。
效果展示
下圖展示了觸摸手勢的實際運行效果:
透過掌握這四個方法,就能靈活實作點擊、拖曳等觸摸互動,為後續學習手勢辨識器打下良好基礎。