
用 CAShapeLayer 打造圓形圖片載入動畫
幾週前,Michael Villar 在自己的 Motion 實驗裡做出一段很有意思的載入動畫,它把圓形進度環與「圓形漸顯」這兩件事揉在了一起。最終呈現的效果既新奇又有點讓人移不開眼。
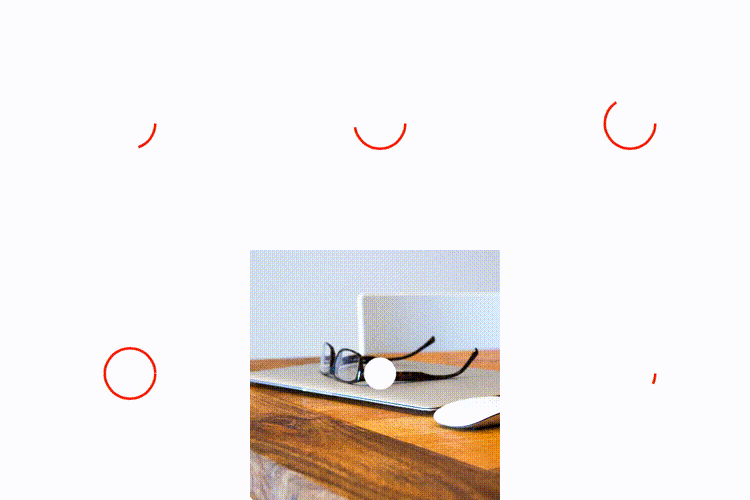
接下來我們就用 Swift 搭配 Core Animation,把這個效果從零復刻一遍。
先跑起來:入門專案
把起始專案下載下來,編譯執行,稍等片刻你會看到一張圖片被載入並顯示在畫面上。

這個起始專案已經把視圖層級和載入邏輯都搭好了,建議先花一分鐘掃過一遍:裡面有一個 ViewController,一個名為 CustomImageView 的 UIImageView 子類,並透過 SDWebImage 來抓圖。
第一次執行的時候你應該會注意到,圖片下載期間 App 看起來像卡了幾秒,然後畫面才突然出現圖像。現在還沒有任何進度回饋——而這正是我們要動手補上的部分。
整個動畫可以拆成兩個階段:
圓形進度環:先畫出一個進度指示器,並讓它隨下載進度逐步填滿。
圓形揭示:讓這個圓形的「窗口」不斷放大,把下載好的圖片露出來。
第一步:畫出圓形指示器
先想清楚指示器的行為:初始為空、代表 0%,隨著下載推進慢慢填滿,直到 100%。用 CAShapeLayer 把 path 設成一個圓,就能輕鬆做到。
如果你對 CAShapeLayer(或更廣義的 CALayer)還不熟,建議先補一下 Scott Gardner 的「CALayer in iOS with Swift」。
關鍵在於 strokeStart 與 strokeEnd 這兩個屬性,它們決定了描邊的起訖位置。只要把 strokeEnd 在 0 到 1 之間變動,就能對應出下載百分比。
透過 iOS > Source > Cocoa Touch Class 建立一個新檔案,命名為 CircularLoaderView,並讓它繼承 UIView。
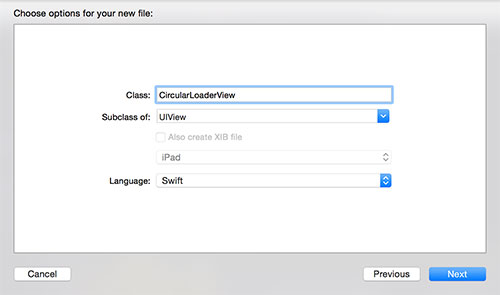
點下一步完成建立。這個新的 UIView 子類之後就是動畫程式碼的家。
打開 CircularLoaderView.swift,先加入兩個成員:
let circlePathLayer = CAShapeLayer()
let circleRadius: CGFloat = 20.0
circlePathLayer 負責承載圓形路徑,circleRadius 則是半徑。
接著補上初始化與設定邏輯:
override init(frame: CGRect) {
    super.init(frame: frame)
    configure()
}

required init(coder aDecoder: NSCoder) {
    super.init(coder: aDecoder)
    configure()
}

func configure() {
    circlePathLayer.frame = bounds
    circlePathLayer.lineWidth = 2
    circlePathLayer.fillColor = UIColor.clearColor().CGColor
    circlePathLayer.strokeColor = UIColor.redColor().CGColor
    layer.addSublayer(circlePathLayer)
    backgroundColor = UIColor.whiteColor()
}
兩個初始化方法都呼叫 configure():線寬設為 2、填色透明、描邊紅色,再把 circlePathLayer 掛到 view 的主 layer 上。最後把背景設成白色,這樣圖片載入時畫面其餘部分就不會被看到。
把路徑補上
你會發現 layer 目前還沒有 path。加上這段方法(同樣寫在 CircularLoaderView.swift):
func circleFrame() -> CGRect {
    var circleFrame = CGRect(x: 0, y: 0, width: 2*circleRadius, height: 2*circleRadius)
    circleFrame.origin.x = CGRectGetMidX(circlePathLayer.bounds) - CGRectGetMidX(circleFrame)
    circleFrame.origin.y = CGRectGetMidY(circlePathLayer.bounds) - CGRectGetMidY(circleFrame)
    return circleFrame
}
它回傳一個 CGRect,用來界定指示器的範圍:寬高都是 2 * circleRadius,並置於 view 的正中央。
由於 view 尺寸一旦改變就需要重算,把它獨立成一個方法會更好維護。接著產生路徑:
func circlePath() -> UIBezierPath {
    return UIBezierPath(ovalInRect: circleFrame())
}
這裡用 circleFrame() 畫出橢圓;因為傳入的是正方形,結果自然就是一個正圓。
要注意的是 layer 沒有 autoresizingMask,所以必須在 layoutSubviews() 裡手動更新 frame,才能正確響應尺寸變化:
override func layoutSubviews() {
    super.layoutSubviews()
    circlePathLayer.frame = bounds
    circlePathLayer.path = circlePath().CGPath
}
frame 變了,路徑也要跟著重算,所以這裡要呼叫 circlePath()。
回到 CustomImageView.swift,加入一個指示器實例:
let progressIndicatorView = CircularLoaderView(frame: CGRectZero)
然後在原本下載圖片的程式碼之前,於 init(coder:) 中補上:
addSubview(self.progressIndicatorView)
progressIndicatorView.frame = bounds
progressIndicatorView.autoresizingMask = .FlexibleWidth | .FlexibleHeight
這樣指示器就成了自訂 image view 的子視圖,autoresizingMask 確保它會一直與 image view 同尺寸。
編譯執行,你會看到一個紅色的空心圓:
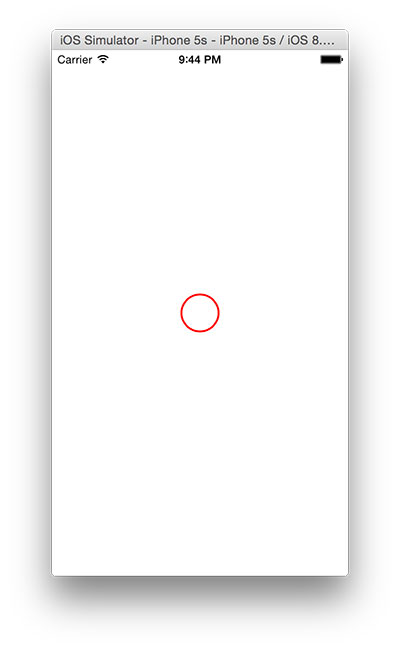
進度環已經畫在螢幕上了。下一步是讓描邊隨著下載進度變化。
第二步:讓描邊長度跟上進度
回到 CircularLoaderView.swift,加上一個計算屬性:
var progress: CGFloat {
    get {
        return circlePathLayer.strokeEnd
    }
    set {
        if (newValue > 1) {
            circlePathLayer.strokeEnd = 1
        } else if (newValue < 0) {
            circlePathLayer.strokeEnd = 0
        } else {
            circlePathLayer.strokeEnd = newValue
        }
    }
}
這個計算屬性沒有實體變數在背後:getter 直接回傳 circlePathLayer.strokeEnd,setter 則先驗證輸入值落在 0 到 1 之間,再寫回 layer。
在 configure() 裡把初始進度設為 0:
progress = 0
編譯執行,你大概只會看到一片空白——這其實是好消息。progress = 0 讓 strokeEnd 也變成 0,等於什麼都還沒畫。
剩下的事就是在下載回呼裡更新進度。回到 CustomImageView.swift,把 Update progress here 的註解換成:
self!.progressIndicatorView.progress = CGFloat(receivedSize)/CGFloat(expectedSize)
也就是用已接收的位元組數除以預期總大小。
順帶一提,這裡的 block 刻意用 weak self 來避免 retain cycle。
再執行一次,進度環就會開始動了:
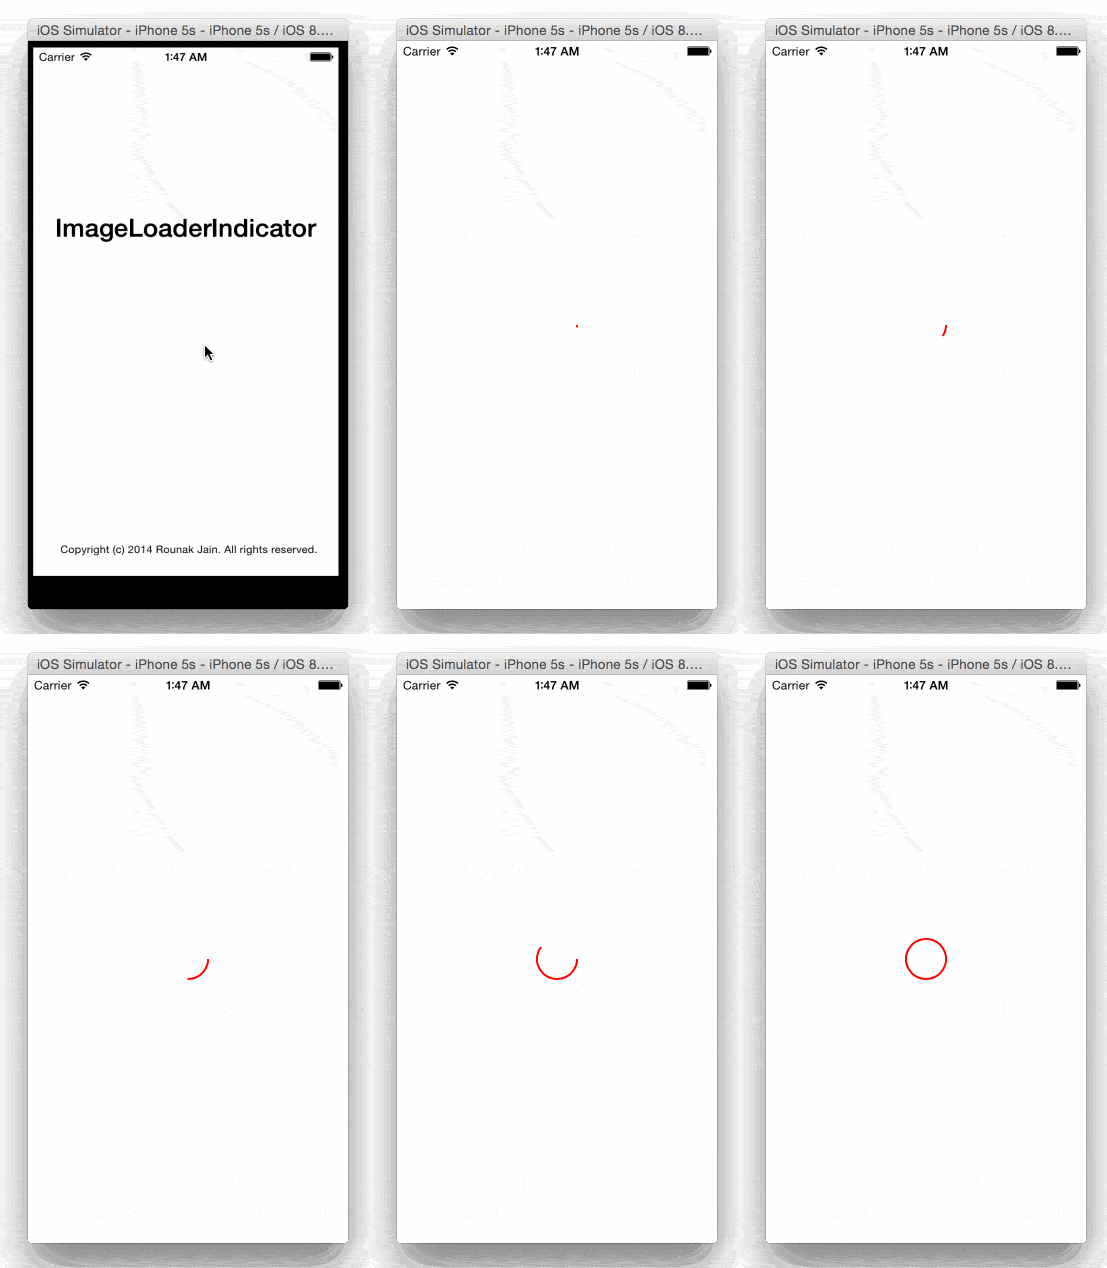
你其實一行動畫程式碼都沒寫。CALayer 會自動辨識可動畫的屬性,並在值改變時補上平滑的過渡——這是 implicit animation 的功勞。
第一階段完成,接下來是最後的高潮。
第三步:做出揭示動畫
揭示階段要做的事是:先讓圖片露出來,然後讓圓環形狀逐漸擴張。如果你看過那篇做 Ping 風格轉場動畫的教學,對 CALayer 的 mask 屬性應該不陌生,這裡正是它的經典用法。
在 CircularLoaderView.swift 加入:
func reveal() {
    // 1
    backgroundColor = UIColor.clearColor()
    progress = 1
    // 2
    circlePathLayer.removeAnimationForKey("strokeEnd")
    // 3
    circlePathLayer.removeFromSuperlayer()
    superview?.layer.mask = circlePathLayer
}
這個方法值得逐段拆解:
把背景改為透明,讓後方的圖片不再被遮住,同時把進度補到 100%。
移除
strokeEnd上尚未結束的 implicit animation,否則它會和揭示動畫互相打架。想深入了解 implicit animation,可以參考《iOS Animations by Tutorials》。把
circlePathLayer從原本的 superlayer 移開,改掛到 superview 的 layer 當作 mask。這樣圖片就會從這個圓形「洞」裡透出來。重複利用同一個 layer,也省下一份重複程式碼。
接著找個地方呼叫它。在 CustomImageView.swift 把 Reveal image here 註解換成:
self!.progressIndicatorView.reveal()
編譯執行,圖片開始下載後你會看到一個小小的圓環出現。
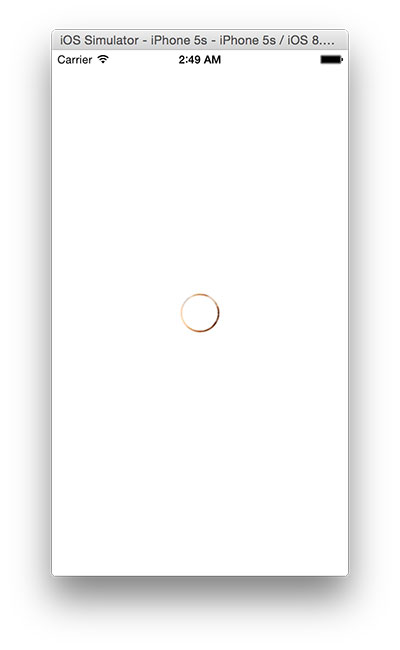
背景裡隱約能看到圖片了——但幾乎什麼都看不見。
第四步:讓圓環向外炸開
接下來要讓這個環同時往內、往外擴張。你當然可以用兩個同心的 UIBezierPath,但有個更省力的做法:只動一個路徑。
怎麼做?把圓的半徑(path)變大,讓它往外推;同時把線寬(lineWidth)變粗,讓環往內長。兩者一起長到足夠大時,底下的圖片就整個露出來了。
回到 CircularLoaderView.swift,在 reveal() 的最後補上:
// 1
let center = CGPoint(x: CGRectGetMidX(bounds), y: CGRectGetMidY(bounds))
let finalRadius = sqrt((center.x*center.x) + (center.y*center.y))
let radiusInset = finalRadius - circleRadius
let outerRect = CGRectInset(circleFrame(), -radiusInset, -radiusInset)
let toPath = UIBezierPath(ovalInRect: outerRect).CGPath

// 2
let fromPath = circlePathLayer.path
let fromLineWidth = circlePathLayer.lineWidth

// 3
CATransaction.begin()
CATransaction.setValue(kCFBooleanTrue, forKey: kCATransactionDisableActions)
circlePathLayer.lineWidth = 2*finalRadius
circlePathLayer.path = toPath
CATransaction.commit()

// 4
let lineWidthAnimation = CABasicAnimation(keyPath: "lineWidth")
lineWidthAnimation.fromValue = fromLineWidth
lineWidthAnimation.toValue = 2*finalRadius

let pathAnimation = CABasicAnimation(keyPath: "path")
pathAnimation.fromValue = fromPath
pathAnimation.toValue = toPath

// 5
let groupAnimation = CAAnimationGroup()
groupAnimation.duration = 1
groupAnimation.timingFunction = CAMediaTimingFunction(name: kCAMediaTimingFunctionEaseInEaseOut)
groupAnimation.animations = [pathAnimation, lineWidthAnimation]
groupAnimation.delegate = self
circlePathLayer.addAnimation(groupAnimation, forKey: "strokeWidth")
逐段來看:
先算出能剛好覆蓋整個 image view 的半徑,再據此推導出最終的矩形路徑,也就是 mask 的最終形狀。
把線寬與路徑的起始值設成 layer 目前的值,作為動畫起點。
直接把最終值寫進 layer,避免動畫結束後又跳回原樣。這裡用
CATransaction搭配kCATransactionDisableActions暫時關掉 implicit animation。建立兩個
CABasicAnimation:一個跑路徑、一個跑線寬。線寬必須以兩倍速成長(2 * finalRadius),才能讓往內擴張的速度跟上往外擴張的速度。把兩個動畫打包進
CAAnimationGroup掛到 layer 上,並把 delegate 設為 self——等等會用到。
編譯執行,圖片下載完成後揭示動畫就會彈出來。不過動畫播完,圓環的殘影還會留在螢幕上。
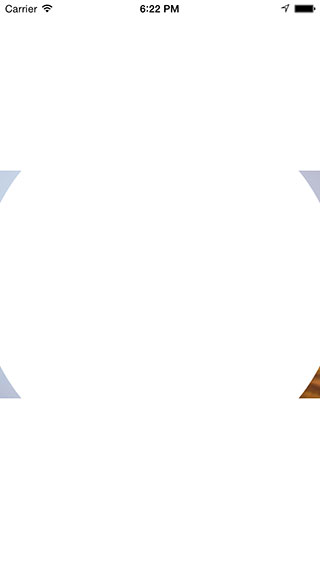
要清掉它,在 CircularLoaderView.swift 實作:
override func animationDidStop(anim: CAAnimation!, finished flag: Bool) {
    superview?.layer.mask = nil
}
把 mask 從 superlayer 上摘掉,圓形就徹底消失了。
再編譯執行一次,完整的效果就出來了:
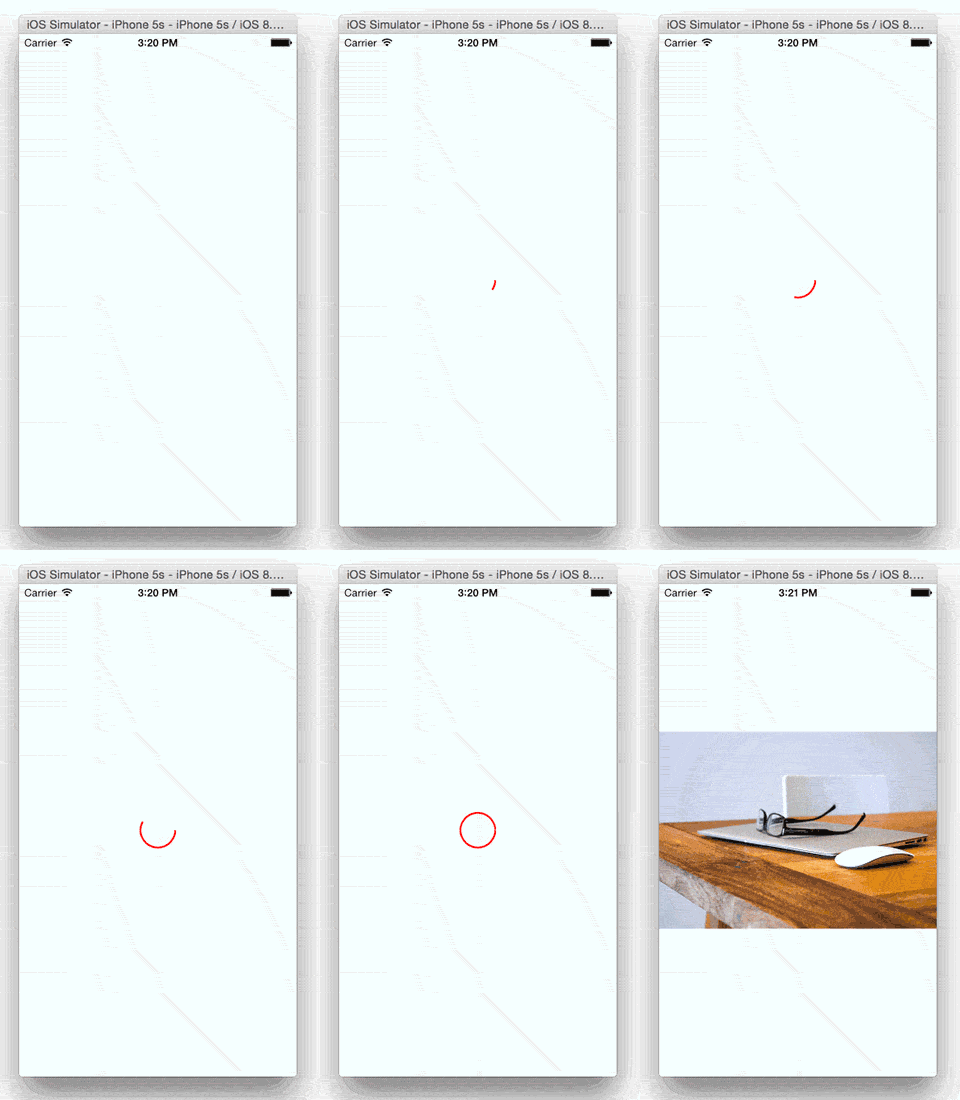
恭喜,圓形圖片載入動畫完成!
接下來可以玩什麼
完整專案可以在這裡下載。
在這個基礎上,你可以自由微調動畫的時長、緩動曲線與配色,讓它貼合自己的設計調性。一個很值得嘗試的小改動是把 shape layer 的 lineCap 設為 kCALineCapRound,讓進度環的尾端變成圓頭。其他還有哪些可以打磨的地方,就留給你自己想了。
如果你喜歡這類動畫,想學會更多變化,推薦讀讀 Marin Todorov 的《iOS Animations by Tutorials》。書從基礎動畫講起,一路涵蓋 layer animations、constraints 動畫、view controller 轉場等主題。
有任何問題或想法,歡迎在下方留言討論。我很期待看到你把它放進自己的 App 裡。