
教你如何使用 WatchKit 創建可選列表 App
本文由 CocoaChina 譯者 holy-dancer 翻譯自 appcoda,原文:Creating a Selectable Table App Using WatchKit。
watchOS 2 開放更多能力,例如 Digital Crown、音訊播放、麥克風與觸覺回饋。本文先從基礎開始,示範如何用 WatchKit 建立一個可點選的列表 App。範例會顯示國家列表,點選後進入詳情頁,查看首都、貨幣與國旗。
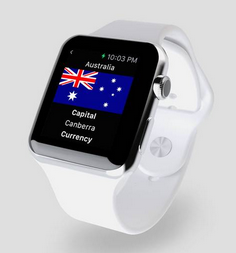
建立專案與 Watch App Target
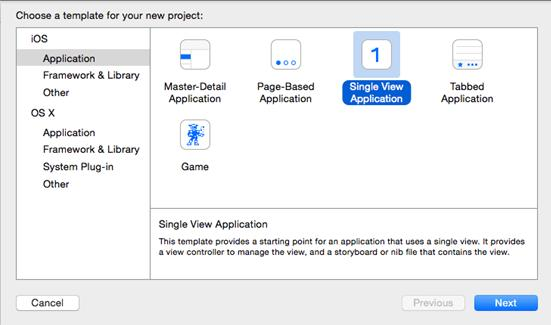
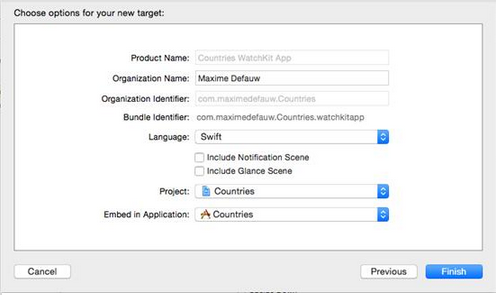
先在 Xcode 建立 Single View Application,命名為 Countries,語言選擇 Swift。由於目前 Watch App 仍需依附 iPhone App,因此需要再新增一個 WatchKit App Target。
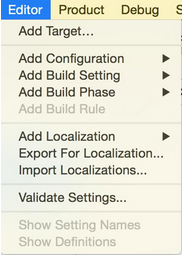
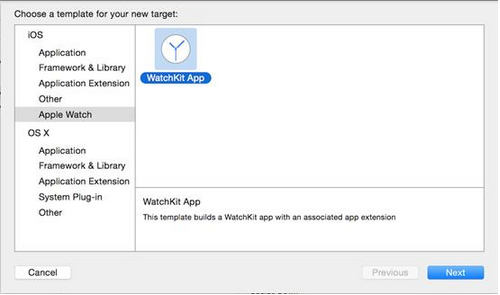
在新增 Target 時,可選擇是否加入 Notification Scene 與 Glance Scene。本範例不勾選,直接完成。完成後 Xcode 會詢問是否啟用 Countries WatchKit App scheme,選擇啟用即可。
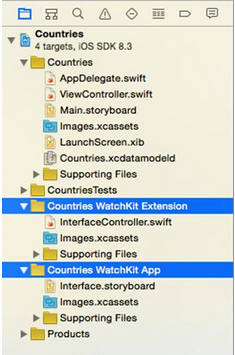
專案中會出現兩個新資料夾。WatchKit Extension 包含 Swift 程式與圖片資源;WatchKit App 包含 storyboard 與 App 圖示。只有 WatchKit App 內的內容會被複製到 Apple Watch。
設計列表畫面
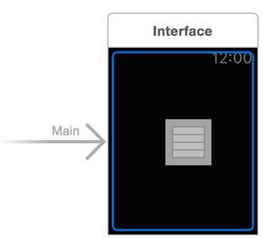
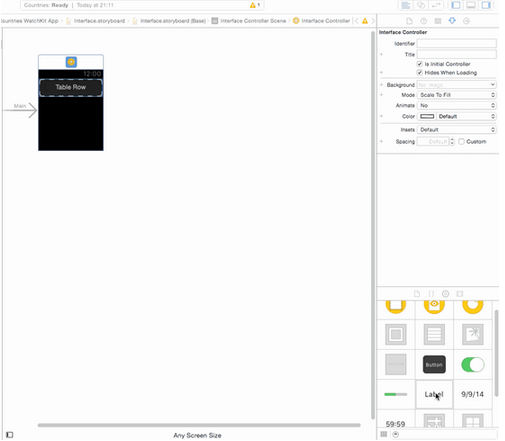
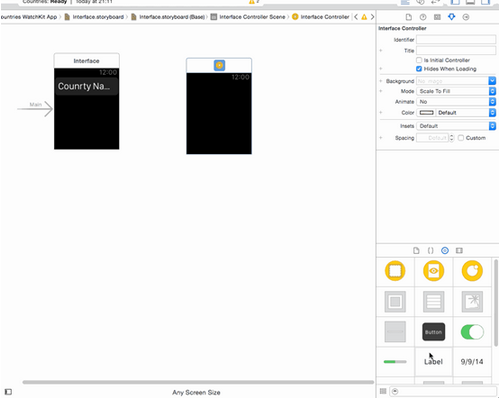
開啟 Interface.storyboard,從物件庫拖入 Table。接著在 table row 上加入一個 Label,文字先設為 country name,對齊方式設為置中,也可把字體調大。
下一步建立詳情頁。從物件庫拖入 Interface Controller,加入國名 Label、國旗 Image,以及首都與貨幣的標題和動態 Label。
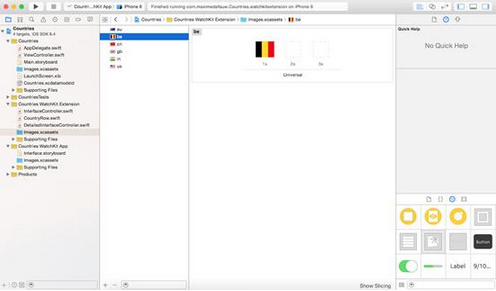
下載範例圖片後,要加入 WatchKit Extension 的 Images.xcassets,而不是 WatchKit App。之後可在 storyboard 中把預設國旗設為 us。
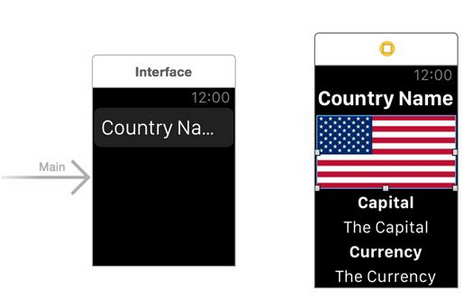
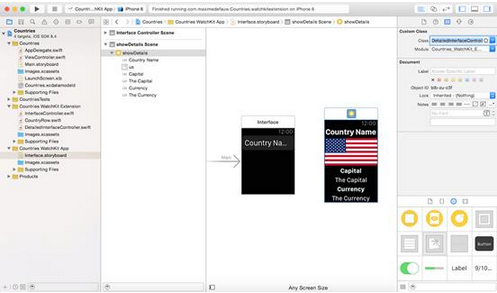
接著建立 DetailInterfaceController,並在 Identity Inspector 中把它設為 Detailed Interface Controller 的自訂類別。
列表資料與 Outlet
在 InterfaceController 中建立一個 countries 陣列。為了讓 Interface Builder 能連接 table,可用 assistant editor 把 table 拖到程式碼中,建立 tableView outlet。
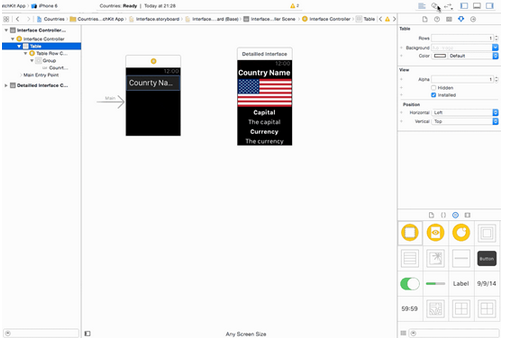
每一列需要一個 row controller 類別。建立 CountryRow,並在 storyboard 中把 table row 的 identifier 設為 CountryRow,custom class 也設為 CountryRow,同時確認 Selectable 有勾選。之後為 countryName Label 建立 outlet。
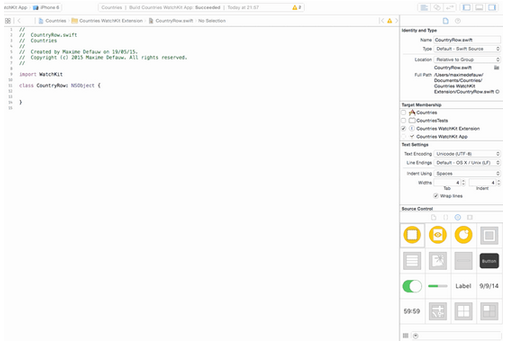
在 setupTable 中,先設定列數與 row type,再逐一取出 CountryRow,把國家名稱填入。awakeWithContext 類似 iOS 的 viewDidLoad,可在這裡呼叫 setupTable。
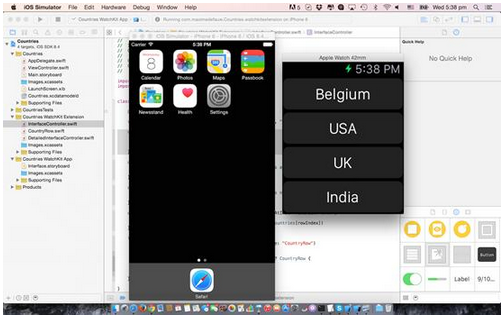
執行 Countries WatchKit App scheme,即可看到國家列表。
加入點選與詳情頁
在 InterfaceController 中重寫 table 的 didSelectRowAtIndex,使用 pushControllerWithName 跳轉到 showDetails,並把選取的國家名稱當作 context 傳入。
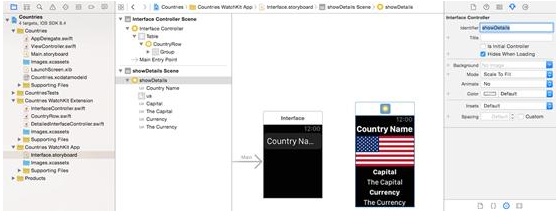
在 storyboard 中,把 Detailed Interface Controller 的 identifier 設為 showDetails。接著把 DetailInterfaceController 的 countryName、capital、currency、flag 等 outlet 連到介面元件。
在 DetailInterfaceController 中,用字典保存首都、貨幣與國旗名稱。awakeWithContext 收到 context 後,取出國家名稱,再從字典取得對應資料,設定 Label 與 flag 圖片。
完成後執行,點選任一國家,應會進入詳情頁並顯示對應資訊。
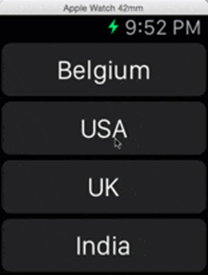
透過這個範例,可以掌握 WatchKit 列表、row controller、context 傳遞與頁面跳轉的基本流程。
- 上一篇文章: UIWebView 與 JS 的深度交互
- 下一篇文章: 手動解析 CrashLog 之原理篇