
iOS 複雜動畫的簡單原理(一):拆解圓弧載入動畫
作者:鄭欽洪_
我一直想好好鑽研動畫這個方向,於是決定把自己學習過程中遇到的坑與心得整理出來持續分享。這一篇先談我搞懂的動畫原理,下一篇會講注水動畫的實作,希望得到大家支持,也希望能把這個系列一直寫下去。
1. 圓弧動畫
我們常看到某種圓形載入動畫,圓弧長度一直在變化,例如芒果 TV、眾乘巴士的載入動畫。類似原理也常出現在儀表盤風格的動畫裡,比如騰訊管家測 Wi-Fi 速率時,動畫往往從 0 點或某個中間位置開始,做一段圓弧伸縮的演出。
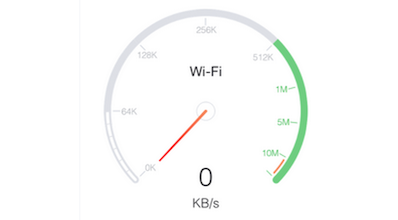
這類動畫通常有兩個共同點:
- 起始狀態下圓弧只是圓的一部分;
- 圓弧不斷向完整圓形擴展,起點與終點都在持續變化。
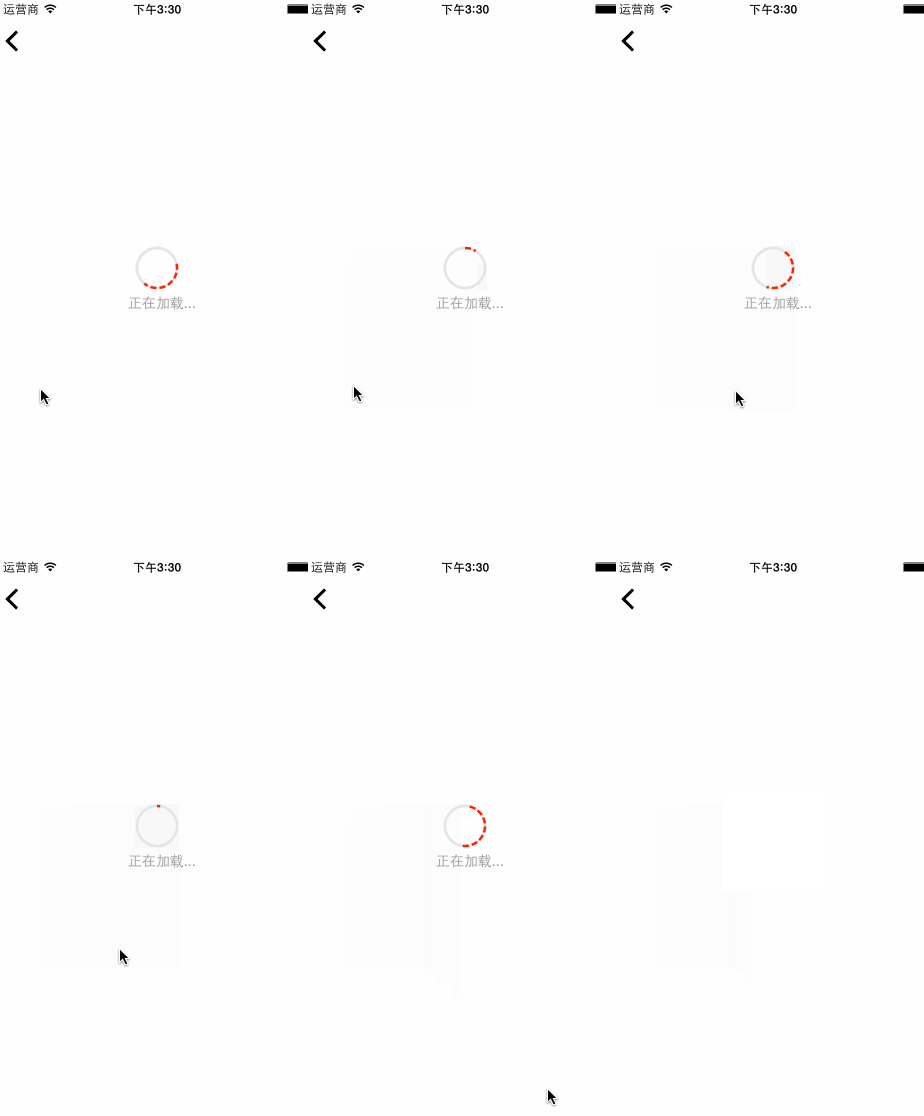
接著以下面這個載入動畫為例,談談我對它原理的理解。GitHub 專案連結見文末。
2. 拆分動畫
從這張 GIF 可以觀察到,圓弧先從 0 長到 0.5,再從 0.5 長到 1。我們把這兩個階段各自做了什麼拆開來看:
- 0 → 0.5:起點固定在 0 處不動,終點從 0 慢慢走到 0.5。
- 0.5 → 1:終點從 0.5 出發,維持原速走向 1.0;但在此階段開始的同時,起點也啟動了,而且速度比終點更快,因此當終點抵達 1.0 時,起點正好追上終點。
結論就是:前半段起點不動、終點動;當終點走到一半,起點開始追趕,且速度更快,最後在 1.0 的位置與終點重合。
3. 實作
(1) 用 CAShapeLayer 畫圓
官方文件對 CAShapeLayer 的描述是:它在使用者座標系內繪製三次貝茲曲線(CGPath),可同時具備 fill 與 stroke 兩種成分,並合成於 layer 的 contents 與第一個 sublayer 之間。也就是說,只要給它一個 CGPath,就能畫出各種形狀。
在這個範例中,底部有一個灰色圓,上面覆蓋一個帶動畫的橘紅色圓,我們分別用兩個 CAShapeLayer 建立。
// 底部灰色 layer
CAShapeLayer *bottomShapeLayer = [CAShapeLayer layer];
bottomShapeLayer.strokeColor = [UIColor colorWithRed:229/255.0 green:229/255.0 blue:229/255.0 alpha:1].CGColor;
bottomShapeLayer.fillColor = [UIColor clearColor].CGColor;
bottomShapeLayer.lineWidth = KShapelayerLineWidth;
bottomShapeLayer.path = [UIBezierPath bezierPathWithRoundedRect:
    CGRectMake(KShapeLayerMargin, 0, KShapeLayerWidth, KShapeLayerWidth)
    cornerRadius:KShapeLayerRadius].CGPath;
[self.layer addSublayer:bottomShapeLayer];

// 橘紅色 layer
CAShapeLayer *ovalShapeLayer = [CAShapeLayer layer];
ovalShapeLayer.strokeColor = [UIColor colorWithRed:0.984 green:0.153 blue:0.039 alpha:1.0].CGColor;
ovalShapeLayer.fillColor = [UIColor clearColor].CGColor;
ovalShapeLayer.lineWidth = KShapelayerLineWidth;
ovalShapeLayer.path = [UIBezierPath bezierPathWithRoundedRect:
    CGRectMake(KShapeLayerMargin, 0, KShapeLayerWidth, KShapeLayerWidth)
    cornerRadius:KShapeLayerRadius].CGPath;
有了靜態圖形,下一步才是加上動畫。
(2) 加入動畫
從前面的分析可知:起點先不動,當終點走到 0.5 時以兩倍速度追趕,並在終點走完剩下半圈的時間內跑完整個圓;終點則始終保持等速。
實作方式有好幾種。最直觀的做法是讓終點先跑半圈,然後起點以兩倍速出發,終點同時從 0.5 續跑——這正是 GIF 上看到的樣子。但這裡我用了個投機取巧的寫法:讓起點從一開始就動,而且速度是終點的兩倍。乍聽之下不合理,起點跑得更快怎麼可能只畫出半圈?方法是讓起點多跑一圈——在相同的時間內跑完終點兩圈的路徑,也就是起點先在「看不見的地方」多跑一圈,像賽跑前先繞場一周。
具體做法是把 strokeStart 的起始值與結束值設為 −1.0 與 1.0,strokeEnd 則設為 0.0 與 1.0。由於兩段動畫時間相同,當 strokeEnd 走到 0.5 時,strokeStart 恰好從 −1.0 走到 0.0,正好對應我們一開始看到的畫面;之後因為 strokeStart 速度是 strokeEnd 的兩倍,便能在剩下的路程中追上。
// 起點動畫
CABasicAnimation *strokeStartAnimation = [CABasicAnimation animationWithKeyPath:@"strokeStart"];
strokeStartAnimation.fromValue = @(-1);
strokeStartAnimation.toValue = @(1.0);

// 終點動畫
CABasicAnimation *strokeEndAnimation = [CABasicAnimation animationWithKeyPath:@"strokeEnd"];
strokeEndAnimation.fromValue = @(0.0);
strokeEndAnimation.toValue = @(1.0);

// 組合動畫
CAAnimationGroup *animationGroup = [CAAnimationGroup animation];
animationGroup.animations = @[strokeStartAnimation, strokeEndAnimation];
animationGroup.duration = KAnimationDurationTime;
animationGroup.repeatCount = CGFLOAT_MAX;
animationGroup.fillMode = kCAFillModeForwards;
animationGroup.removedOnCompletion = NO;
[ovalShapeLayer addAnimation:animationGroup forKey:nil];
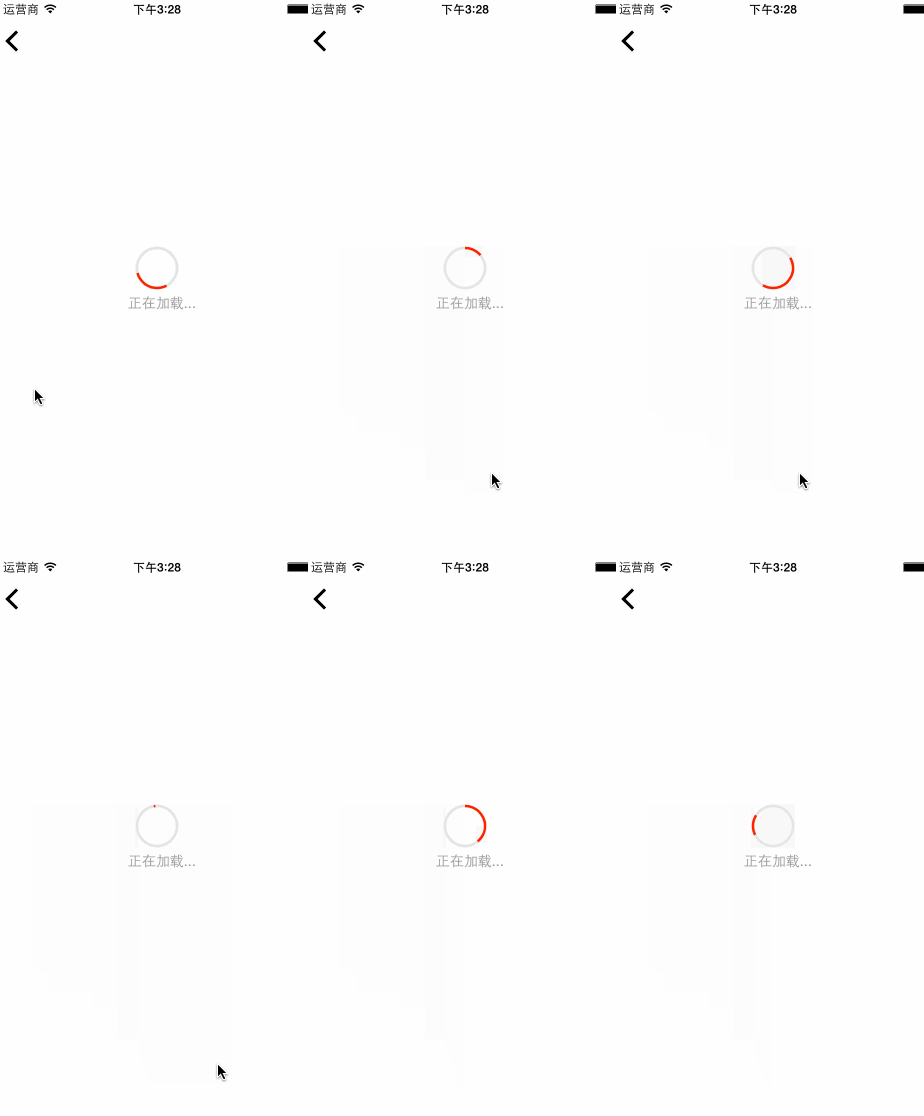
(3) 分割點效果
利用 CAShapeLayer 的 lineDashPattern 屬性,可以輕鬆做出虛線分割點,疊上原本的動畫就能得到目標效果:
ovalShapeLayer.lineDashPattern = @[@6, @3];
4. 後記
這前一兩個月接了兩個外包專案,所以久沒寫文章。最近專案即將收尾,身為學生最開心的莫過於看到下學期課表只排一天的課。接下來考完試時間比較充裕,會投入更多心力在動畫上,也希望能持續把所學與心得分享出來,並接受大家的指正。