
iOS 推送通知進階玩法:通知快捷按鈕與快捷回覆實作
編輯:iOS 開發基礎
前言
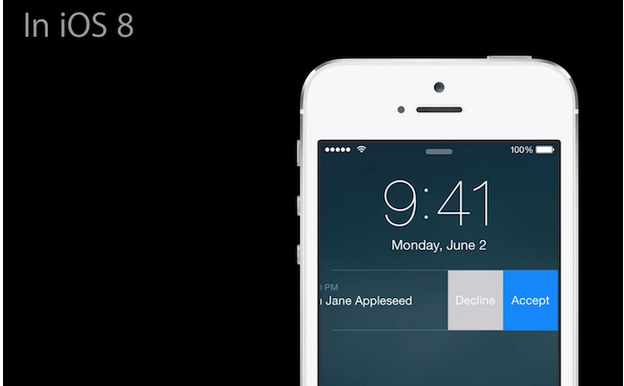
推送通知大家都很熟悉,原理部分這裡不再贅述。本文重點放在 iOS 8、iOS 9 之後新增的通知互動能力——你可能聽說過、看過效果,卻未必真的動手做過。接下來我會完整示範通知快捷按鈕與快捷回覆的實作方式。
效果一:通知內直接點讚
先看一眼成品:
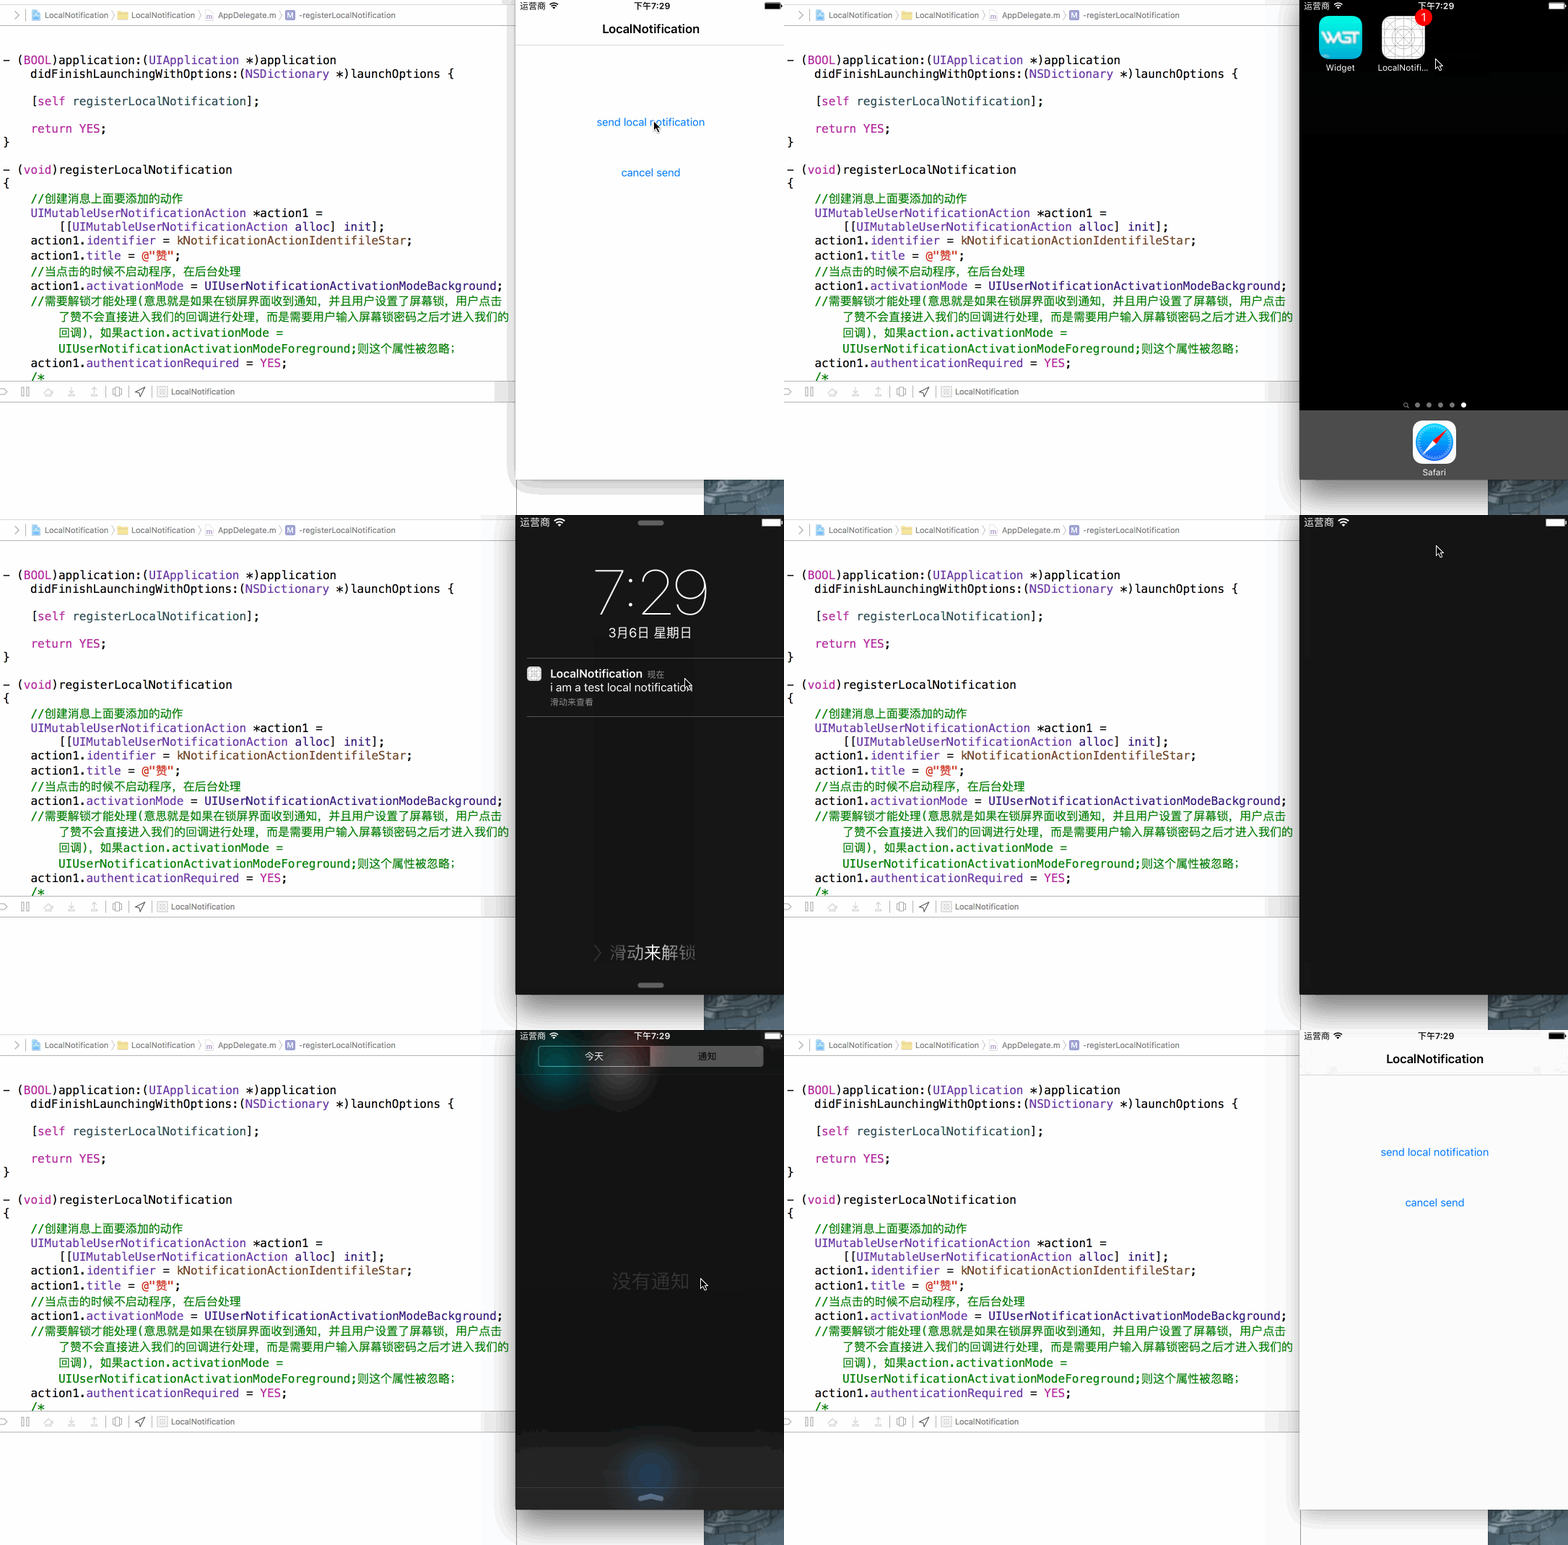
要讓自己的通知帶上快捷操作,第一步是建立 action。以「贊」這個動作為例:
// 建立要顯示在通知上的動作
UIMutableUserNotificationAction *action1 = [[UIMutableUserNotificationAction alloc] init];
action1.identifier = kNotificationActionIdentifileStar;
action1.title = @"贊";
// 點擊後不啟動 App,在背景處理
action1.activationMode = UIUserNotificationActivationModeBackground;
// 需要解鎖才能處理:若在鎖屏狀態收到通知並點擊「贊」,
// 不會直接進入回呼,而是要輸入螢幕鎖密碼後才會進入。
// 若 activationMode 設為 Foreground,此屬性會被忽略。
action1.authenticationRequired = YES;
/*
 destructive 設為 YES 時,在通知中心或鎖屏介面左劃,按鈕文字會變成紅色。
 兩個按鈕都設 YES 則都變紅(略難看);
 兩個都設 NO(預設值)則第一個是藍色、第二個是淺灰色;
 一 YES 一 NO 時各自顯示對應顏色,形成紅藍雙色。
 */
action1.destructive = NO;
參數含義已在註解中說明。建立好動作之後,接著建立動作分類並完成註冊:
// 建立動作(按鈕)的分類集合
UIMutableUserNotificationCategory *category = [[UIMutableUserNotificationCategory alloc] init];
// 這組動作唯一的識別碼(kNotificationCategoryIdentifile 為自訂巨集)
category.identifier = kNotificationCategoryIdentifile;
// 每個 context 最多支援兩個動作,超出部分會被忽略
[category setActions:@[action1, action2] forContext:UIUserNotificationActionContextMinimal];

// 建立設定物件並指定通知的呈現方式
UIUserNotificationSettings *uns =
[UIUserNotificationSettings settingsForTypes:(UIUserNotificationTypeAlert |
                                               UIUserNotificationTypeBadge |
                                               UIUserNotificationTypeSound)
                                    categories:[NSSet setWithObject:category]];
[[UIApplication sharedApplication] registerUserNotificationSettings:uns];
到這一步,通知內快捷點讚就完成了。那麼鎖屏下拉後可以直接打字回覆,又是怎麼做到的呢?繼續往下看。
效果二:下拉即可快捷回覆
同樣先看成品:
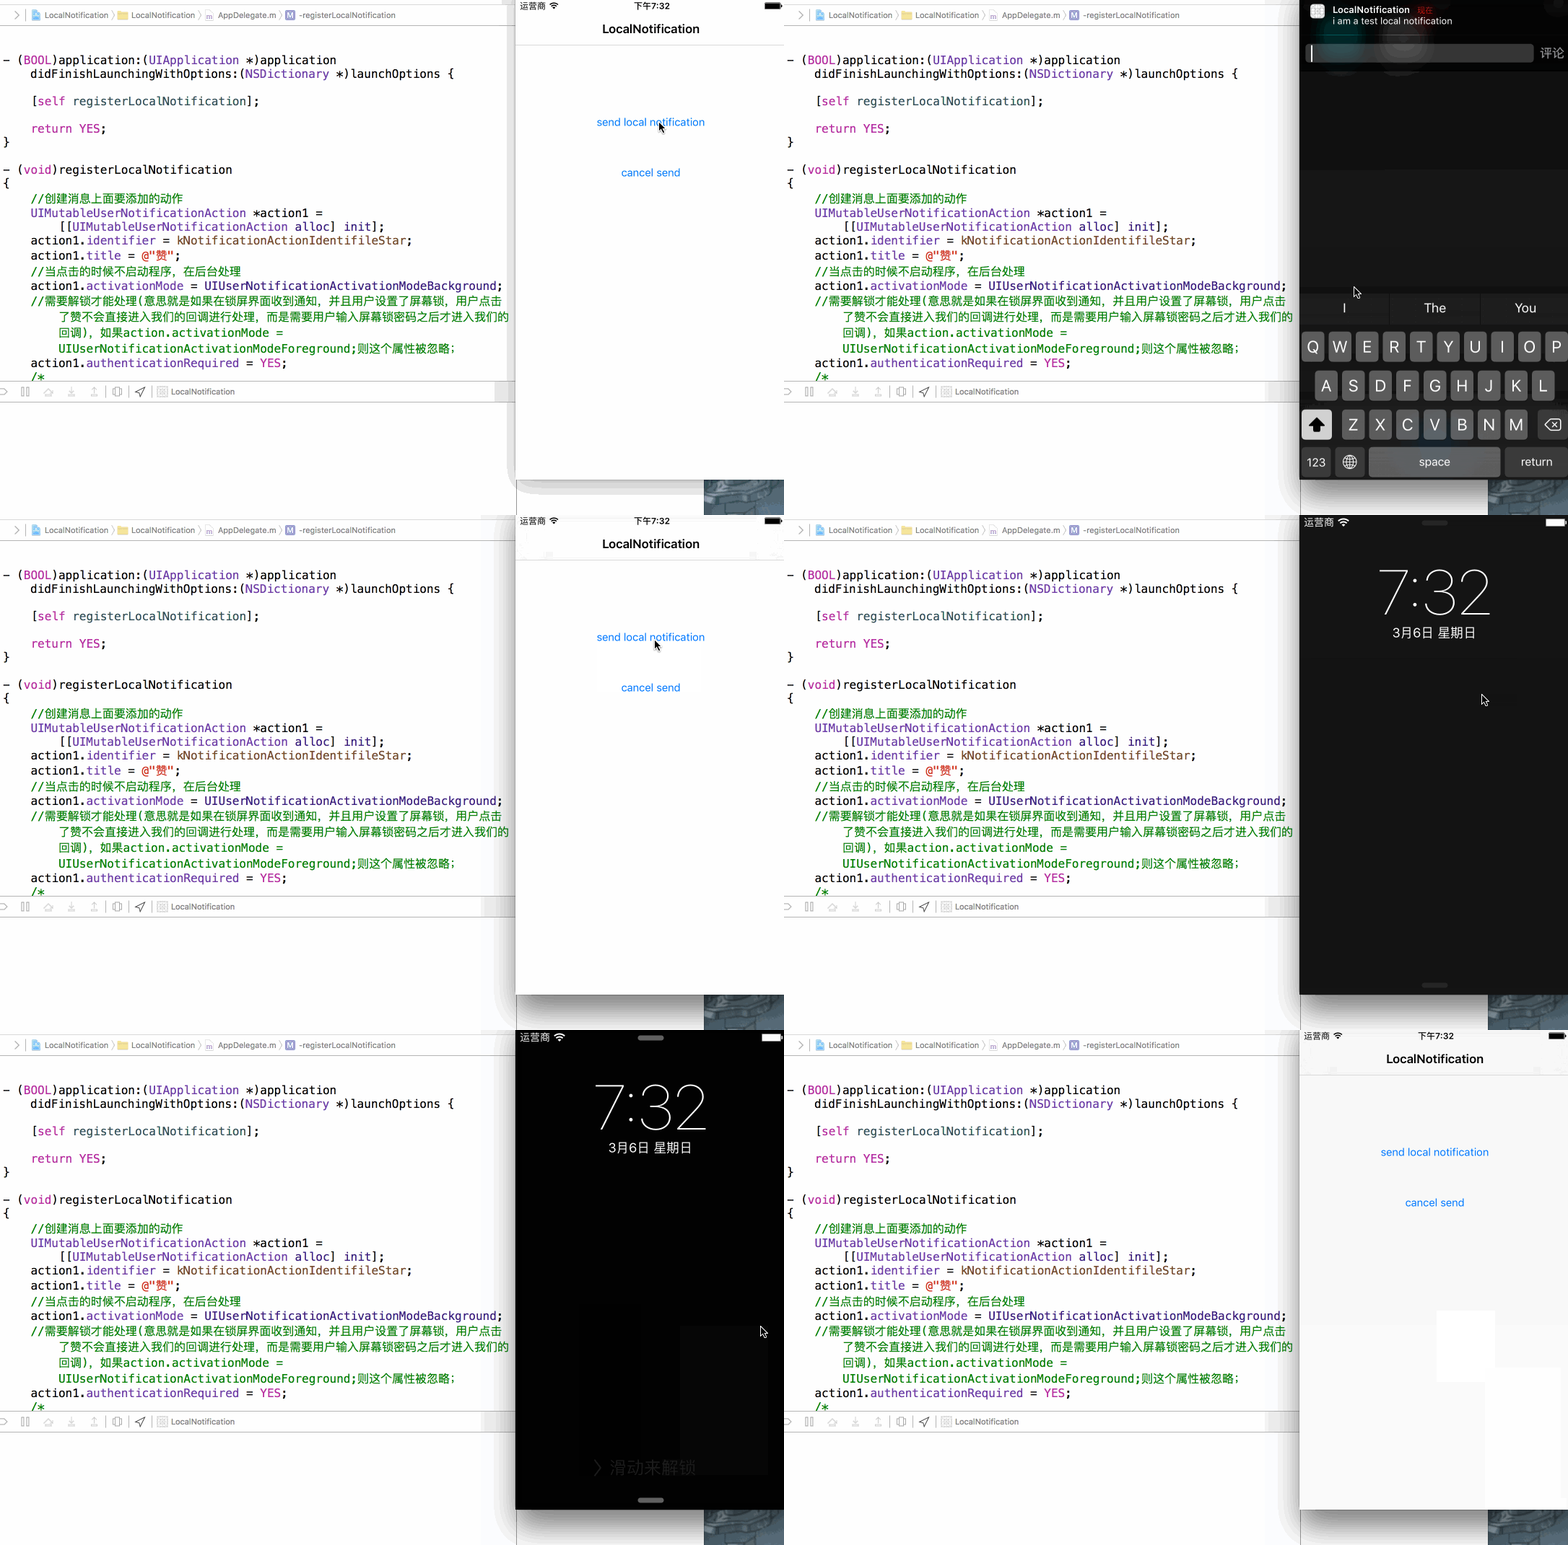
「評論」這個動作和上面的「贊」相比,只多了一個 behavior 屬性:
// 第二個動作
UIMutableUserNotificationAction *action2 = [[UIMutableUserNotificationAction alloc] init];
action2.identifier = kNotificationActionIdentifileComment;
action2.title = @"評論";
// 點擊後不啟動 App,在背景處理
action2.activationMode = UIUserNotificationActivationModeBackground;
// behavior 設為 TextInput 後,點擊按鈕會出現輸入框
action2.behavior = UIUserNotificationActionBehaviorTextInput;
細心的你可能注意到:系統簡訊的快捷回覆按鈕顯示「發送」,而我們的範例顯示「評論」。這個按鈕文字同樣可以自訂:
// 這份字典決定點擊「評論」後,輸入框右側按鈕的名稱。
// 不設定的話,預設顯示「發送」
action2.parameters = @{UIUserNotificationTextInputActionButtonTitleKey: @"評論"};
功能主體到此完成,剩下的就是回呼處理。回呼走的是 AppDelegate 中的代理方法:
// App 在前台時收到本地通知會呼叫
- (void)application:(UIApplication *)application
didReceiveLocalNotification:(UILocalNotification *)notification;

// 非本 App 介面時收到本地通知,下拉後點擊快捷按鈕會呼叫此方法。
// 透過 identifier 判斷點了哪個按鈕,responseInfo 則是使用者輸入的內容。
- (void)application:(UIApplication *)application
handleActionWithIdentifier:(nullable NSString *)identifier
        forLocalNotification:(UILocalNotification *)notification
             withResponseInfo:(NSDictionary *)responseInfo
             completionHandler:(void (^)())completionHandler;
幾個實務上的注意事項
1. 遠程推送也支援
以上程式碼只註冊了本地通知,遠程推送的用法與此類似。要讓遠程訊息觸發快捷動作,訊息本體必須帶上程式碼中註冊過的 category 識別碼,例如:
{
  "aps": {
    "Identifile": "test remote notification",
    "sound": "default",
    "badge": 1,
    "category": "category"
  }
}
其中的 category 值必須與程式碼裡設定的 kNotificationCategoryIdentifile 保持一致,否则快捷按鈕不會出現。
2. 別忘了做版本判斷
這些 API 是 iOS 8 之後才有的,若專案還需相容舊版本,務必在程式碼中加上系統版本判斷,避免在舊系統上直接崩潰。