
優雅拆分 UITableView 回調:讓附加 Cell 不打亂 indexPath
做過這種需求嗎:列表裡點擊某個 cell,就在它下方展開一段附加資訊。
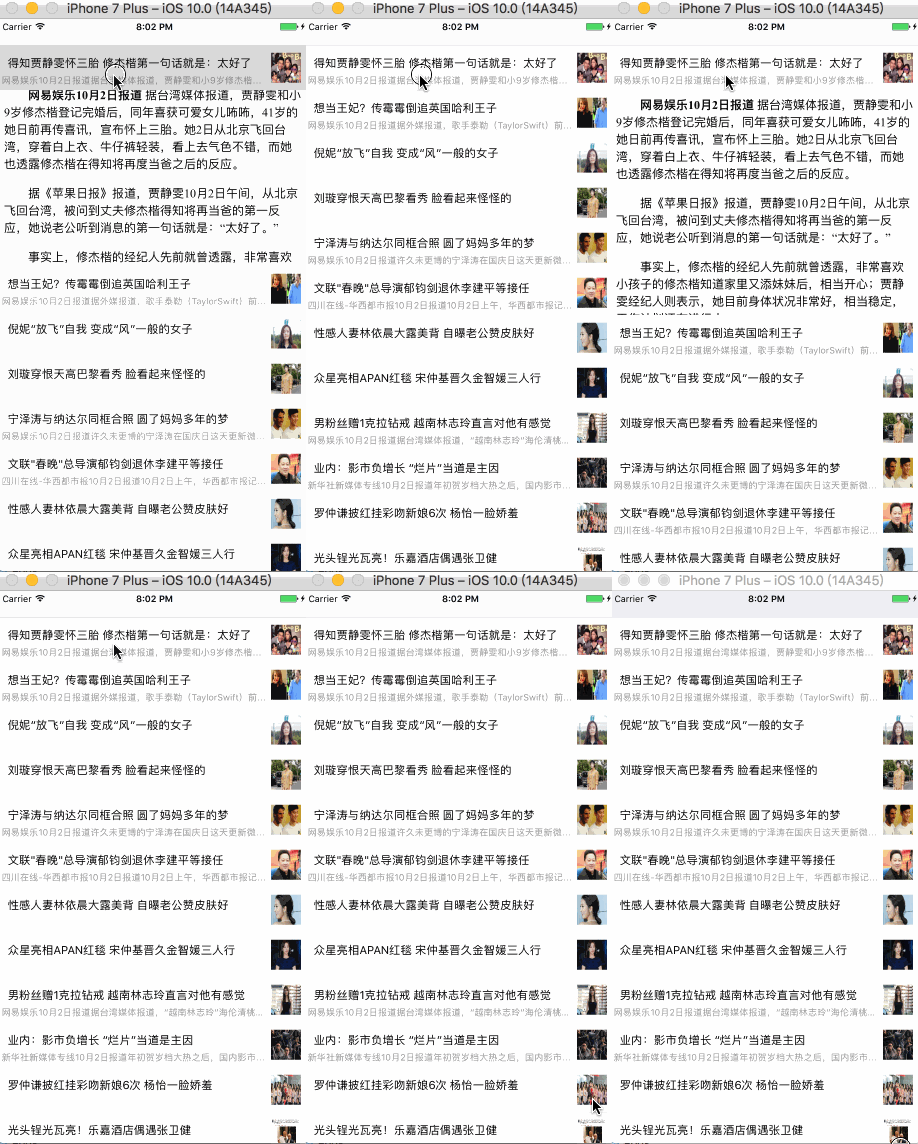
看似簡單,後遺症卻很麻煩
最直覺的做法是用 insertRowsAtIndexPaths:withRowAnimation: 插入一個附加 cell(以下把被點擊的稱為「原始 cell」,展開的稱為「附加 cell」)。但這個做法會帶來連鎖問題:附加 cell 影響了後續所有 cell 的 indexPath。
舉例說,若已展開 row == 0 的原始 cell,那麼:
- 配置 row == 0 的附加 cell,實際操作的是 tableView 的 row == 1;
- 配置原始資料的 row == 1,實際操作的是 tableView 的 row == 2。
於是每一次與 indexPath 相關的操作——配置、點擊、增刪、系統回呼——都得先做一層轉換。展開的附加 cell 越多,換算越痛苦,資料源也變得雜亂,可讀性大幅下降。
本文的做法可以消除這種偏移,並且讓 delegate 與 dataSource 只負責原始 cell,把附加 cell 的配置徹底分離出去。
一、定義兩種語義的 indexPath
typedef NSIndexPath *ActualIndexPath;
實際 indexPath:考慮附加 cell 影響的 indexPath,也就是系統回呼時傳進來的那個。
typedef NSIndexPath *LogicIndexPath;
邏輯 indexPath:不考慮附加 cell 影響的 indexPath,也就是我們希望在程式碼中使用的索引。
延續上例:展開 row == 0 的原始 cell 後,其附加 cell 的實際 row 為 1、邏輯 row 為 0;而 row == 1 的原始 cell 實際 row 為 2、邏輯 row 為 1。
二、為 UITableView 增加 assistantDelegate
@interface YFAssistantTableView : UITableView
@property (nonatomic, weak) id<YFAssistantDelegate> assistantDelegate;
@end
YFAssistantDelegate 中宣告配置附加 cell 的方法。為了避免宣告過多 protocol,在維持可讀性的前提下,把附加 cell 的 delegate 與 dataSource 方法統一收攏到這個協議裡。理論上它應該是 UITableViewDelegate 與 UITableViewDataSource 的並集,但實務上許多方法用不到,因此只挑必要的宣告:
@protocol YFAssistantDelegate <NSObject>
@required
- (UITableViewCell*)YFAssistantTableView:(YFAssistantTableView*)tableView cellForRowAtIndexPath:(NSIndexPath*)indexPath;
- (BOOL)YFAssistantTableView:(YFAssistantTableView*)tableView shouldSpreadAssistantAtIndexPath:(NSIndexPath*)indexPath;
- (CGFloat)YFAssistantTableView:(YFAssistantTableView*)tableView heightForRowAtIndexPath:(NSIndexPath*)indexPath;
@end
三、實際索引 → 邏輯索引
- (LogicIndexPath*)actualIndexPath2Logic:(ActualIndexPath*)indexPath {
NSInteger section = indexPath.section;
__block NSInteger row = indexPath.row;
// assistantsIndexPaths 存放所有已展開的附加 cell 索引
[self.assistantsIndexPaths enumerateObjectsUsingBlock:^(ActualIndexPath *obj, NSUInteger idx, BOOL *stop) {
if (obj.section == section && obj.row <= indexPath.row) {
row--;
}
}];
return [NSIndexPath indexPathForRow:row inSection:section];
}
四、把附加 cell 的回呼分流到 assistantDelegate
這裡用 Method Swizzling 鉤住 delegate(dataSource)的每個方法。在 hook 方法內部先將 ActualIndexPath 轉為 LogicIndexPath,再判斷該索引指向的是原始 cell 還是附加 cell:前者呼叫 delegate(dataSource)並傳入邏輯索引,後者呼叫 assistantDelegate。
以下以 tableView:cellForRowAtIndexPath: 為例,其他方法同理:
Method method1 = class_getInstanceMethod([delegate class], @selector(tableView:cellForRowAtIndexPath:));
const char *type = method_getTypeEncoding(method1);
IMP imp = class_getMethodImplementation([self class], @selector(hookTableView:cellForRowAtIndexPath:));
class_addMethod([delegate class], @selector(hookTableView:cellForRowAtIndexPath:), imp, type);
Method method2 = class_getInstanceMethod([delegate class], @selector(hookTableView:cellForRowAtIndexPath:));
method_exchangeImplementations(method1, method2);
- (UITableViewCell*)hookTableView:(YFAssistantTableView*)tableView cellForRowAtIndexPath:(ActualIndexPath*)indexPath {
LogicIndexPath *logicIndexPath = 實際索引轉邏輯索引(indexPath);
if (indexPath 指向附加 cell) {
return [tableView.assistantDelegate YFAssistantTableView:tableView cellForRowAtIndexPath:logicIndexPath];
}
// 指向原始 cell
return [self hookTableView:tableView cellForRowAtIndexPath:logicIndexPath];
}
效果與收益
實際使用中,你只需要關心「哪個索引的附加 cell 該展開或收起」,不必再操心索引偏移;原始 cell 與附加 cell 的配置也徹底解耦,資料源清晰、程式碼可讀性明顯提升。
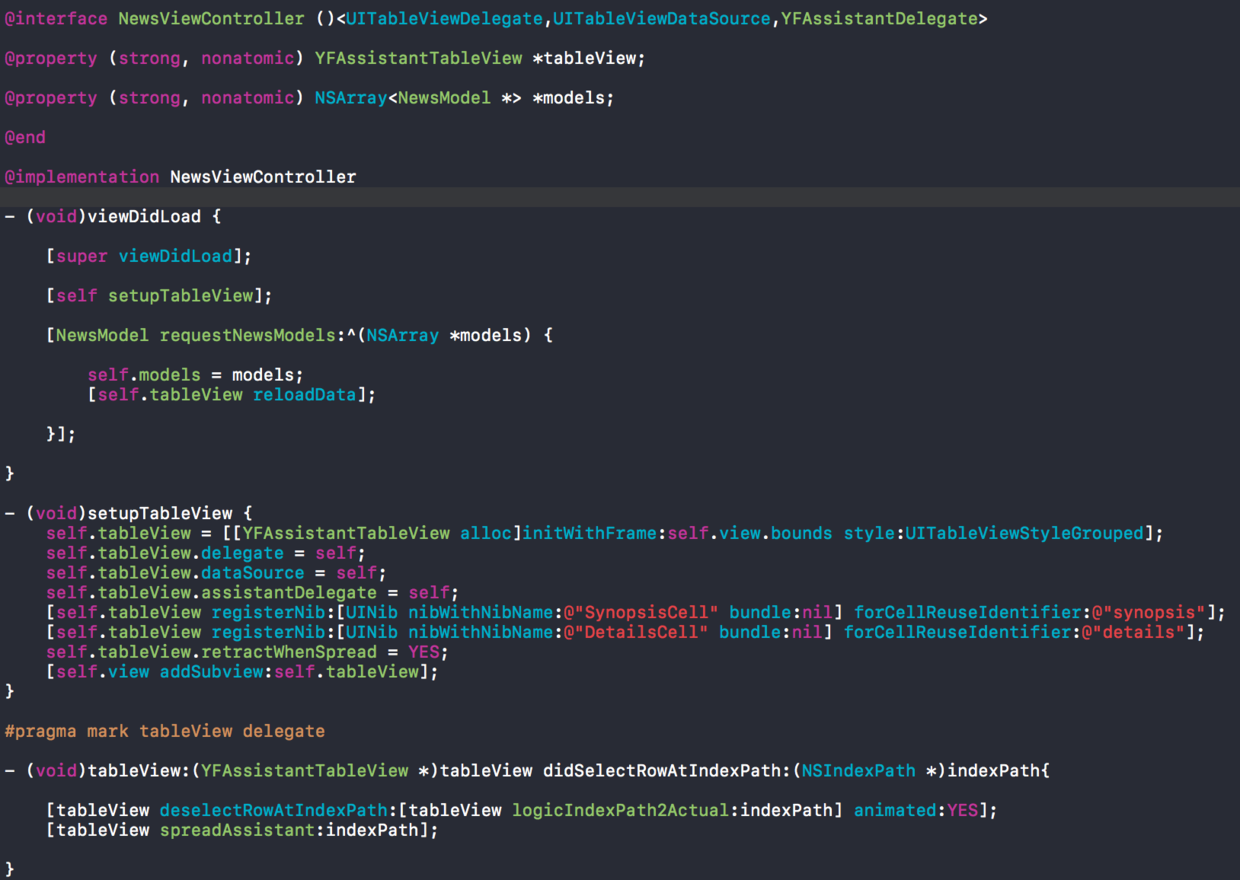
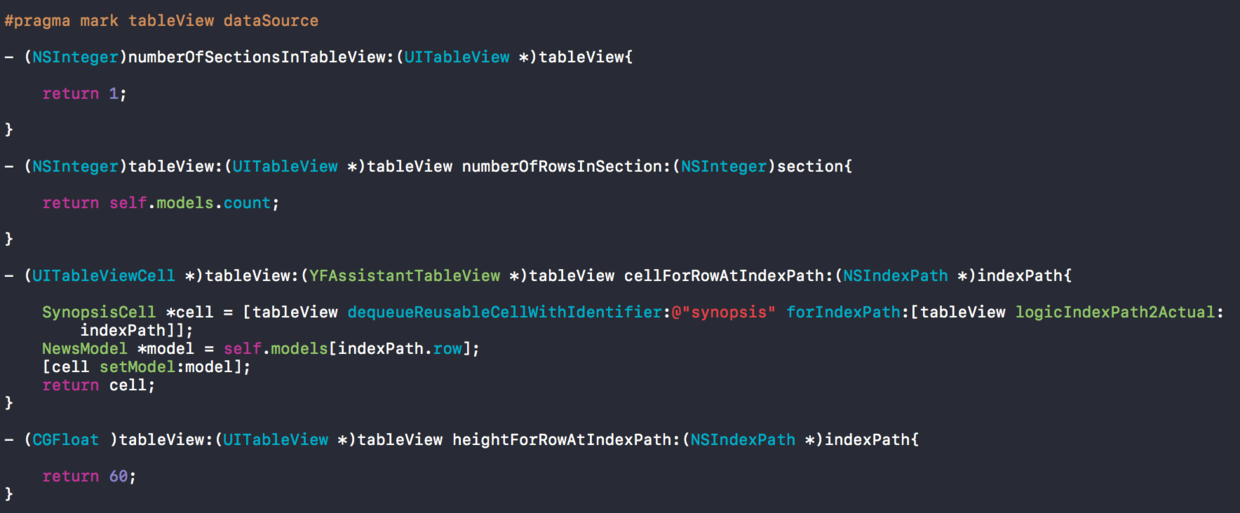

原始碼:https://github.com/haltNoShut/YFAssistantTableView