
WorkTimer:以 Swift 實作番茄鐘計時器並優化核心動畫
編輯:iOS 程式設計技術
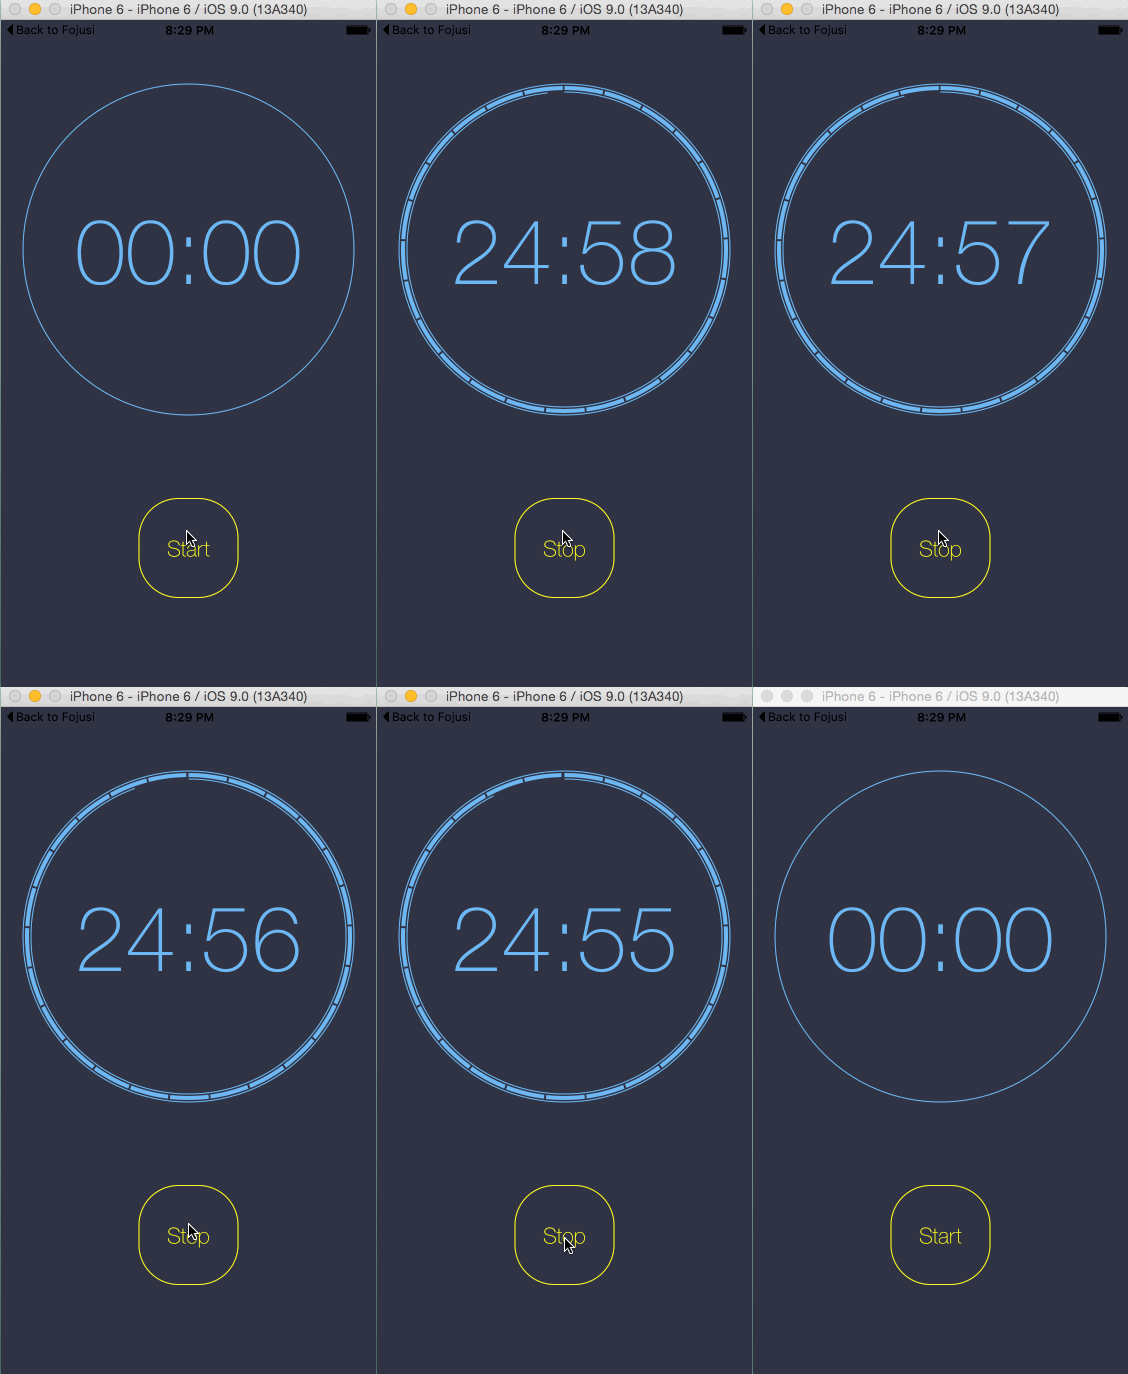
工作壓力一大,工作與休息的界線就模糊了,效率反而下降。這個小專案沿用了番茄工作法的核心概念與動畫表現,並在實作上做了優化。
原本的專案(Tomate)在計時過程中反覆重繪圖片、重算固定不變的數值,導致 CPU 佔用偏高。我把它改成以 CAShapeLayer 搭配 strokeEnd 來呈現進度,只更新真正會變的屬性,並針對不同機型與系統版本調整版面,擴充性與效能都改善不少。
介面刻意做得簡單,沒有提供自訂時間的設定。但其實最合理的模式就是預設那個:25 分鐘專心 + 5 分鐘休息,反覆循環。與其讓使用者自己調參數,不如把已經驗證有效的節奏固定下來。
專案:Tomate → 本專案:WorkTimer
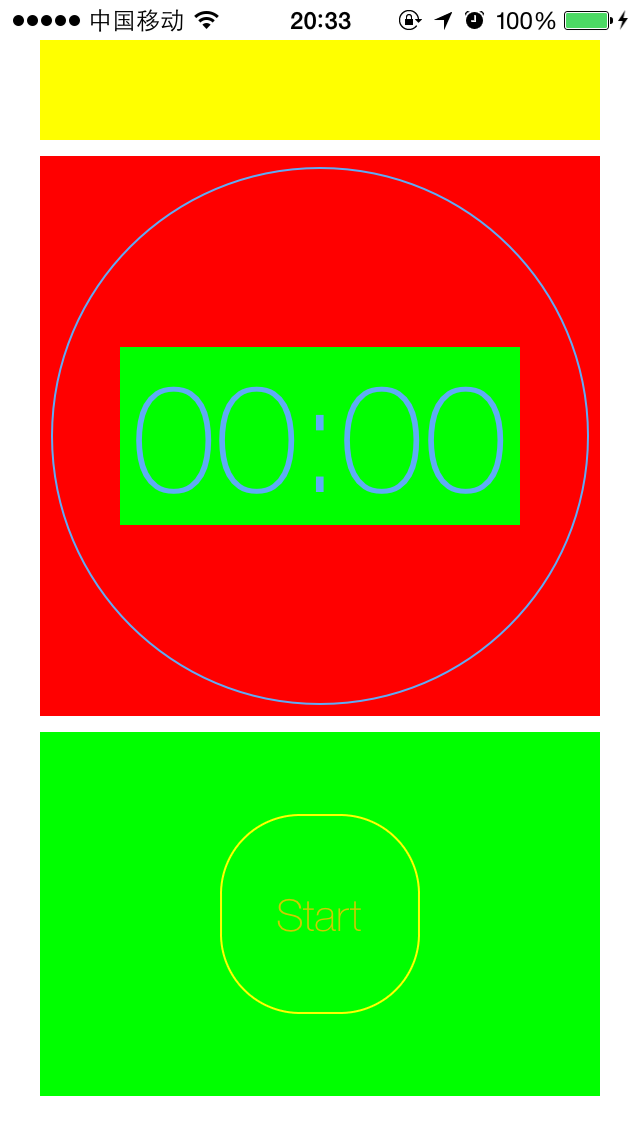
iPhone 5 版面:
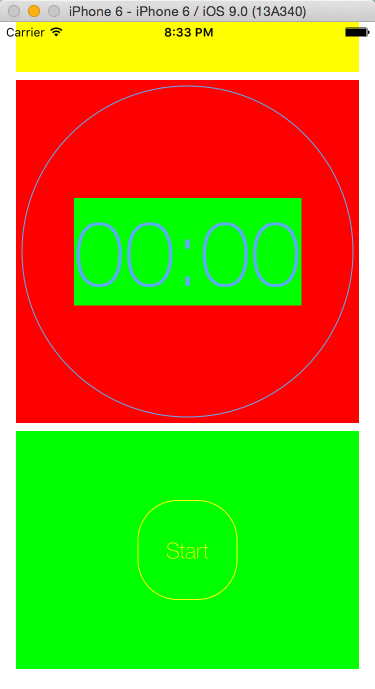
模擬器版面:
核心動畫的實作如下:
import UIKit
import QuartzCore

/// 更新計時器介面
public protocol TimerViewProtocol {
    func updateTimer(durationInSeconds: CGFloat)
}

extension CGFloat {
    /// 格式化為兩位數字的時間字串
    func numberTimerFormate() -> String {
        return String(format: "%02d", Int(self))
    }
}

class TimerView: UIView, TimerViewProtocol {

    var totalTimeInSeconds: CGFloat {
        get { return totalTime }
        set {
            totalTime = newValue
            initTimerState()
        }
    }

    private var totalTime: CGFloat = 0.0
    private var radius: CGFloat = 0.0
    private var timerCenter: CGPoint = CGPoint(x: 0.0, y: 0.0)

    private let startAngle: CGFloat = -CGFloat(M_PI) / 2
    private let endAngle: CGFloat = 3 * CGFloat(M_PI) / 2

    private var minutesRingPath: UIBezierPath!
    private var secondsRingPath: UIBezierPath!
    private var fullRingPath: UIBezierPath!

    private var numberTimeLabel = UILabel()

    private let minutesShapeLayer: CAShapeLayer = CAShapeLayer()
    private let secondsShapeLayer: CAShapeLayer = CAShapeLayer()

    override init(frame: CGRect) {
        super.init(frame: frame)
        layer.addSublayer(minutesShapeLayer)
        layer.addSublayer(secondsShapeLayer)
        addSubview(numberTimeLabel)
        addConstraints(settingNumberTimeLabelConstraint())
        backgroundColor = UIColor.clearColor()
        print("init TimerView complete")
    }

    required init?(coder aDecoder: NSCoder) {
        fatalError("init(coder:) has not been implemented")
    }

    override func drawRect(rect: CGRect) {
        timerCenter = CGPointMake(CGRectGetMidX(rect), CGRectGetMidY(rect))
        radius = rect.width / 2 - 10

        settingMinuteStyle()
        settingSecondStyle()
        settingTimeLabelStyle()
        drawRing()
        initTimerState()
    }

    /// 每次計時更新只改 strokeEnd 與文字,不重繪路徑
    func updateTimer(durationInSeconds: CGFloat) {
        minutesShapeLayer.strokeEnd = durationInSeconds / totalTime
        secondsShapeLayer.strokeEnd = durationInSeconds % 60 / 60
        numberTimeLabel.text = (durationInSeconds / 60).numberTimerFormate()
            + ":" + (durationInSeconds % 60).numberTimerFormate()
    }

    private func initTimerState() {
        minutesShapeLayer.strokeEnd = 0.0
        secondsShapeLayer.strokeEnd = 0.0
        numberTimeLabel.text = CGFloat(0).numberTimerFormate()
            + ":" + CGFloat(0).numberTimerFormate()

        // 依總時長決定分針層的虛線間距
        let dashLength = 2 * radius * CGFloat(M_PI) / (totalTime / 60.0)
        minutesShapeLayer.lineDashPattern = [dashLength - 2, 2]
    }

    private func settingMinuteStyle() {
        minutesRingPath = UIBezierPath(arcCenter: timerCenter,
                                       radius: radius,
                                       startAngle: startAngle,
                                       endAngle: endAngle,
                                       clockwise: true)
        minutesShapeLayer.path = minutesRingPath.CGPath
        minutesShapeLayer.fillColor = UIColor.clearColor().CGColor
        minutesShapeLayer.strokeColor = TimerStyleKit.timerColor.CGColor
        minutesShapeLayer.lineWidth = 4.0
    }

    private func settingSecondStyle() {
        secondsRingPath = UIBezierPath(arcCenter: timerCenter,
                                       radius: radius - 4,
                                       startAngle: startAngle,
                                       endAngle: endAngle,
                                       clockwise: true)
        secondsShapeLayer.path = secondsRingPath.CGPath
        secondsShapeLayer.fillColor = UIColor.clearColor().CGColor
        secondsShapeLayer.strokeColor = TimerStyleKit.timerColor.CGColor
        secondsShapeLayer.lineWidth = 1.0
    }

    private func settingTimeLabelStyle() {
        numberTimeLabel.textAlignment = .Center
        numberTimeLabel.textColor = TimerStyleKit.timerColor
        numberTimeLabel.font = UIFont(name: "HelveticaNeue-Thin", size: radius / 2 + 10)
        numberTimeLabel.adjustsFontSizeToFitWidth = true
        numberTimeLabel.center = timerCenter
    }

    private func drawRing() {
        TimerStyleKit.timerColor.set()
        fullRingPath = UIBezierPath(arcCenter: timerCenter,
                                    radius: radius + 4,
                                    startAngle: startAngle,
                                    endAngle: endAngle,
                                    clockwise: true)
        fullRingPath.lineWidth = 1.0
        fullRingPath.stroke()
    }

    private func settingNumberTimeLabelConstraint() -> [NSLayoutConstraint] {
        numberTimeLabel.translatesAutoresizingMaskIntoConstraints = false
        var constraints = [NSLayoutConstraint]()

        if #available(iOS 9.0, *) {
            constraints.append(numberTimeLabel.centerXAnchor.constraintEqualToAnchor(centerXAnchor))
            constraints.append(numberTimeLabel.centerYAnchor.constraintEqualToAnchor(centerYAnchor))
        } else {
            // 舊版本以 Visual Format 對齊
            let views = ["numberTimeLabel": numberTimeLabel]
            constraints += NSLayoutConstraint.constraintsWithVisualFormat(
                "H:|-40-[numberTimeLabel]-40-|", options: [], metrics: [:], views: views)
        }
        return constraints
    }
}
原專案在 drawRect 之外反覆重算那些根本不會變的常數,CPU 自然降不下來。改成只在初始化時計算一次路徑與樣式,計時過程中僅更新 strokeEnd,就是這個版本效能改善的主要關鍵。
因為經驗還不足,很多地方只能自己造輪子,但也因此在這個過程中把 UIView 與程式碼約束版面學清楚了許多。
做完這個小專案最大的體會是:東西不只是要好看,更要合理地優化。合理的架構設計、可讀的程式碼、良好的擴充性,這些才是該追的目標。