
iOS 轉場動畫入門:自定義與交互式轉場
前言
在 iOS 中,Navigation Controller 推入或彈出 VC、彈出 Modal、Tab Controller 切換選中項時,系統都會提供默認動畫。統一有統一的價值,但有時候我們总想有一點新意。遺憾的是,直接改這些默認效果並不容易。自從有了轉場動畫機制,這件事才真正變得可行。
關於轉場動畫
(先吐槽一下這個名字,實在有點拗口。)
轉場動畫在 iOS 7 中引入,可以分為兩類:非交互式與交互式。顧名思義,二者的區別在於用戶能不能干預動畫的執行進度。接下來先暫時忘掉這個分類。
基本原理
整體上,轉場動畫由兩個部件組成:Animation Controller 和 Animation Delegate。它們的協作過程有點像這樣一段對話:
系統:Hey,Delegate,我要做頁面切換了,需要自定義動畫嗎?
Delegate:要啊,來,我給你一個動畫控制器,你就照著這個做吧。
系統:……好吧。(原本以為自己是大爺的)
於是系統默默地去執行動畫控制器定制的動畫了。
基本實現
動畫控制器
實現動畫控制器需要遵循 UIViewControllerAnimatedTransitioning 協議,通常要實現兩個方法:
- (NSTimeInterval)transitionDuration:(id<UIViewControllerContextTransitioning>)transitionContext:告訴系統自定義動畫持續多長時間。系統用這個時間來協調同時發生的其他動畫,比如 push 時導航欄的變化,保證節奏一致。
- (void)animateTransition:(id<UIViewControllerContextTransitioning>)transitionContext:提供自定義的動畫實現。
這兩個方法都帶有 transitionContext 參數。它由系統負責創建,用於描述轉場的上下文信息,實現了 UIViewControllerContextTransitioning 協議。通過它可以拿到 containerView、from/to View 與 ViewController 等關鍵對象。
Delegate
Delegate 分為兩類:一類是為 Navigation 場景的 push/pop 提供 UINavigationControllerDelegate;另一類是為其他場景(顯示 Modal、Tab 切換等)提供 UIViewControllerTransitioningDelegate。二者的職責一致——告訴系統該用哪個動畫控制器,只是具體方法略有差異。
UINavigationControllerDelegate
- (id<UIViewControllerAnimatedTransitioning>)navigationController:(UINavigationController *)navigationController
                                  animationControllerForOperation:(UINavigationControllerOperation)operation
                                               fromViewController:(UIViewController *)fromVC
                                                 toViewController:(UIViewController *)toVC
其中 operation 會告訴我們這次是 Push 還是 Pop。
UIViewControllerTransitioningDelegate
- (id<UIViewControllerAnimatedTransitioning>)animationControllerForPresentedController:(UIViewController *)presented
                                                                  presentingController:(UIViewController *)presenting
                                                                      sourceController:(UIViewController *)source

- (id<UIViewControllerAnimatedTransitioning>)animationControllerForDismissedController:(UIViewController *)dismissed
分別為頁面的呈現與消失定義了一個方法。
掌握上述內容後,使用轉場動畫就很簡單了:先定義一個動畫控制器,再定義一個 Delegate 告訴系統用它,剩下的交給系統完成。
示例
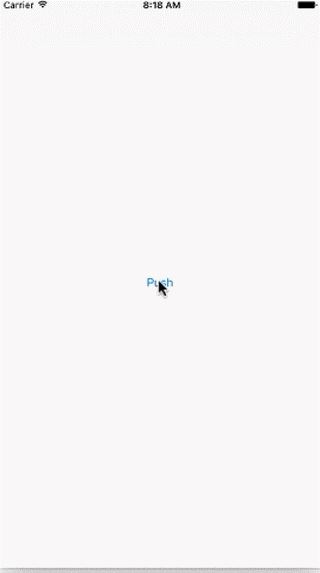
定義動畫控制器
我為 Push 和 Pop 分別定義了動畫控制器,實現思路相近,這裡只看 Push:
- (NSTimeInterval)transitionDuration:(id<UIViewControllerContextTransitioning>)transitionContext {
    return TRANSITION_DURATION;
}

- (void)animateTransition:(id<UIViewControllerContextTransitioning>)transitionContext {
    UIView *fromView = [transitionContext viewForKey:UITransitionContextFromViewKey];
    UIView *toView   = [transitionContext viewForKey:UITransitionContextToViewKey];
    UIView *containerView = [transitionContext containerView];

    [containerView addSubview:toView];
    toView.frame = containerView.bounds;

    CATransform3D scaleTransform  = CATransform3DMakeScale(0.6f, 0.6f, 0.6f);
    CATransform3D translationR    = CATransform3DMakeTranslation(containerView.frame.size.width, 0, 0);
    CATransform3D translationL    = CATransform3DMakeTranslation(-containerView.frame.size.width, 0, 0);

    // 新頁面從右側滑入
    toView.layer.transform = translationR;

    [UIView animateWithDuration:TRANSITION_DURATION animations:^{
        toView.layer.transform   = CATransform3DIdentity;
        // 舊頁面縮小並移到左側
        fromView.layer.transform = CATransform3DConcat(translationL, scaleTransform);
    } completion:^(BOOL finished) {
        fromView.layer.transform = CATransform3DIdentity;
        BOOL cancelled = [transitionContext transitionWasCancelled];
        [transitionContext completeTransition:!cancelled];
    }];
}
定義 Delegate
- (id<UIViewControllerAnimatedTransitioning>)navigationController:(UINavigationController *)navigationController
                                  animationControllerForOperation:(UINavigationControllerOperation)operation
                                               fromViewController:(UIViewController *)fromVC
                                                 toViewController:(UIViewController *)toVC {
    if (operation == UINavigationControllerOperationPush) {
        return self.pushAnimationController;
    } else if (operation == UINavigationControllerOperationPop) {
        return self.popAnimationController;
    }
    return nil;
}
最後把 NavigationController 的 delegate 設為我們的 Delegate 對象,就大功告成了。
回到分類:交互式轉場
有了前面的基礎,已經能實現不少炫酷的效果。但前面的示例中,用戶按下按鈕後動畫就自動播放,中途無法干預——這屬於非交互式。如果我們想實現類似系統那樣「按住屏幕左緣,頁面跟隨手指移動」的效果,就需要交互式轉場。
別被概念唬住,交互式動畫本質上就是在之前那套動畫基礎上做了修飾。系統提供了 UIPercentDrivenInteractiveTransition 這個類,它的作用就是根據用戶行為來控制動畫的完成百分比。
要告訴系統使用交互式動畫,兩個 Delegate 都有對應方法:
// navigation delegate
- (id<UIViewControllerInteractiveTransitioning>)navigationController:(UINavigationController *)navigationController
                         interactionControllerForAnimationController:(id<UIViewControllerAnimatedTransitioning>)animationController

// view controller delegate
- (id<UIViewControllerInteractiveTransitioning>)interactionControllerForPresentation:(id<UIViewControllerAnimatedTransitioning>)animator
- (id<UIViewControllerInteractiveTransitioning>)interactionControllerForDismissal:(id<UIViewControllerAnimatedTransitioning>)animator
下面用 UIPercentDrivenInteractiveTransition 實現手勢跟隨效果。
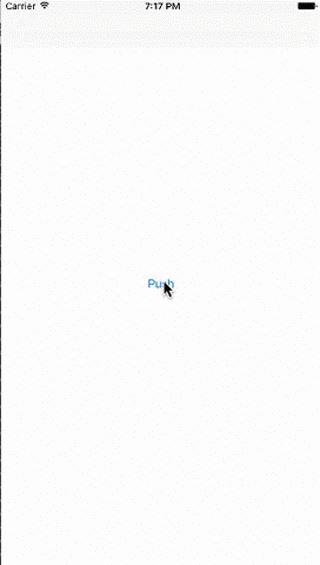
Delegate 實現
只需根據標誌位返回交互式動畫控制器:
- (id<UIViewControllerInteractiveTransitioning>)navigationController:(UINavigationController *)navigationController
                         interactionControllerForAnimationController:(id<UIViewControllerAnimatedTransitioning>)animationController {
    return self.isInteractiveMode ? self.percentTransition : nil;
}
處理手勢
- (void)handlePanGR:(UIScreenEdgePanGestureRecognizer *)panGR {
    switch (panGR.state) {
        case UIGestureRecognizerStateBegan: {
            // 拖動開始,進入交互模式
            [self.naviDelegate enterInteractiveMode];
            [self.navigationController popViewControllerAnimated:YES];
            break;
        }
        case UIGestureRecognizerStateChanged: {
            // 根據拖動距離更新交互式動畫的進度
            CGPoint pt = [panGR translationInView:panGR.view];
            [self.naviDelegate.percentTransition
                updateInteractiveTransition:pt.x / panGR.view.frame.size.width];
            break;
        }
        case UIGestureRecognizerStateFailed:
        case UIGestureRecognizerStateCancelled: {
            // 手勢取消或失敗,離開交互模式並取消動畫
            [self.naviDelegate leaveInteractiveMode];
            [self.naviDelegate.percentTransition cancelInteractiveTransition];
            break;
        }
        case UIGestureRecognizerStateEnded: {
            // 拖動結束,根據移動距離決定完成還是取消
            [self.naviDelegate leaveInteractiveMode];
            CGPoint pt = [panGR translationInView:panGR.view];
            CGFloat delta = 0.0000001;
            if (pt.x - panGR.view.frame.size.width / 2 <= delta) {
                [self.naviDelegate.percentTransition cancelInteractiveTransition];
            } else {
                [self.naviDelegate.percentTransition finishInteractiveTransition];
            }
            break;
        }
        default:
            break;
    }
}
總結
轉場動畫的基本內容就介紹完了。除了如何實現動畫本身,我覺得更值得學習的是蘋果的設計思路:職責分離,各自負責各自的事情,減少依賴,便於擴展。動畫控制器只管「怎麼動」,Delegate 只管「用哪個」,交互控制器只管「動多少」,三者各司其職,組合起來就能覆蓋幾乎所有轉場需求。
歡迎大家吐槽交流。
完整 Demo 可參考原文。
- 上一篇文章: iOS 倒計時的兩種實現:NSTimer 與 GCD 定時器
- 下一篇文章: SLRoateView:一個可複用的輪播圖組件實現