
iOS HQSliderView 實作:點不同按鈕切換 TableView 內容
編輯:iOS 7 技巧
「頂部分頁 + 下方列表」是電商與內容型 App 最常見的版型。這篇用一個自製的 HQSliderView,示範點擊不同分頁按鈕時,下方 UITableView 顯示對應的資料。
效果

HQSliderView.gif
使用步驟
2.1 導入 HQSliderView
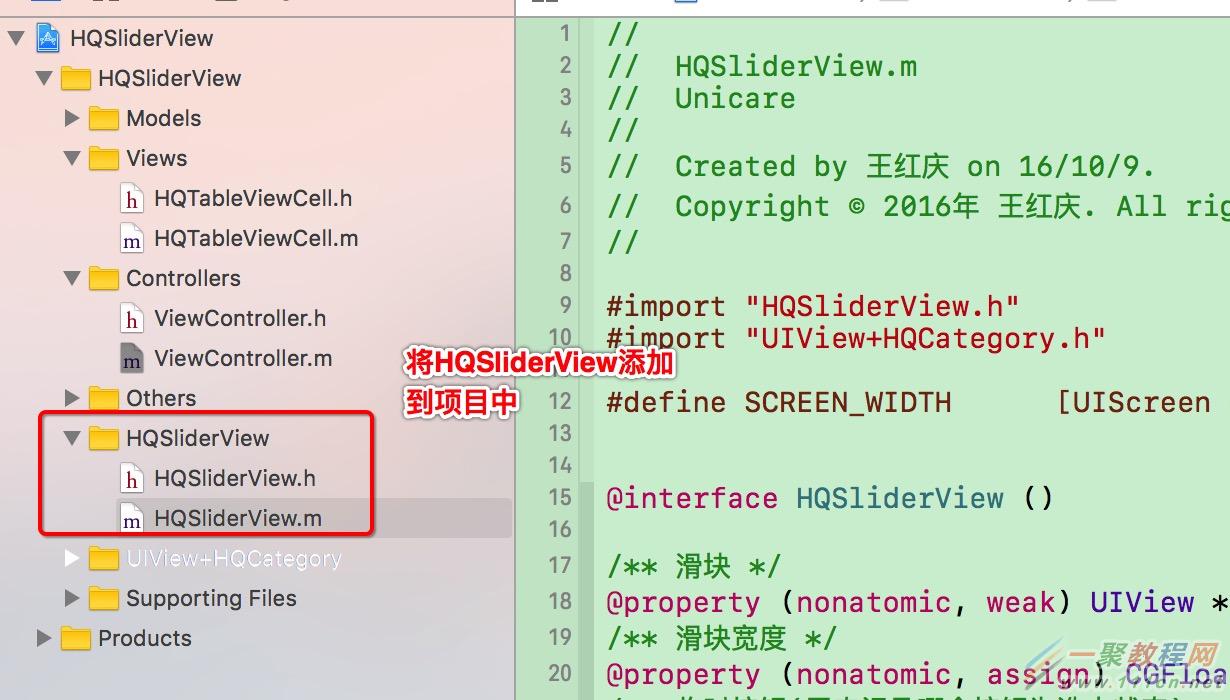
把 HQSliderView 拷貝到專案中。
2.2 在 viewDidLoad 裡組裝
- (void)viewDidLoad {
    [super viewDidLoad];
    self.view.backgroundColor = [UIColor whiteColor];
    [self setupTopSliderView];
    [self setupTableView];
}
2.3 建立上方 SliderView
關鍵是設定 titleArr 給定分頁標題,並指定 delegate 接收點擊事件。
#pragma mark - 創建上部SliderView
- (void)setupTopSliderView {
    HQSliderView *sliderView = [[HQSliderView alloc] initWithFrame:CGRectMake(0, NAV_HEIGHT, SCREEN_WIDTH, SLIDER_HEIGHT)];
    sliderView.titleArr = @[@"全部", @"待付款", @"已付款", @"退款"];
    sliderView.delegate = self;
    [self.view addSubview:sliderView];
}
2.4 建立 TableView
#pragma mark - 創建TableView
- (void)setupTableView {
    UITableView *tableView = [[UITableView alloc] initWithFrame:CGRectMake(0, NAV_HEIGHT + SLIDER_HEIGHT, SCREEN_WIDTH, SCREEN_HEIGHT - NAV_HEIGHT)];
    tableView.dataSource = self;
    [self.view addSubview:tableView];
    self.tableView = tableView;
}
2.5 實作 TableView 的資料來源
這裡用 self.menuTag 當作目前分頁的判斷依據,不同分頁回傳不同列數與不同文案。
#pragma mark - UITableViewDataSource
- (NSInteger)tableView:(UITableView *)tableView numberOfRowsInSection:(NSInteger)section {
    if (self.menuTag == 0) {
        return 3;
    } else if (self.menuTag == 1) {
        return 6;
    } else if (self.menuTag == 2) {
        return 9;
    } else {
        return 12;
    }
}

- (UITableViewCell *)tableView:(UITableView *)tableView cellForRowAtIndexPath:(NSIndexPath *)indexPath {
    HQTableViewCell *cell = [HQTableViewCell tableViewCellWithTableView:tableView];
    if (self.menuTag == 0) {
        cell.textLabel.text = [NSString stringWithFormat:@"全部 --- 第%ld行", indexPath.row];
    } else if (self.menuTag == 1) {
        cell.textLabel.text = [NSString stringWithFormat:@"待付款 --- 第%ld行", indexPath.row];
    } else if (self.menuTag == 2) {
        cell.textLabel.text = [NSString stringWithFormat:@"已付款 --- 第%ld行", indexPath.row];
    } else {
        cell.textLabel.text = [NSString stringWithFormat:@"退款 --- 第%ld行", indexPath.row];
    }
    return cell;
}
2.6 實作 HQSliderView 的代理方法
點擊分頁時把 button.tag 記下來,再刷新列表就完成了。
#pragma mark - HQSliderViewDelegate
- (void)sliderView:(HQSliderView *)sliderView didClickMenuButton:(UIButton *)button {
    self.menuTag = button.tag;
    [self.tableView reloadData];
}
可以更好的地方
這個範例用 if-else 判斷分頁,分頁一多就會很難維護。實務上建議改成「一個分頁對應一個資料陣列」的資料驅動寫法:切換時只換掉 dataSource 陣列,numberOfRows 與 cellForRow 都只讀當前陣列,程式碼量不變但擴充性完全不同。
另外若切換時希望保留各分頁的捲動位置,就該為每個分頁各配置一個獨立的 tableView 並做快取,而不是共用一個再重新載入。
- 上一篇文章: iOS 解析帶 T 的 ISO 時間字串
- 下一篇文章: iPhone 上手後建議先關掉的三個功能