
Masonry 自適配實戰指南:告別冗長的 NSLayoutConstraint
編輯:iOS 相關教學
自 iPhone 6 之後,iOS 布局基本就離不開 Auto Layout 了。Auto Layout 固然好用,但有時候我們需要在代碼裡手動布局,VFL 算是一種選擇——它不複雜,理解起來也容易;只是第一次看會花點功夫。Masonry 相當於 VFL 的簡化版,用的人很多。之前項目裡用過一次,對習慣手寫頁面的開發者來說算是個福利。
基礎知識
先看一個常見需求:把一個子 View 按指定邊距放到父視圖的某個位置。
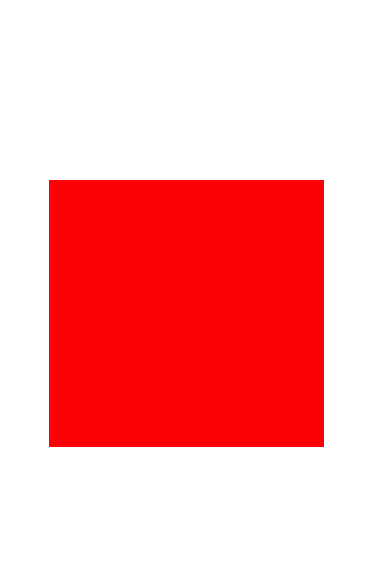
如果用原生 VFL,代碼會是這樣:
UIView *superview = self.view;

UIView *view1 = [[UIView alloc] init];
view1.translatesAutoresizingMaskIntoConstraints = NO;
view1.backgroundColor = [UIColor redColor];
[superview addSubview:view1];

UIEdgeInsets padding = UIEdgeInsetsMake(200, 50, 200, 50);

[superview addConstraints:@[
    // 約束
    [NSLayoutConstraint constraintWithItem:view1
                                 attribute:NSLayoutAttributeTop
                                 relatedBy:NSLayoutRelationEqual
                                    toItem:superview
                                 attribute:NSLayoutAttributeTop
                                multiplier:1.0
                                  constant:padding.top],

    [NSLayoutConstraint constraintWithItem:view1
                                 attribute:NSLayoutAttributeLeft
                                 relatedBy:NSLayoutRelationEqual
                                    toItem:superview
                                 attribute:NSLayoutAttributeLeft
                                multiplier:1.0
                                  constant:padding.left],

    [NSLayoutConstraint constraintWithItem:view1
                                 attribute:NSLayoutAttributeBottom
                                 relatedBy:NSLayoutRelationEqual
                                    toItem:superview
                                 attribute:NSLayoutAttributeBottom
                                multiplier:1.0
                                  constant:-padding.bottom],

    [NSLayoutConstraint constraintWithItem:view1
                                 attribute:NSLayoutAttributeRight
                                 relatedBy:NSLayoutRelationEqual
                                    toItem:superview
                                 attribute:NSLayoutAttributeRight
                                multiplier:1
                                  constant:-padding.right],
]];
僅僅是設置一個邊距就寫了這麼多。如果視圖關係比較複雜,後續維護會非常痛苦。看看 Masonry 是怎麼做的,導入 Masonry.h 頭文件:
UIView *childView = [UIView new];
[childView setBackgroundColor:[UIColor redColor]];

// 先將子 View 加入父視圖
[self.view addSubview:childView];

__weak typeof(self) weakSelf = self;
UIEdgeInsets padding = UIEdgeInsetsMake(200, 50, 200, 50);

[childView mas_makeConstraints:^(MASConstraintMaker *make) {
    make.edges.equalTo(weakSelf.view).with.insets(padding);
}];
對比之下,用 mas_makeConstraints 設置邊距簡直有種鳥槍換炮的感覺。
實用知識
1. 設置視圖大小並居中
UIView *childView = [UIView new];
[childView setBackgroundColor:[UIColor redColor]];
[self.view addSubview:childView];

__weak typeof(self) weakSelf = self;

[childView mas_makeConstraints:^(MASConstraintMaker *make) {
    // 設置大小
    make.size.mas_equalTo(CGSizeMake(100, 100));
    // 居中
    make.center.equalTo(weakSelf.view);
}];
效果如下:
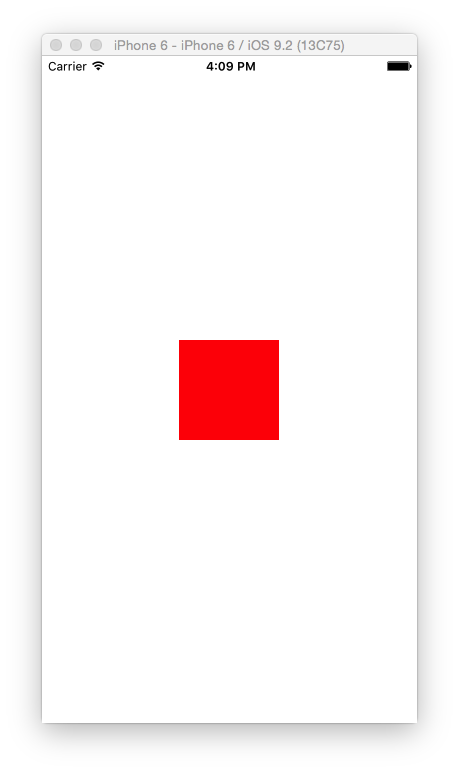
這裡補充一個容易混淆的點:三個方法各有分工——mas_makeConstraints 用來新增約束,mas_updateConstraints 用來更新已有約束,mas_remakeConstraints 則會清除之前的約束、只保留最新的。如果想深入了解,可以讀讀頭文件裡的英文說明:
/**
 *  Creates a MASConstraintMaker with the callee view.
 *  Any constraints defined are added to the view or the appropriate superview
 *  once the block has finished executing
 *
 *  @param block scope within which you can build up the constraints which you
 *  wish to apply to the view.
 *
 *  @return Array of created MASConstraints
 */
- (NSArray *)mas_makeConstraints:(void(^)(MASConstraintMaker *make))block;

/**
 *  Creates a MASConstraintMaker with the callee view.
 *  Any constraints defined are added to the view or the appropriate superview
 *  once the block has finished executing.
 *  If an existing constraint exists then it will be updated instead.
 *
 *  @param block scope within which you can build up the constraints which you
 *  wish to apply to the view.
 *
 *  @return Array of created/updated MASConstraints
 */
- (NSArray *)mas_updateConstraints:(void(^)(MASConstraintMaker *make))block;

/**
 *  Creates a MASConstraintMaker with the callee view.
 *  Any constraints defined are added to the view or the appropriate superview
 *  once the block has finished executing.
 *  All constraints previously installed for the view will be removed.
 *
 *  @param block scope within which you can build up the constraints which you
 *  wish to apply to the view.
 *
 *  @return Array of created/updated MASConstraints
 */
- (NSArray *)mas_remakeConstraints:(void(^)(MASConstraintMaker *make))block;
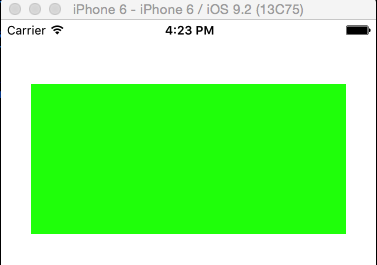
2. 設置固定高度(同時約束左右邊距)
想單獨設置 width,方式與設置 height 相同:
UIView *childView = [UIView new];
[childView setBackgroundColor:[UIColor greenColor]];
[self.view addSubview:childView];

__weak typeof(self) weakSelf = self;

[childView mas_makeConstraints:^(MASConstraintMaker *make) {
    // 距離頂部 44
    make.top.equalTo(weakSelf.view.mas_top).with.offset(44);
    // 距離左邊 30
    make.left.equalTo(weakSelf.view.mas_left).with.offset(30);
    // 距離右邊 30,注意是負數
    make.right.equalTo(weakSelf.view.mas_right).with.offset(-30);
    // 高度 150
    make.height.mas_equalTo(@150);
}];
3. 子視圖之間的相對定位
UIView *childView = [UIView new];
[childView setBackgroundColor:[UIColor greenColor]];
[self.view addSubview:childView];

__weak typeof(self) weakSelf = self;

[childView mas_makeConstraints:^(MASConstraintMaker *make) {
    make.top.equalTo(weakSelf.view.mas_top).with.offset(44);
    make.left.equalTo(weakSelf.view.mas_left).with.offset(30);
    make.right.equalTo(weakSelf.view.mas_right).with.offset(-30);
    make.height.mas_equalTo(@150);
}];

UIView *nextView = [UIView new];
[nextView setBackgroundColor:[UIColor redColor]];
[self.view addSubview:nextView];

[nextView mas_makeConstraints:^(MASConstraintMaker *make) {
    make.top.equalTo(childView.mas_bottom).with.offset(30);
    make.right.equalTo(childView.mas_right).with.offset(-30);
    make.width.mas_equalTo(@100);
    make.height.mas_equalTo(@100);
}];
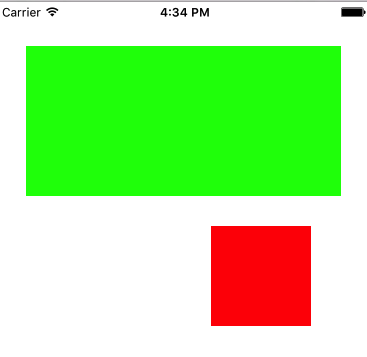
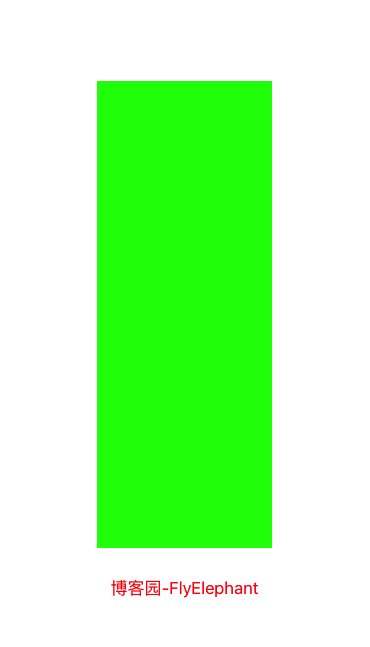
4. 鏈式寫法,寫起來更緊湊:
UIView *childView = [UIView new];
[childView setBackgroundColor:[UIColor greenColor]];
[self.view addSubview:childView];

__weak typeof(self) weakSelf = self;

[childView mas_makeConstraints:^(MASConstraintMaker *make) {
    make.top.and.left.mas_equalTo(weakSelf.view).with.offset(100);
    make.bottom.and.right.mas_equalTo(weakSelf.view).with.offset(-100);

    // 第二種寫法更簡單,直接相對於父視圖
    // make.top.and.left.mas_equalTo(100);
    // make.bottom.and.right.mas_equalTo(-100);
}];

UILabel *label = [UILabel new];
[label setText:@"博客園-FlyElephant"];
[label setTextColor:[UIColor redColor]];
[label setTextAlignment:NSTextAlignmentCenter];
[self.view addSubview:label];

[label mas_makeConstraints:^(MASConstraintMaker *make) {
    make.left.mas_equalTo(weakSelf.view).with.offset(10);
    make.height.mas_equalTo(20);
    make.right.mas_equalTo(weakSelf.view).with.offset(-10);
    make.bottom.mas_equalTo(weakSelf.view).with.offset(-50);
}];
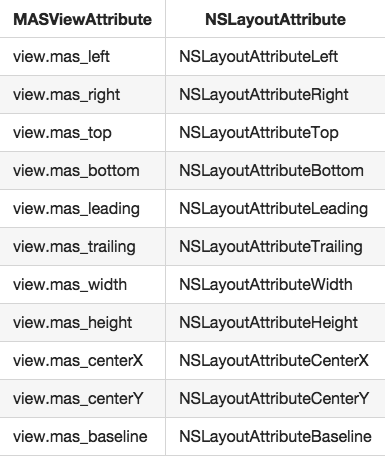
網上關於 Masonry 的教程很多,例子也不少。上面這幾種情況基本覆蓋了日常開發的需求。Masonry 的屬性與 iOS 原生屬性是有對應關係的,不過因為足夠直觀,基本不用特意去背,下圖是對照表:
總結
- 可以給控件添加 left / right / top / bottom / size / height / width 等約束,也支持 center、edges 等便捷寫法。
- 庫提供三個方法:
mas_makeConstraints添加約束,mas_updateConstraints更新約束,mas_remakeConstraints清除舊約束並添加新約束。 - 可以通過
view.mas_bottom這類屬性獲取 view 的某個邊界,供其他視圖參考。 - 在約束的 block 中,使用
make給當前控件添加約束。